Creality K1 Review
The Creality K1 drew attention at launch for its exceptional print speeds, which remain among the fastest in the FDM printer category. It delivered CoreXY motion and input shaping from the get-go, giving users high-performance results without the need for complicated manual tuning.

Score breakdown
A high-speed CoreXY contender
However, this printer faced criticism for its software. The slicer and mobile app were plagued by a cluttered interface and aggressive advertising, which Creality has yet to resolve.
Another common complaint was its price. Upon release, the K1 cost almost as much as better competitors like the Bambu Lab P1P, leading many to question its value. Since then, Creality has significantly reduced the K1's price, making it a way stronger contender in the mid-range market.
For users who require high-speed, low-effort printing with minimal setup, the K1 has become an attractive option. Though its software still lags, the hardware delivers reliable performance nicely in today's 3D printing landscape.
This review features the 3D printer, which has been kindly provided to us by the manufacturer for the purpose of this review. While the manufacturer has supported us by supplying the printer, they have not influenced the content of this review in any way. Our assessments and observations are entirely our own, and we have conducted our usual thorough testing to ensure we provide an accurate evaluation of the product. At 3DGearZone, we are committed to transparency and honesty, ensuring that our audience can trust the content we produce.
Creality designed the K1 with a clear goal in mind: speed. They set out to build a mid-range 3D printer that could rival the performance of high-end machines, and they delivered.
With a top speed of 600 mm/s, the K1 pushed boundaries and brought CoreXY motion and input shaping to a broader audience, making fast, clean prints more accessible than ever.
But speed alone doesn't define the K1. It also offers impressive accuracy, with tight dimensional tolerances and smooth surface finishes even at high speeds. Connectivity is another strong point, with an Android/iOS app and built-in Wi-Fi and USB support for flexible control.
In addition, the K1 was designed for ease of use. Features like auto bed leveling, a responsive touchscreen, and easy setup make it approachable for newbies while offering the performance that experienced users expect. It is a 3D printer designed to move fast without cutting corners.
An Overview of the Creality Brand
Creality is one of the most recognized names in 3D printing. Since its founding in 2014, it has built a good reputation for producing reliable, affordable printers for hobbyists, manufacturers, and professional makers. Models like the Ender 3 helped define the budget 3D printing market and turned Creality into a household name among DIY enthusiasts.
Over the years, Creality expanded its product lineup to include resin printers, enclosed systems, and higher-performance machines. While often praised for their hardware, the company has faced criticism for inconsistent quality control and underwhelming software support. Despite that, Creality has stayed a player, constantly pushing into new categories and price points.
That push led to the development and launch of the K1 series. With CoreXY mechanics, input shaping, and speeds of up to 600 mm/s, the K1 marked a significant leap forward. Its success paved the way for successors like the K1 Max, which targeted users who wanted speed without the need for heavy modifications.
Unboxing and Building the Creality K1
Unboxing the Creality K1 feels 100% premium. The printer comes well-protected with dense foam packaging, and most components arrive pre-assembled, making setup quick. Inside the box, you'll find the unit itself, a touchscreen, tools, a sample filament spool, and a detailed manual that clearly walks you through the first steps.
However, a few things do bring the experience down, like the lack of enough filament for any serious test prints and loosely mounted touchscreen. Still, they're all fairly negligible for all the good that this kit does contain.
What's in the Box?
- ▪Printer main unit
- ▪Power cable
- ▪Touchscreen display module
- ▪USB flash disk
- ▪Material barrel
- ▪Filament rack
- ▪Rubber feet
- ▪Screw sets (M3 × 18 mm ×3, M3 × 12 mm ×1)
- ▪Toolbox (screwdrivers, M6 wrench, cutting pliers, blade scraper, nozzle cleaning needle)
- ▪Quick Installation Guide
- ▪After-sales Service Card
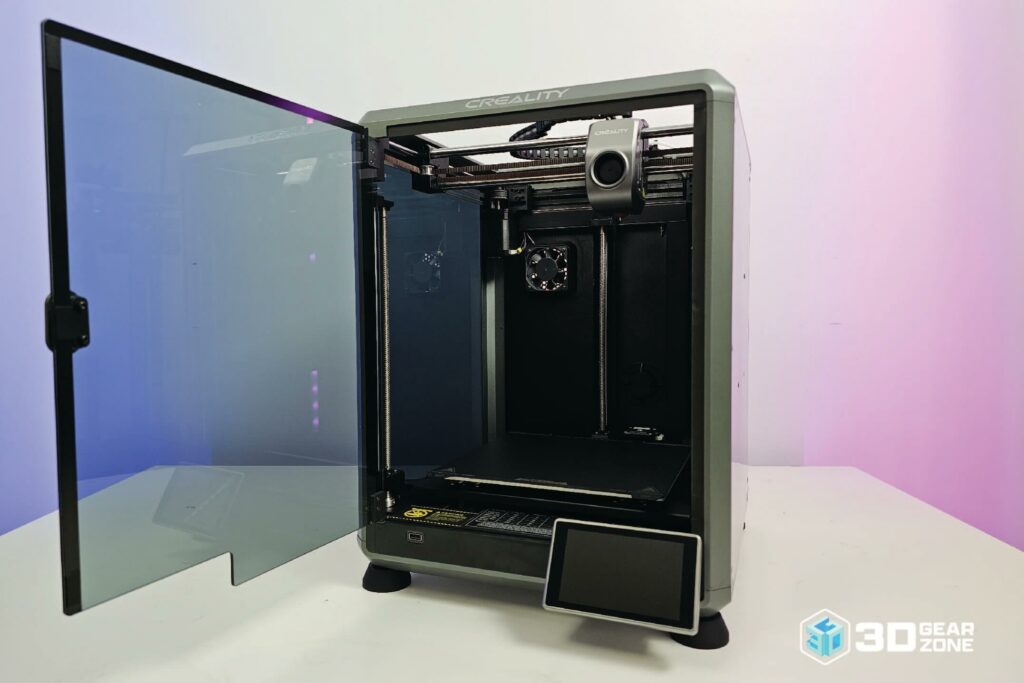
Building the Machine
Setting up the Creality K1 is fast and easy. The printer comes mostly assembled, you'd only need to plug in the touchscreen, connect the power cable, and turn it on. The interface then walks you through auto bed leveling and filament loading, which is very quick.
You can have a test print with the sample filament in under an hour. That's mainly because the touchscreen is responsive, and the setup process is mostly automated, requiring minimal user effort. New 3D printer users might take longer, especially if this is their first time handling a 3D printer. For a smooth experience, it's best to keep the manual nearby and follow each step carefully.
| Stage | Time Estimate | Key Challenges | Tips / Notes |
|---|---|---|---|
| Unboxing and Parts Check | 5 minutes | Risk of missing small accessories like tools or fasteners | Spread out all included parts and verify everything against the inventory list in the manual. |
| Removing Packaging Materials | 3 minutes | Foam, tape, and guards may be tucked into tight spaces | Work carefully around moving parts and wiring, especially near the extruder and motion system. |
| Connect Touchscreen & Filament Cap | 5 minutes | Display cable can be misaligned; barrel may be difficult to seat | Match the pins before pressing them on the touchscreen. Insert the filament barrel with gentle pressure. |
| Load Filament Into Feeder | 3 minutes | Filament may not advance if it's cut bluntly | Slice the filament tip at an angle and feed it through until resistance is felt. |
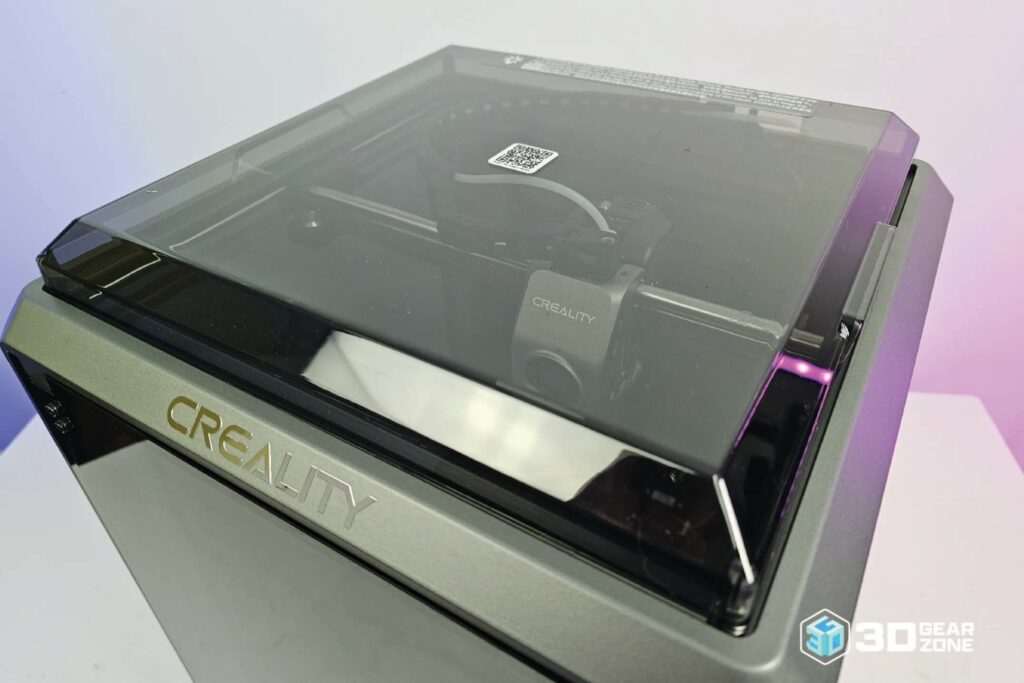
| Install Top Enclosure Panel | 2 minutes | Misaligning the lid or over-tightening mounting screws | Snap the top cover into place, then secure using the included screws, being careful not to overtighten. |
| Power On and Choose Language | 3 minutes | Initial prompts may be unclear for first-time users | After turning it on, select your language and remove the three transport locks as shown on the screen. |
| Run Automatic Calibration Routine | 10 to 15 minutes | Dust on the probe pad may affect bed leveling accuracy | Gently clean the probe base before starting. Sounds like tapping and probing are expected. |
| Connect to Wi-Fi & Update Firmware | 5 minutes | Connection issues if the Wi-Fi signal is weak or the password is wrong | Use the on-screen Wi-Fi setup wizard to guarantee stable internet for firmware updates. |
| Start Your First Print | 10 to 20 minutes | First-layer issues, such as warping or under-extrusion | Pick one of the built-in sample prints and closely monitor the first few layers for adhesion quality. |
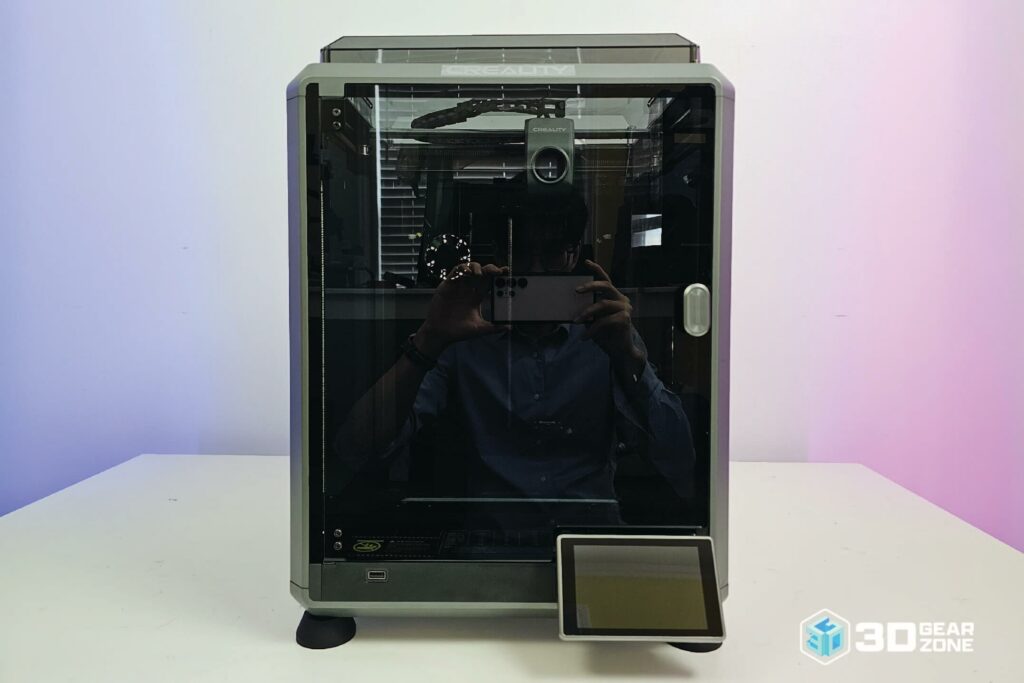
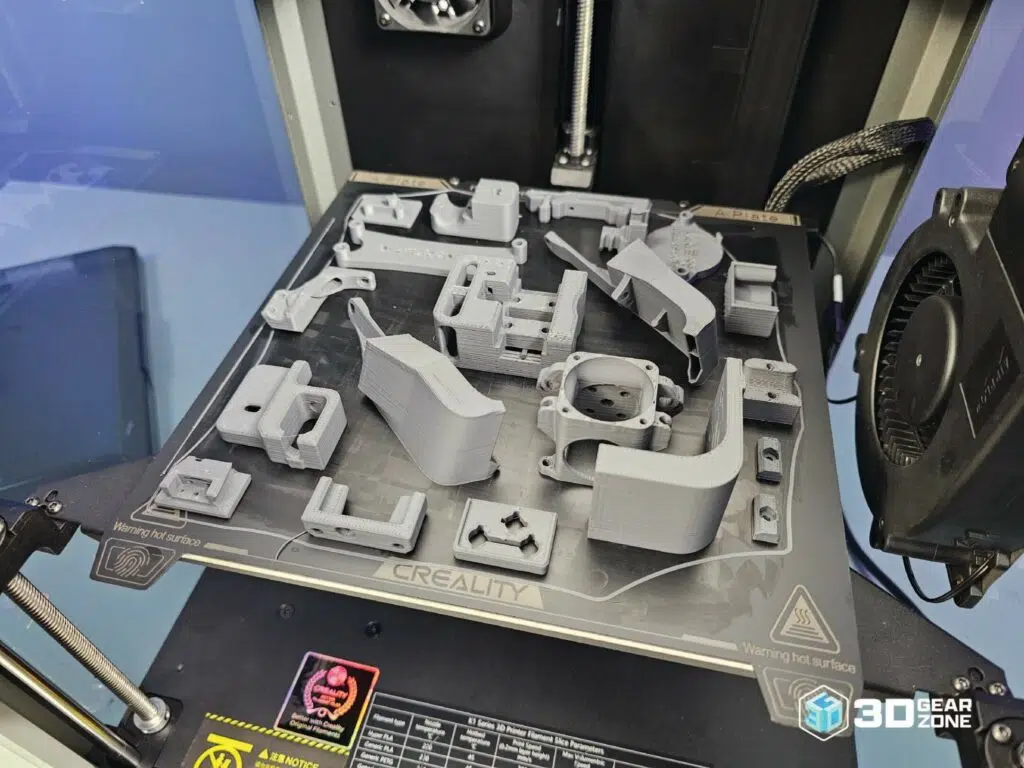
Our Initial Impressions on Build Quality
The Creality K1 has a lightweight, sturdy, well-built frame thanks to its aluminum construction. Each of the printer's panels tightly fits, with zero rattling or flex. Plus, the welds are clean and consistent, giving the printer a premium vibe.
The wiring is neatly routed, with flexible sheathing and clearly labeled connectors. However, a few cable bundles feel a bit too tight, which could lead to wear over time.
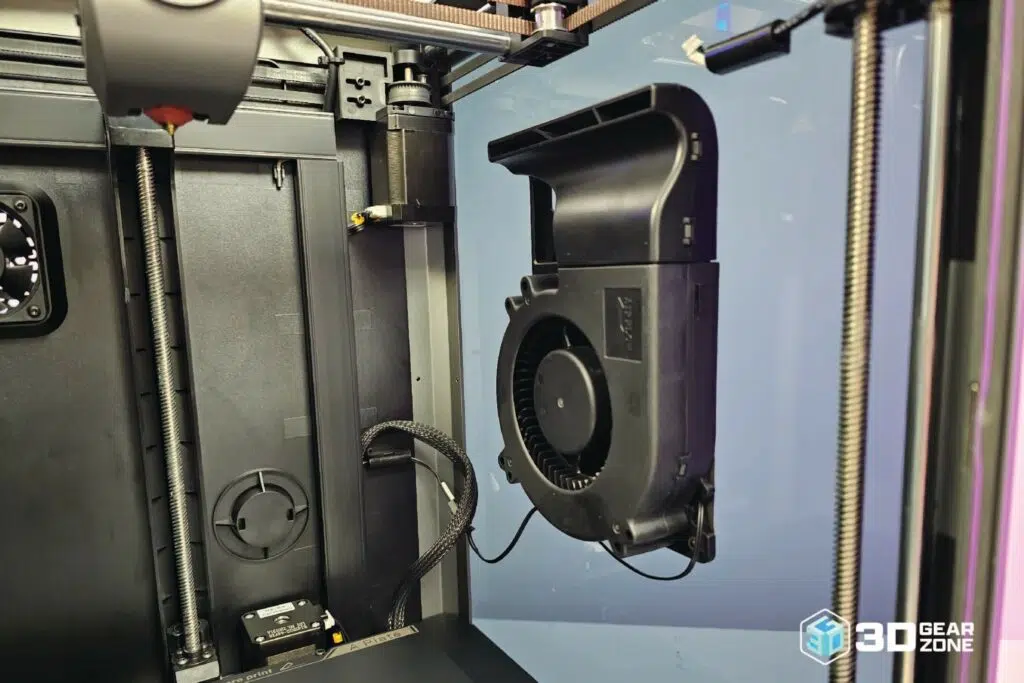
Internally, all electronics are well protected. Soldering is immaculate, and the fans are properly mounted, but a few gaps around the ducts can let in dust. Despite this minor issue, the K1's build quality holds up very well for its price and shows attention to detail where it matters.
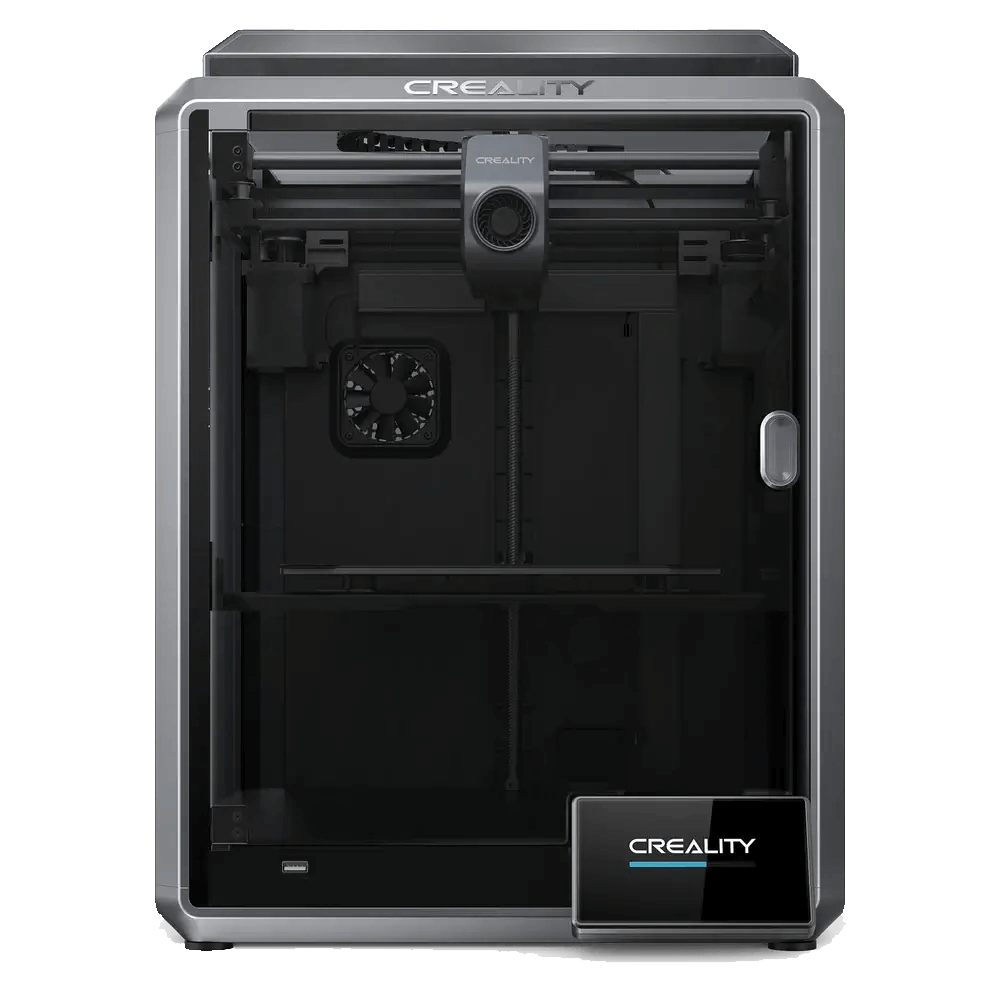
Design and Technical Specifications
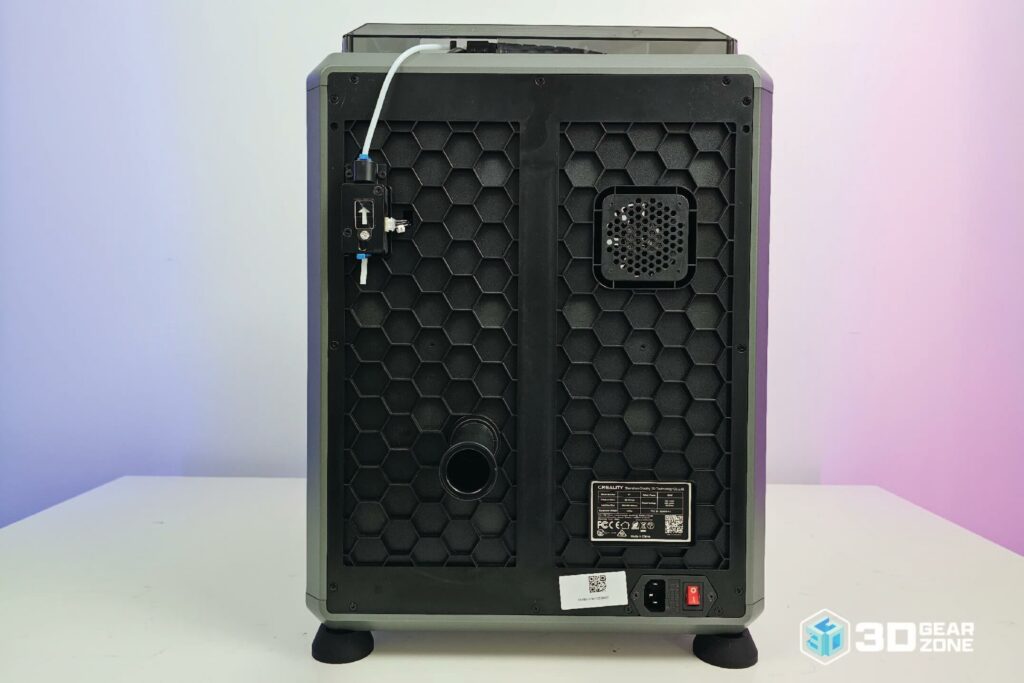
From the outside, the K1 has a clean, minimal look with a compact footprint of just 355 by 355 mm. It fits easily on most desks, but there are a few design quirks. For example, the spool holder is mounted at the back, making filament swaps awkward. The power switch is also awkwardly tucked next to the power inlet, which is hard to reach.
Internally, the 3D printer is built for speed. The lightweight print head weighs just 190 grams, keeping motion smooth and fast. It includes a ceramic heater block that can handle up to 32 cubic millimeters per second.
Spec-wise, the Creality K1 rocks a dual-core 1.2 GHz processor and 8 GB of internal storage that drives Creality OS, allowing fast local prints and easy Wi-Fi access. The electronics are sealed off to protect against dust, but the top cable chains are exposed and may pinch wiring during long travel moves. Still, the overall layout is superb and worthy of praise, with its clear focus on performance and reliability.
Key Technical Specifications
- ▪Printing Technology: Fused Deposition Modeling (FDM)
- ▪Build Volume: 220 x 220 x 250mm
- ▪Printing Speed: ≤600mm/s
- ▪Acceleration: ≤20000mm/s²
- ▪Layer Height: 0.1-0.35mm
- ▪Filament Diameter: 1.75mm
- ▪Nozzle Diameter: 0.4mm (compatible with 0.6/0.8mm)
- ▪Nozzle Temperature: ≤300℃
- ▪Heatbed Temperature: ≤100℃
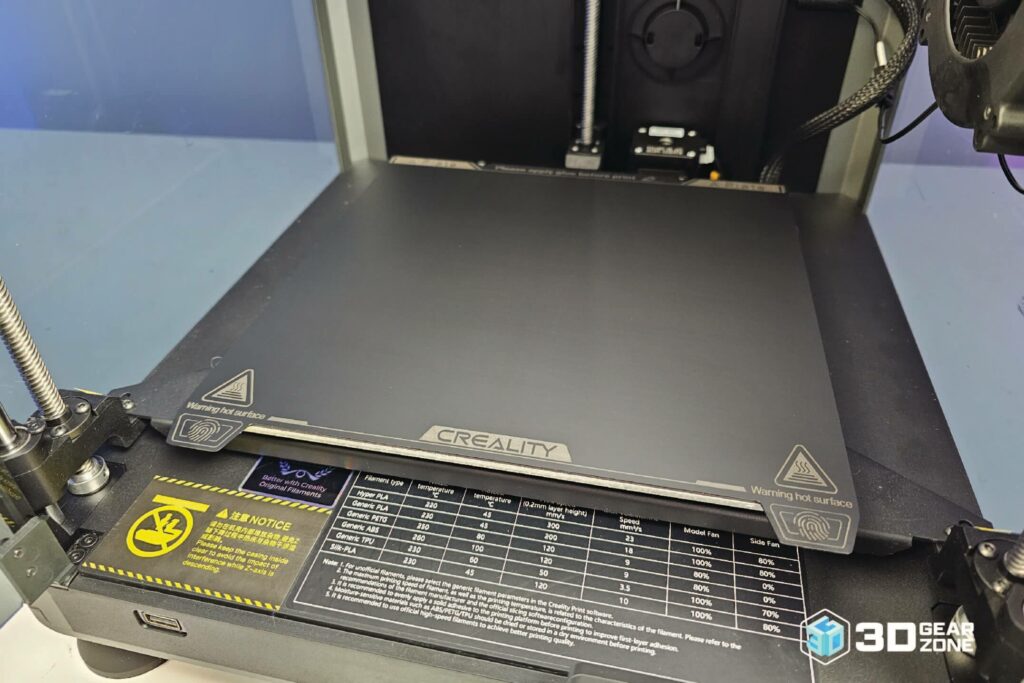
- ▪Build Surface: Flexible Build Plate
- ▪Leveling Mode: Hands-Free Auto Leveling
- ▪Extruder: Dual-Gear Direct-Drive Extruder
- ▪Display Screen: 4.3″ Color Touch Screen
- ▪Power Loss Recovery: Yes
- ▪Filament Runout Sensor: Yes
- ▪Input Shaping: Yes
- ▪Supported Filaments: ABS, PLA, PETG, PET, TPU, PA, ASA, PC, PLA-CF, PA-CF, PET-CF
- ▪Rated Power: 350w
- ▪File Transfer: USB Drive, WiFi
- ▪Slicing Software: Creality Print (Cura, Simplify3D, PrusaSlicer compatible)
- ▪Product Dimensions: 355 x 355 x 480mm
- ▪Net Weight: 12.5kg
Lightning-Fast Print Speeds
The Creality K1 achieves its blistering speed mostly through clever motion design. Its CoreXY layout keeps the two steeper motors fixed, cutting down on moving mass. The print head weighs just 190 grams; therefore, accelerations up to 20,000 mm/s² feel almost instant.
The high-flow extrusion system is equally important to the printer's speed. A ceramic heater heats filament rapidly, and a titanium heatbreak maintains a stable melt zone. Together, they sustain extrusion rates of up to 32 mm³ per second. This ensures that the material keeps pace with the mechanics so that fast travel never leaves you waiting.
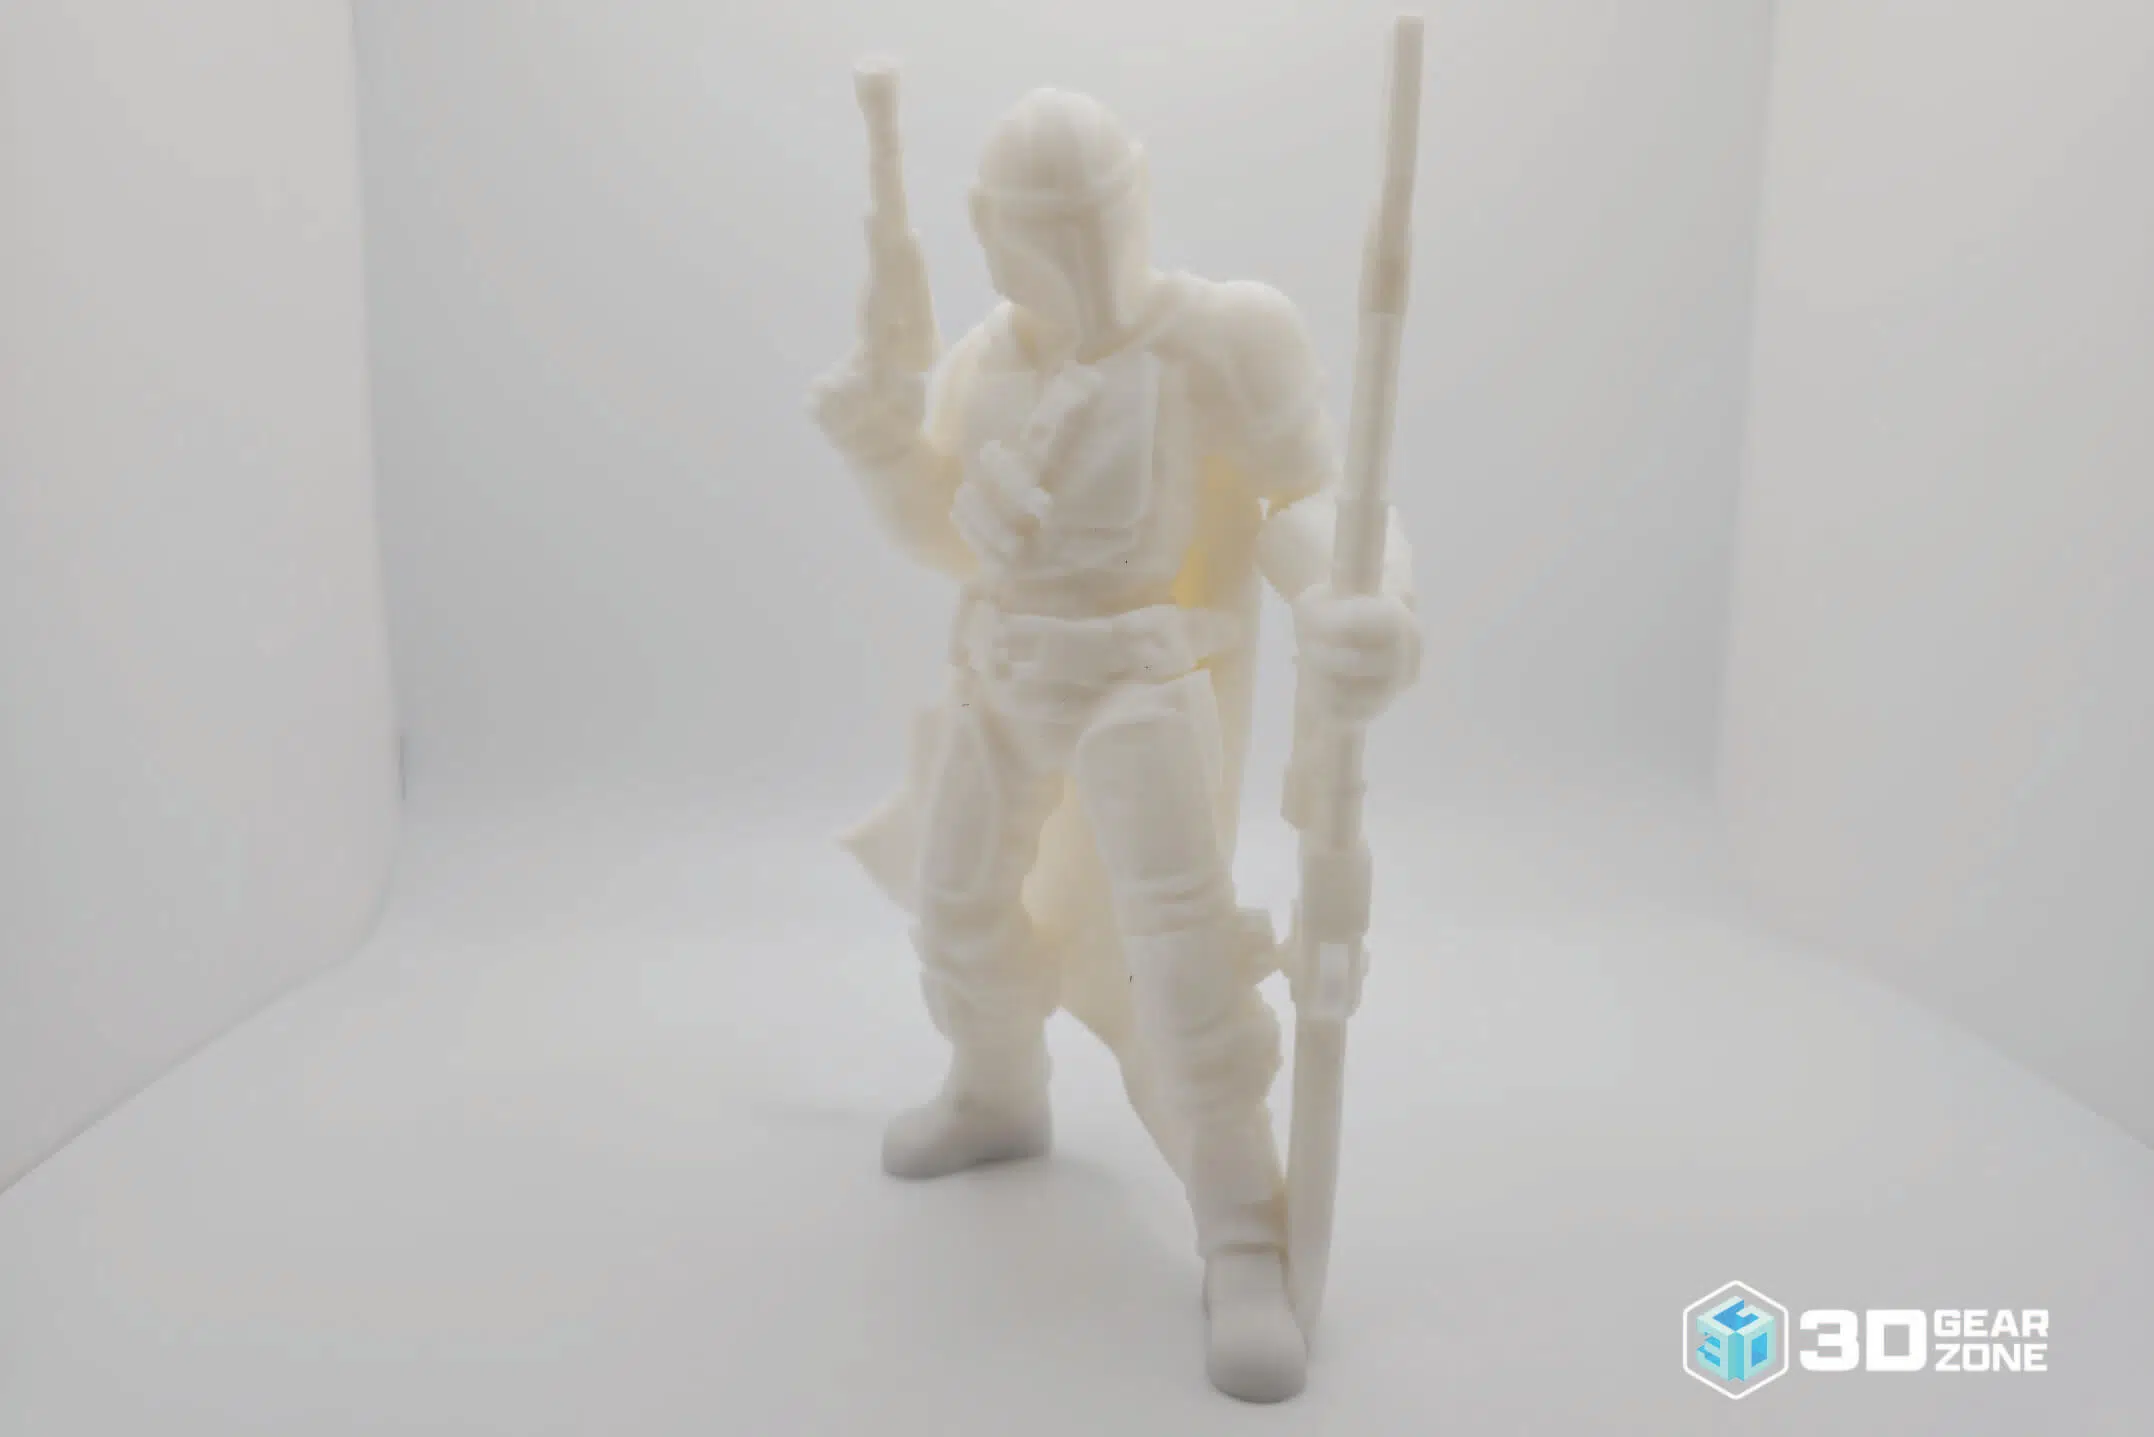
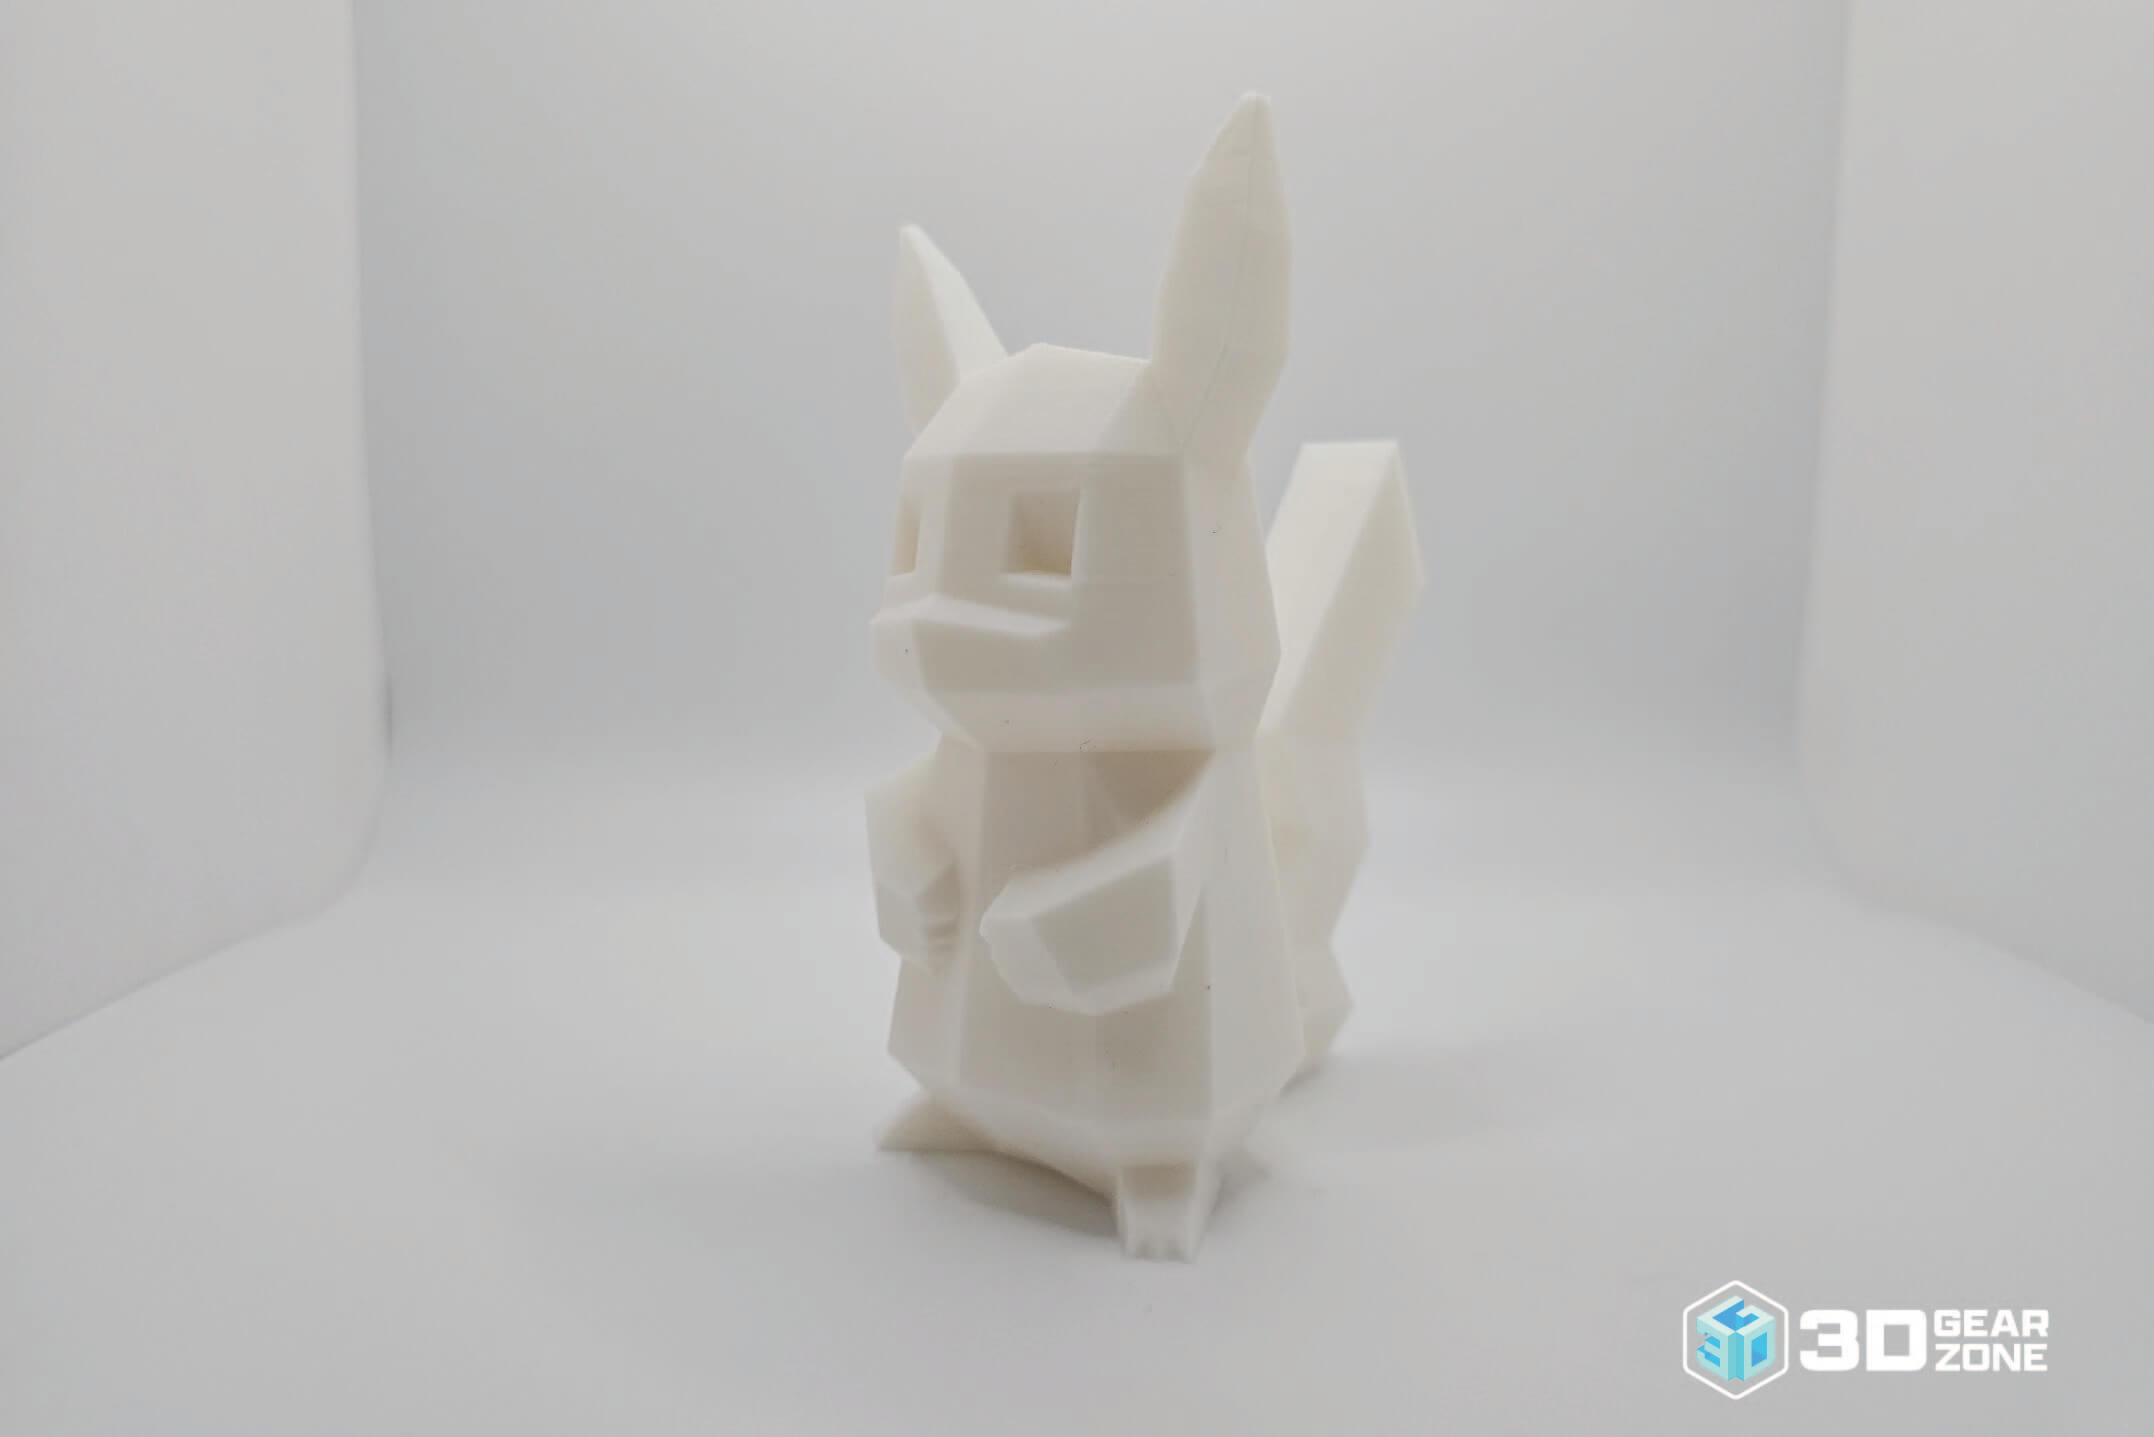
Print Performance and Quality
Running at a moderate 300 mm/s, the K1 produces crisp, smooth surfaces. Details stay sharp, and layer lines remain nearly invisible. Cranking speeds up to 600 mm/s pushes the machine, introducing occasional ringing around corners and the bizarre layer shift, especially without perfectly tuned input shaping.
Material versatility is a strong suit of this printer. PLA, ASA, and PETG print cleanly with minimal warping, and the K1 tackles 25 mm bridges and 60° overhangs with little trouble. Keep in mind though, that fans must run at full blast for steeper angles, which can be noisy, and slight droop may appear if cooling falls short.
Dimensionally, most prints land within 0.1 mm of their target, thanks to solid belts and precise steppers. However, long, high-tension jobs might flex the thin Y-axis rods, which could lead to minor inconsistencies on very tall or lengthy parts.
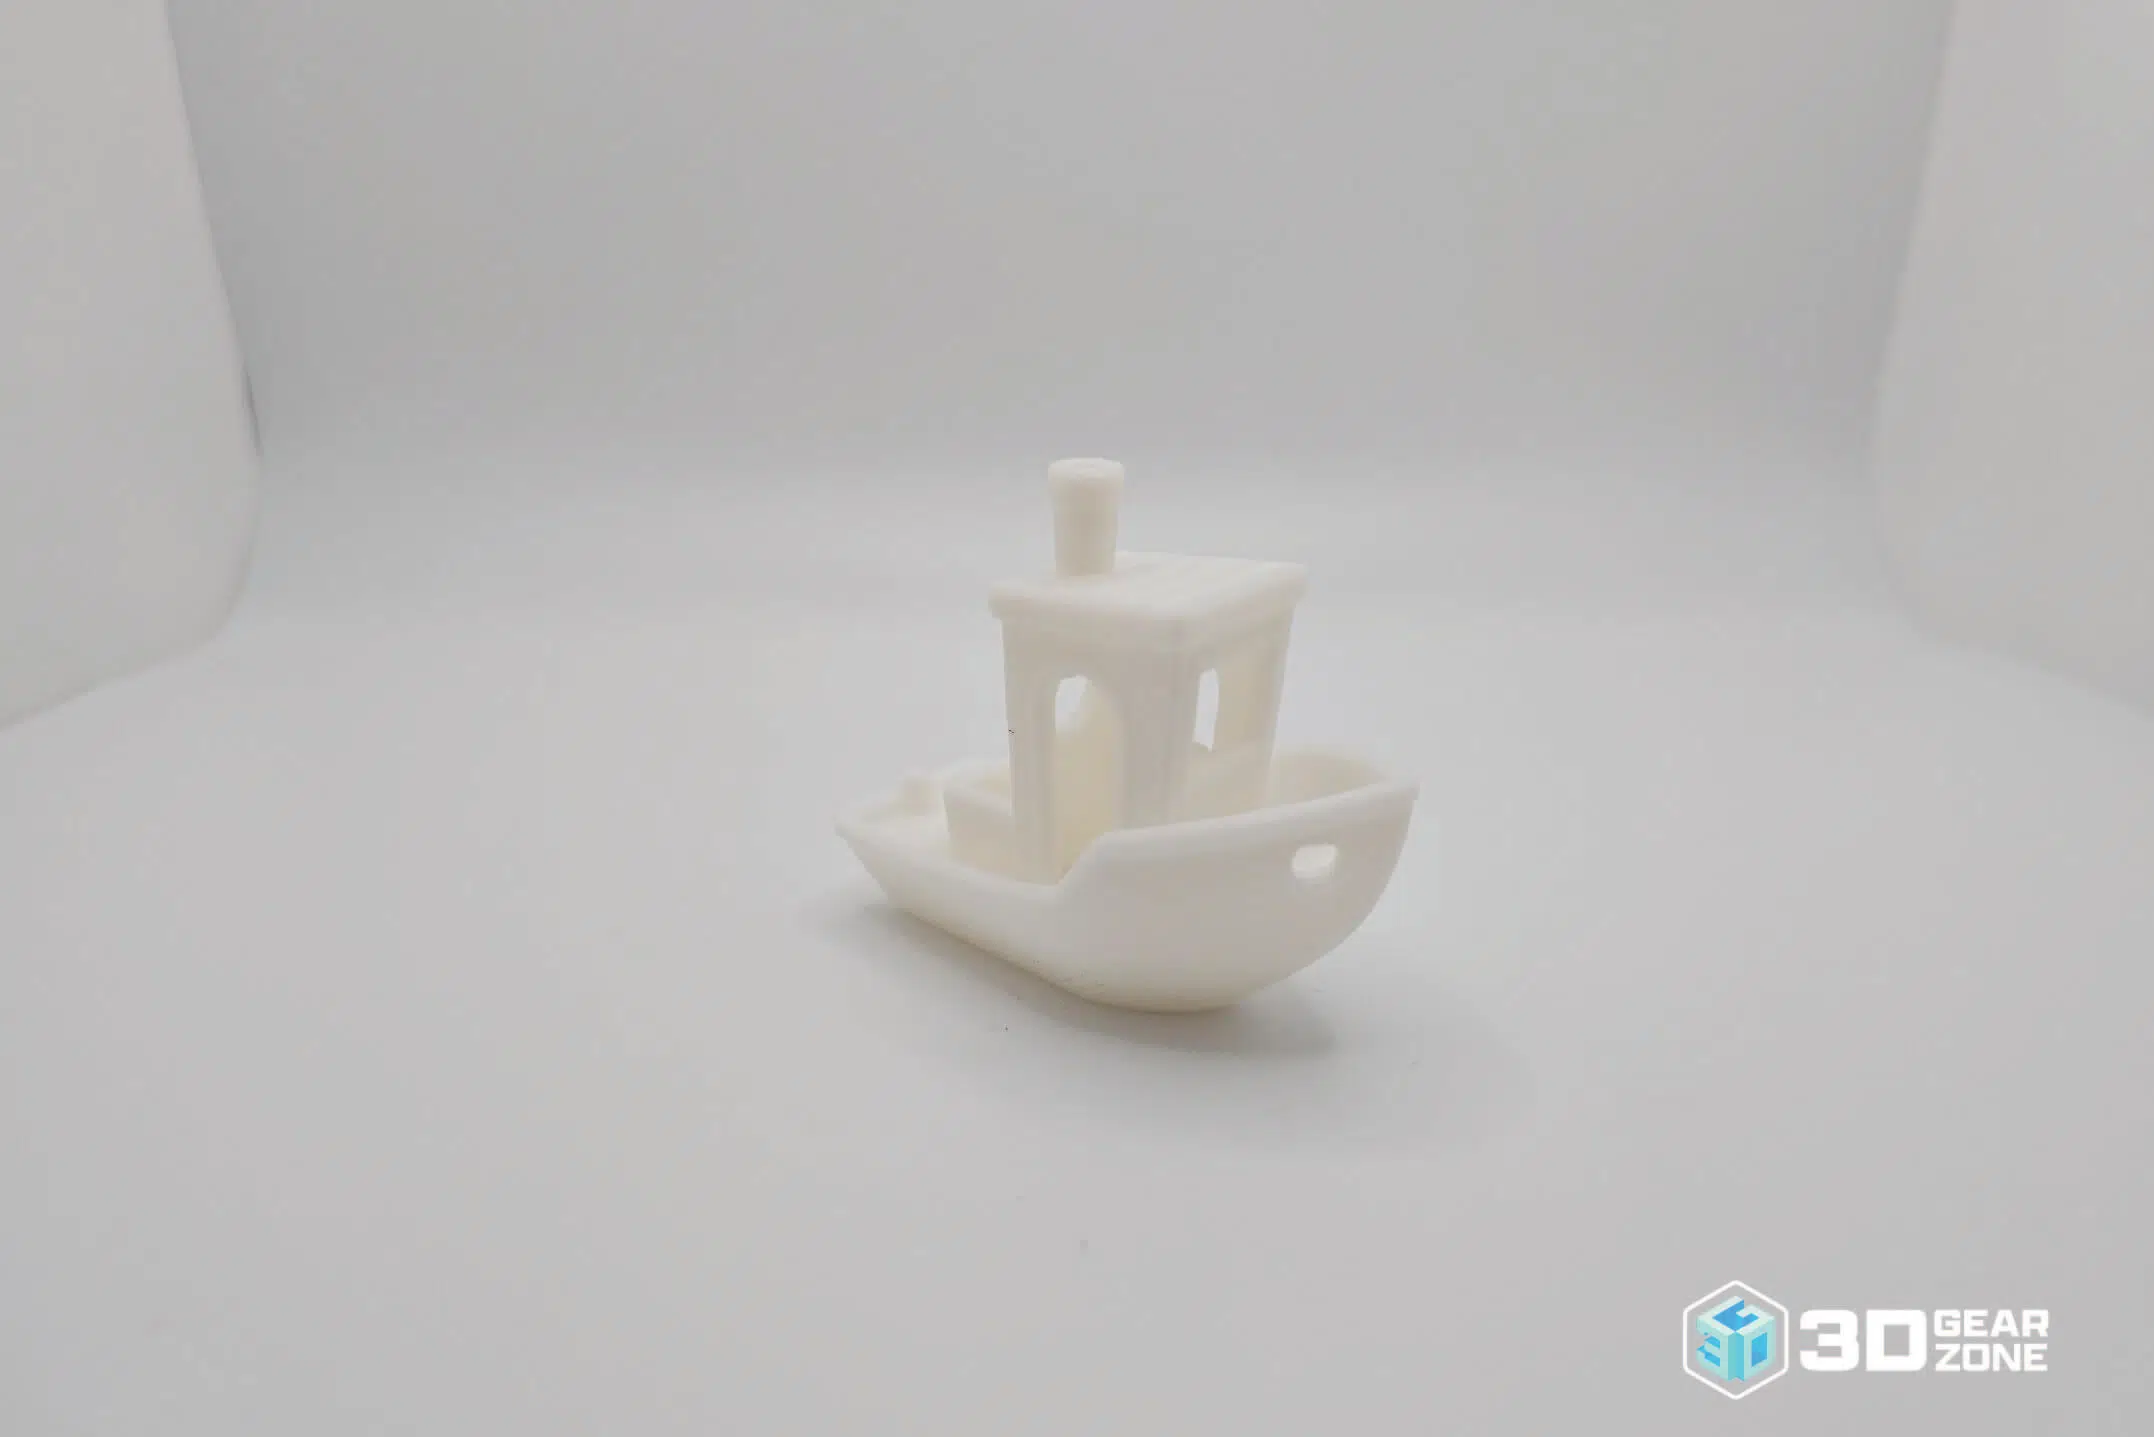
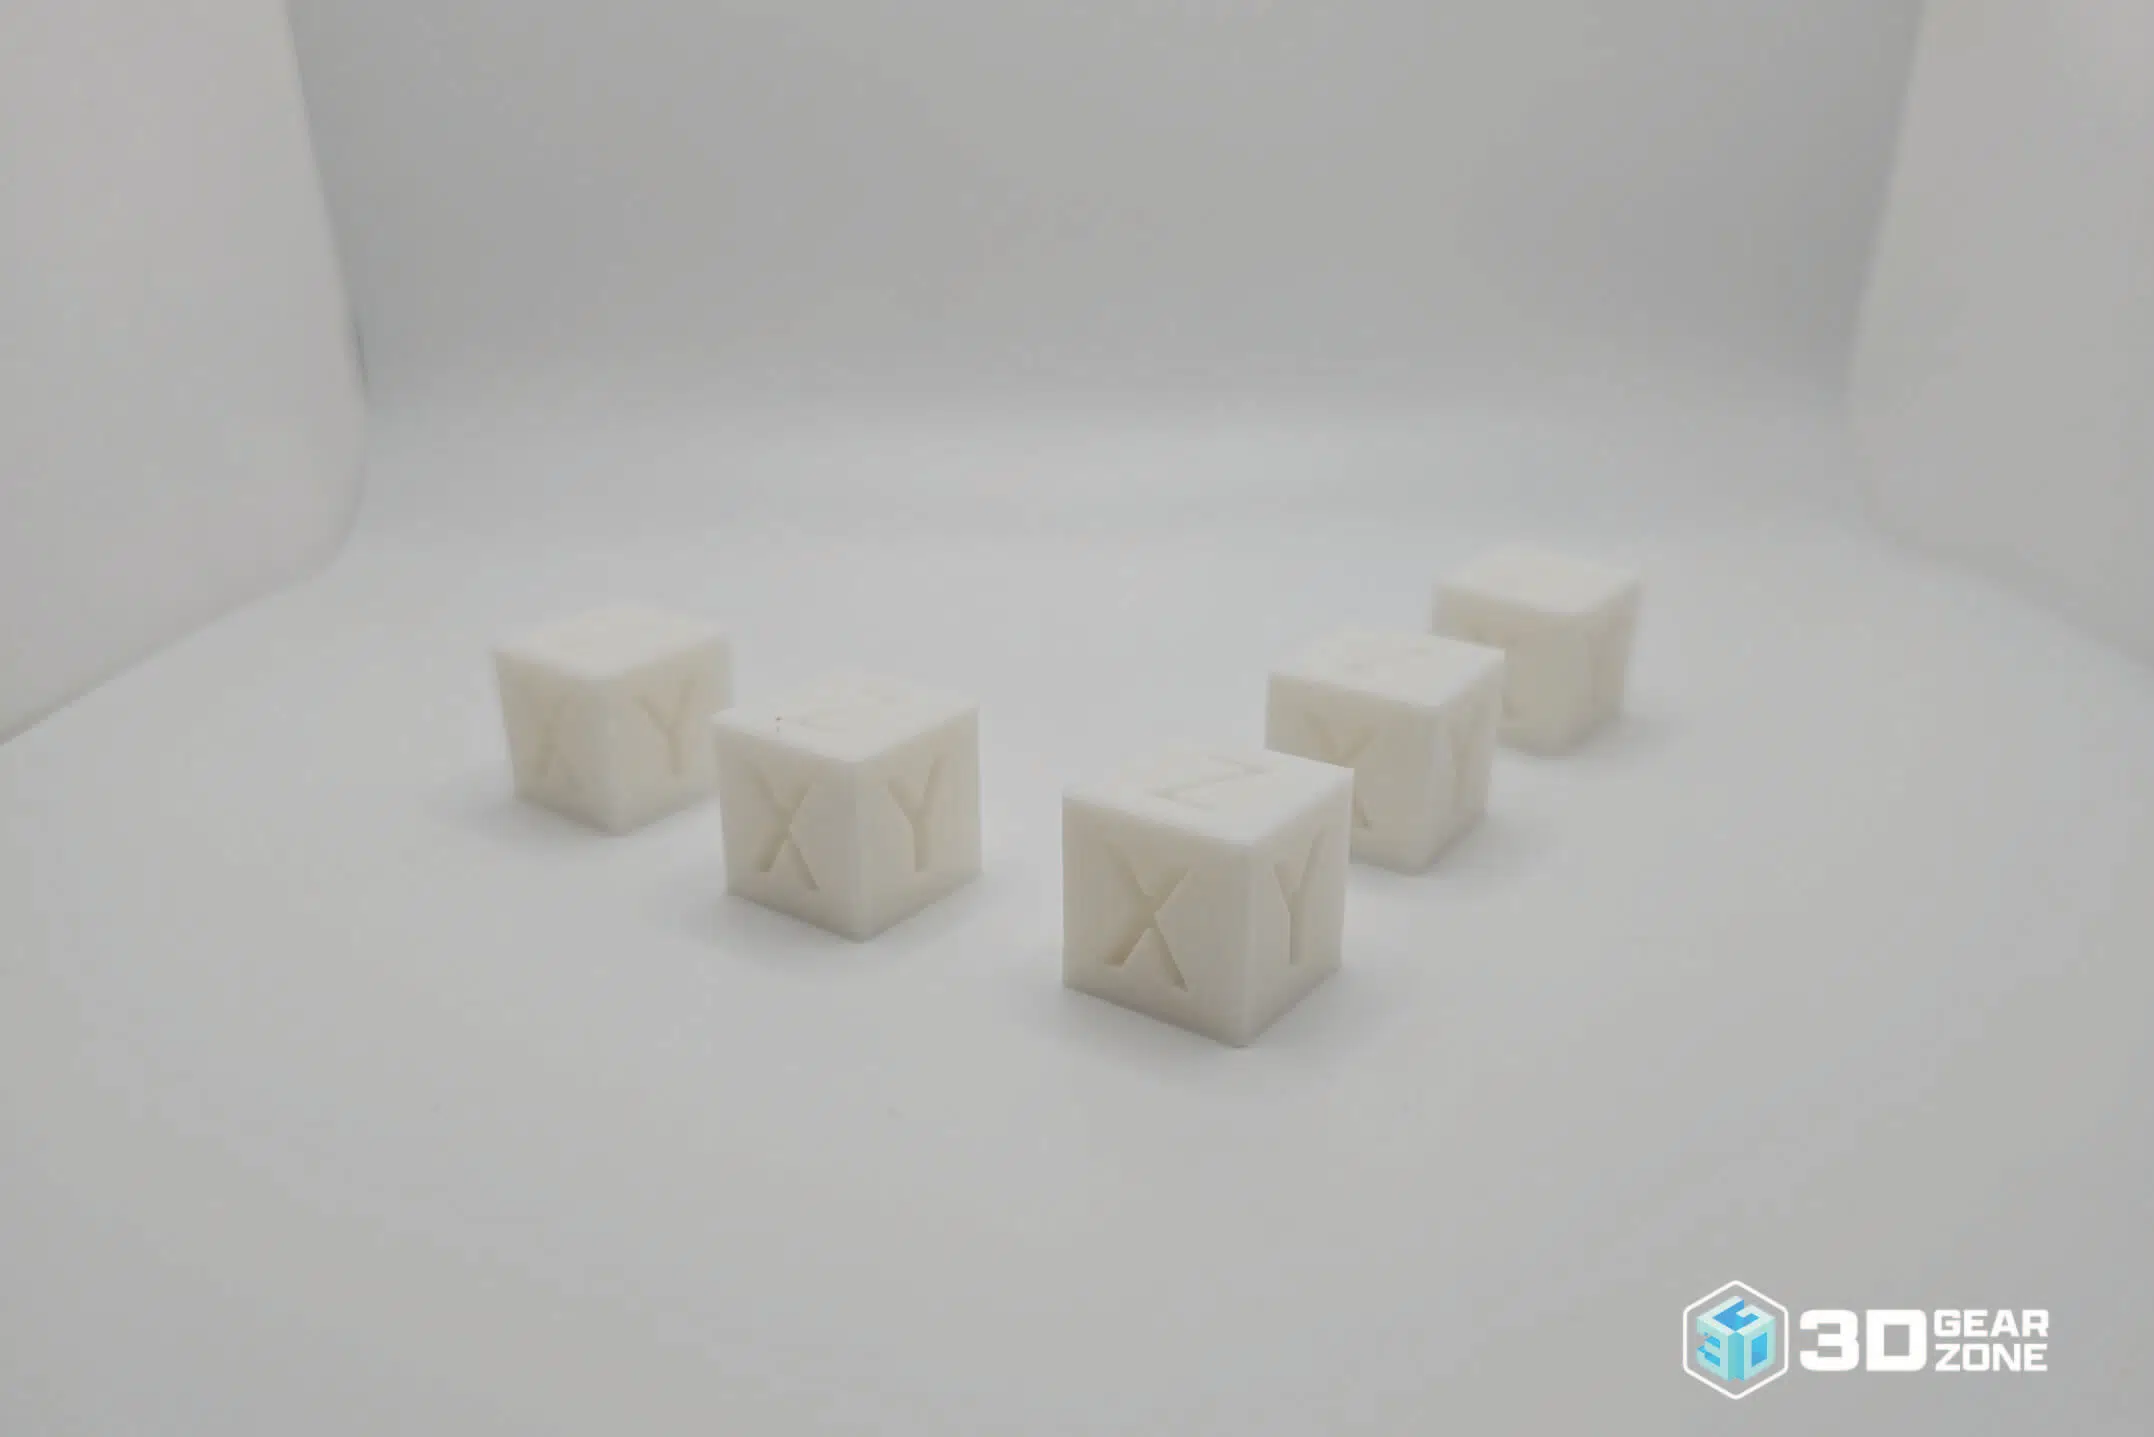
Test Prints and Benchmark Results
| Test Type | Result Highlights | Observations |
|---|---|---|
| Line Width & Gap Test | Clear 0.10 mm lines and gaps; details under 0.05 mm merge | Precision is strong down to 0.10 mm, but finer details tend to merge. Extremely small gaps may clog or blur at high speeds, especially without dialed-in cooling. |
| Miniature Bust | Crisp facial details with no ringing | High-res mode handles curves and edges well. PLA prints look sharp, but ABS needs fine-tuning or it may under-extrude on thin sections. |
| Print Tower | Uniform layers up to 249 mm tall with no visible stepping | Tall prints stay smooth thanks to CoreXY motion and input shaping. On long runs, heat buildup near the top can lead to minor warping if ambient cooling is limited. |
| Overhang Test | Clean results to 55°; mild droop beyond | Handles overhangs well up to 55°. Beyond that, prints start drooping unless speed is lowered and cooling is maxed out, which slows overall print time. |
| Bridging Test | Bridges spanning 25 mm print with minimal droop | Bridges up to 25 mm are stable. Spans longer than that tend to sag unless the fan is running at full power, which also increases noise. |
| First Layer Adhesion | Rock-solid first layer across PLA, PETG, and ABS | PLA and ABS stick reliably with auto-leveling. PETG can lift at corners unless the bed is prepped with glue or tape and the first layer is printed slowly. |
| Multi-Material Print | Not supported (single-extrusion design) | Only supports one filament at a time. No automatic color changes or AMS-like features, so manual swaps are needed for multi-color prints. |
| Surface Finish | Smooth, functional surfaces with very faint layer lines | Surfaces are clean even at high speed. PETG may show some stringing that needs post-processing. Polishing or solvent smoothing improves the final look. |
| Dimensional Accuracy | Parts within ±0.10 mm of target dimensions | Accuracy is consistent at normal speeds. However, vibration can cause slight drift at very high speeds if input shaping isn't tuned correctly. |
| Noise Levels | Relatively loud fans at full output (~75 dB at 1 in); quiet idle | Idle operation is quiet, but fan noise ramps up during prints. Cooling fans are the loudest part and can be distracting in quiet rooms. |
Firmware, Tuning, and Calibration
Creality's K1 ships with a firmware that feels limited. Though it handles core tasks relatively well, advanced features are locked behind a layer of restrictions that can frustrate advanced users.
The touchscreen interface is basic and occasionally unresponsive. It cannot adjust deeper print parameters on the fly. Furthermore, the K1's smartphone applications are flooded with unwanted advertisements, along with extremely janky user interfaces.
Underneath the shell, the K1 runs Klipper, opening up a fine-tuning world. However, Creality's implementation doesn't offer easy access to Klipper's full potential, and official support is limited.
Fortunately, calibration is one of the bright spots. Mesh bed leveling, input shaping, and PID tuning are fully automated and accurate out of the box, making the process hassle-free.
Possible Upgrades for the Creality K1
One of the standout benefits of Creality's ecosystem is its endless customizability. Choosing the K1 opens the door to a host of official accessories and community-driven mods that can sharpen performance, boost reliability, and improve day-to-day usability.
Below are some of the most popular upgrades embraced by K1 owners:
- ▪High-Flow Nozzle Kit
- ▪Micro Swiss FlowTech Extruder/Hotend
- ▪Top/Side Spool Holder
- ▪270° Door Hinge
- ▪Rubber Foot Discs
- ▪Exhaust Fan Filter Holder
- ▪Creality AI Camera
With these upgrades, you can turn your K1 into a powerhouse that matches your workflow and objectives. We recommend experimenting for finely-tuned performance and increased reliability.
Maintenance, Upkeep, and Reliability
Keeping your Creality K1 in good shape doesn't take much. A few quick checks here and there can help you avoid problems and keep your prints looking great:
- ▪Wipe the build plate with isopropyl alcohol after each print to remove residue and keep the first layer sticking properly.
- ▪Heat the nozzle and use the cleaning pin to clear any buildup before loading new filament for clean, even extrusion.
- ▪Check the PTFE tube and cable chains every ten spools to catch wear, kinks, or pinched wires early.
- ▪Every 50 hours, apply light oil or grease to the motion rails and screws to reduce friction and preserve accuracy.
- ▪Once a month, tighten all frame bolts and double-check cable connections to avoid shifts or power hiccups mid-print.
Common Issues with the Creality K1
Below are some common hiccups unique to the Creality K1 and how they typically show up in daily use:
- ▪Wobbly First Layers: Over time, the mesh leveling can drift or the steel plate grabs dust, so your first layer might lift at the corners or lay down unevenly.
- ▪Hotend Blockages: Pushing PETG or ABS at top speed can leave burned bits in the nozzle throat. If you skip regular cold-pulls or cleaning, you'll see under-extrusion or sudden jams.
- ▪Filament Feed Stops: The PTFE liner in the print head can wear out or kink after heavy use. When that happens, you'll get feed errors mid-print and your extruder clicks without moving filament.
- ▪Layer Shifts and Artifacts: If the belt tensioners aren't dialed in, the K1's rapid accelerations can cause belts to slip, distorting curves or shifting layers on longer prints.
- ▪E500 Sensor Glitches: The tight cable routing in the hotend can rub against wires over time. A slight tug can trigger intermittent temperature-sensor errors and pause your print.
Comparisons with Alternative Models
This section compares the Creality K1 with four top-tier printers, evaluating their speed, ease of use, print quality, price, setup process, and long-term upgrade potential:
| Creality K1 | Bambu Lab X1 Carbon | Prusa MK4 | Anycubic Kobra Max | Bambu Lab P1P | |
|---|---|---|---|---|---|
| Build Volume | 300 × 300 × 300 mm | 256 × 256 × 256 mm | 250 × 210 × 220 mm | 400 × 400 × 450 mm | 256 × 256 × 256 mm |
| Print Speed | Up to 600 mm/s | Up to 500 mm/s | Up to 200 mm/s | Up to 180 mm/s | Up to 500 mm/s |
| Assembly Complexity | Fully assembled, dual auto-leveling | Fully assembled, auto calibration | Semi-assembled; manual calibration | Semi-assembled, auto bed leveling | Fully assembled, auto calibration |
| Price Range | $389 – $432.76 | $1,499 – $1,879 | $999 – $1099 | $429 – $649 | $699 |
| Customization & features | AI camera, CoreXY motion, ceramic heater, dual-gear extruder, flexible PEI plate, Creality OS cloud sync | AI failure detection, multi-color AMS, CoreXY, carbon rods, dual-sided flex plate, 1080p camera, carbon filter | Modular design, Input Shaper, color LCD, silent operation, extensive third-party firmware & hardware support | LeviQ auto-leveling, large build volume, touchscreen, budget components, limited third-party customization | CoreXY with up to 20,000 mm/s² accel, ABL sensor auto leveling, active vibration/extrusion compensation, customizable side panel |
Bambu Lab X1 Carbon
The Bambu Lab X1 Carbon and Creality K1 both offer impressive speed, with the K1 slightly faster compared to the X1 Carbon's 500 mm/s. Both 3D machines also feature 20,000 mm/s² acceleration, ensuring fast yet controlled movement. However, the X1 Carbon pulls ahead in its multi-material printing capability thanks to the AMS system.
Prusa MK4
The Prusa MK4 is built with precision and reliability in mind, but it doesn't match the Creality K1's out-of-the-box speed. You'll need to put in a bit more effort up front, especially regarding tuning and calibration. It's not a plug-and-play experience, and hitting peak performance takes some time.
Anycubic Kobra Max
The Anycubic Kobra Max is built for size. With its massive 450 x 400 x 400 mm build volume, it's a favorite among prop makers and anyone needing to print large parts in one go. It keeps things relatively simple and affordable, though 3D print speeds are slower, and detail can suffer without careful tuning.
The Creality K1, on the other hand, trades size for speed and innovative features. It's much faster and comes with better motion control, automation, and day-to-day ease of use.
Bambu Lab P1P
The Bambu Lab P1P and Creality K1 are high-speed printers with 20,000 mm/s² acceleration. Overall, the P1P is more refined, with smoother firmware and better slicer integration.
The K1, however, offers a slightly larger build volume and includes a touchscreen and enclosure as standard. In terms of value, the K1 undercuts the P1P, making it a good bargain option.
Our Final Take
The Creality K1 is an impressive 3D printer, especially regarding speed and general performance. With the ability to print up to 600 mm/s, it stands out in the market for its fast-paced output. However, you'll rarely push it to such extreme speeds in real-world use.
For most projects, the K1's maximum potential is overkill, and the benefits of such high-speed printing are seldom fully realized. Despite this, it still delivers excellent results in terms of accuracy, surface finish, and consistency, making it a solid choice for many users.
That said, the K1 does have drawbacks, particularly when it comes to software. The slicer and the accompanying mobile app are underwhelming, feeling stuck in an earlier era of 3D printing. They lack the polish and functionality of multiple equivalent platforms, which is frustrating given the printer's capabilities.
Despite these flaws, the Creality K1 is a highly recommendable option today, especially considering its new baseline price tag of $389. It offers excellent value for users looking for both speed and performance without needing to break the bank.

Scott Gabdullin is a Canadian entrepreneur, investor, and marketing expert who has successfully combined his passion for technology and innovation with a love for adventure and exploration.
Scott brings 12 years of digital marketing experience and a hardcore work ethic to his new passion for 3D printing. If he is not working on this business, he is likely travelling and Overlanding across North America with his wife and 2-year-old son in their Jeep Rubicon.
Read more →