Bambu Lab X1 Carbon with AMS Review
The Bambu Lab X1-Carbon is positioned between high-end prosumer and entry-level industrial 3D printers. It integrates speed, precision, automation, and design into a package with which few competitors can effectively compete.

Score breakdown
A paradigm shift in desktop FDM
It combines strong performance with desktop practicality, placing features typically found in factory machines in a compact format, making complex tasks much more manageable without dedicated space. Ideal for engineers, designers, and small-scale manufacturers, the X1-Carbon supports rapid prototyping and custom part production with minimal setup. Its smart calibration and error detection streamline operations and ensure consistent results, eliminating production delays.
Costing more than hobbyist models but less than industrial systems, the X1-Carbon earns its value by cutting downtime and simplifying workflows. It's a worthwhile option for individuals seeking industrial-grade output that comes in a sleek and well-constructed desktop package.
The release of the Bambu Lab X1-Carbon in 2022 marked a major shift in what people could expect from a desktop 3D printer. Arriving at a time when most consumer printers were still playing catch-up with reliability and print quality, the X1-Carbon significantly raised the bar by introducing a feature set and print performance that rivaled much more expensive systems, catching the attention of professionals and hobbyists alike at the time.
The combination of intelligent automation, high-speed capabilities, and refined engineering puts it in its own category. Comparisons to the rest of the desktop 3D printer market felt unfair because the X1-Carbon was operating on a level far, far ahead of its contemporaries.
Years later, Bambu Lab X1-Carbon continues to stand out in a crowded marketplace. While competitors have made gains, few printers have managed to match the X1-Carbon's consistency, speed, polish, and ease of use. It's a machine that continues to feel ahead of its time.
An Overview of the Bambu Lab Brand
Bambu Lab entered the 3D printing scene in 2022 with a Kickstarter campaign that quickly made headlines. Aiming for a modest goal, the company ended up raising over 7 million USD from more than 5,000 backers. That overwhelming response validated an evident demand for a faster, smarter, and more refined 3D printing experience.
From the start, Bambu Lab positioned itself with a design-first mindset that aligned more with Apple than conventional hardware companies. Clean hardware, a tightly integrated ecosystem, and user-friendly software eliminated much of the tinkering typically associated with 3D printing. Because of these factors, the brand stood out for performance and its polish, which was absent in the rest of the 3D printing industry.
The X1-Carbon was the product that put Bambu Lab on the map. In one package, it delivered what others promised but failed to produce: speed, reliability, and automation.
Unboxing and Building the Bambu Lab X1 Carbon
Bambu Lab ships the X1-Carbon in a sturdy double-walled box sealed with tamper-proof tape. Inside, everything is packed tightly using dense foam inserts that keep all components locked firmly in place. The layout is tight and efficient, with little unused space and packing material.
The printer is secured on one side, with the AMS unit packed separately but close. Accessories like cables, tools, and filaments are tucked into a tray above or beside the main hardware. Most items are easy to access, although a few sit deep in their slots and take some effort to remove.
Each component is clearly labeled, which makes inventory checks simple. However, the tight packing can cause minor scuffs if the machine is pulled out too quickly. All of the filament samples are pressed firmly into place and could be damaged if not handled carefully.
The box could use better finger grips or pull tabs, especially for the accessory tray. Some cables, particularly the AMS connector, are bent sharply inside the foam and could use a bit more breathing room. Small improvements here would go a long way in keeping the unboxing as smooth as the setup.
What's in the Box?
- ▪Bambu Lab X1-Carbon 3D Printer main unit
- ▪Automatic Material System (AMS) unit
- ▪Flexible magnetic steel build plate
- ▪5″ touchscreen display (1280 × 720)
- ▪Filament spool holder
- ▪Spare hotend with 0.4 mm hardened steel nozzle
- ▪Nozzle wiping pads (×2)
- ▪Spare filament cutters (×2)
- ▪Power cord
- ▪6-pin Bambu Bus cable
- ▪4-pin Bambu Bus cable
- ▪Allen keys (H1.5 and H2)
- ▪Unclogging pin tool
- ▪Glue stick
- ▪Scraper
- ▪Filament sample spools (PLA and PA-CF)
- ▪Quick Start Guide
- ▪Warranty leaflet
- ▪AMS disclaimer document
Building the Machine
Setting up the Bambu Lab X1 Carbon takes about 50 minutes to a little over an hour from unboxing to first print. The unit arrives fully assembled, so there's no mechanical assembly required. Most of your time will be spent clearing packaging, plugging cables, and following on-screen prompts.
Powering on the machine brings up the 5-inch touchscreen interface. It guides you through language choice, network connection, and firmware updates. Speaking of which, the printer's firmware downloads and installs automatically over Wi-Fi, adding about 5 to 10 minutes to the process.
Mounting the AMS is a straightforward process. The entire module slides into place on top of the printer and locks with two thumbscrews. After that, feeding the PTFE tubes and plugging in data and power cables takes under three minutes. The 3D printer will then perform an automatic bed leveling routine using lidar and force sensors.
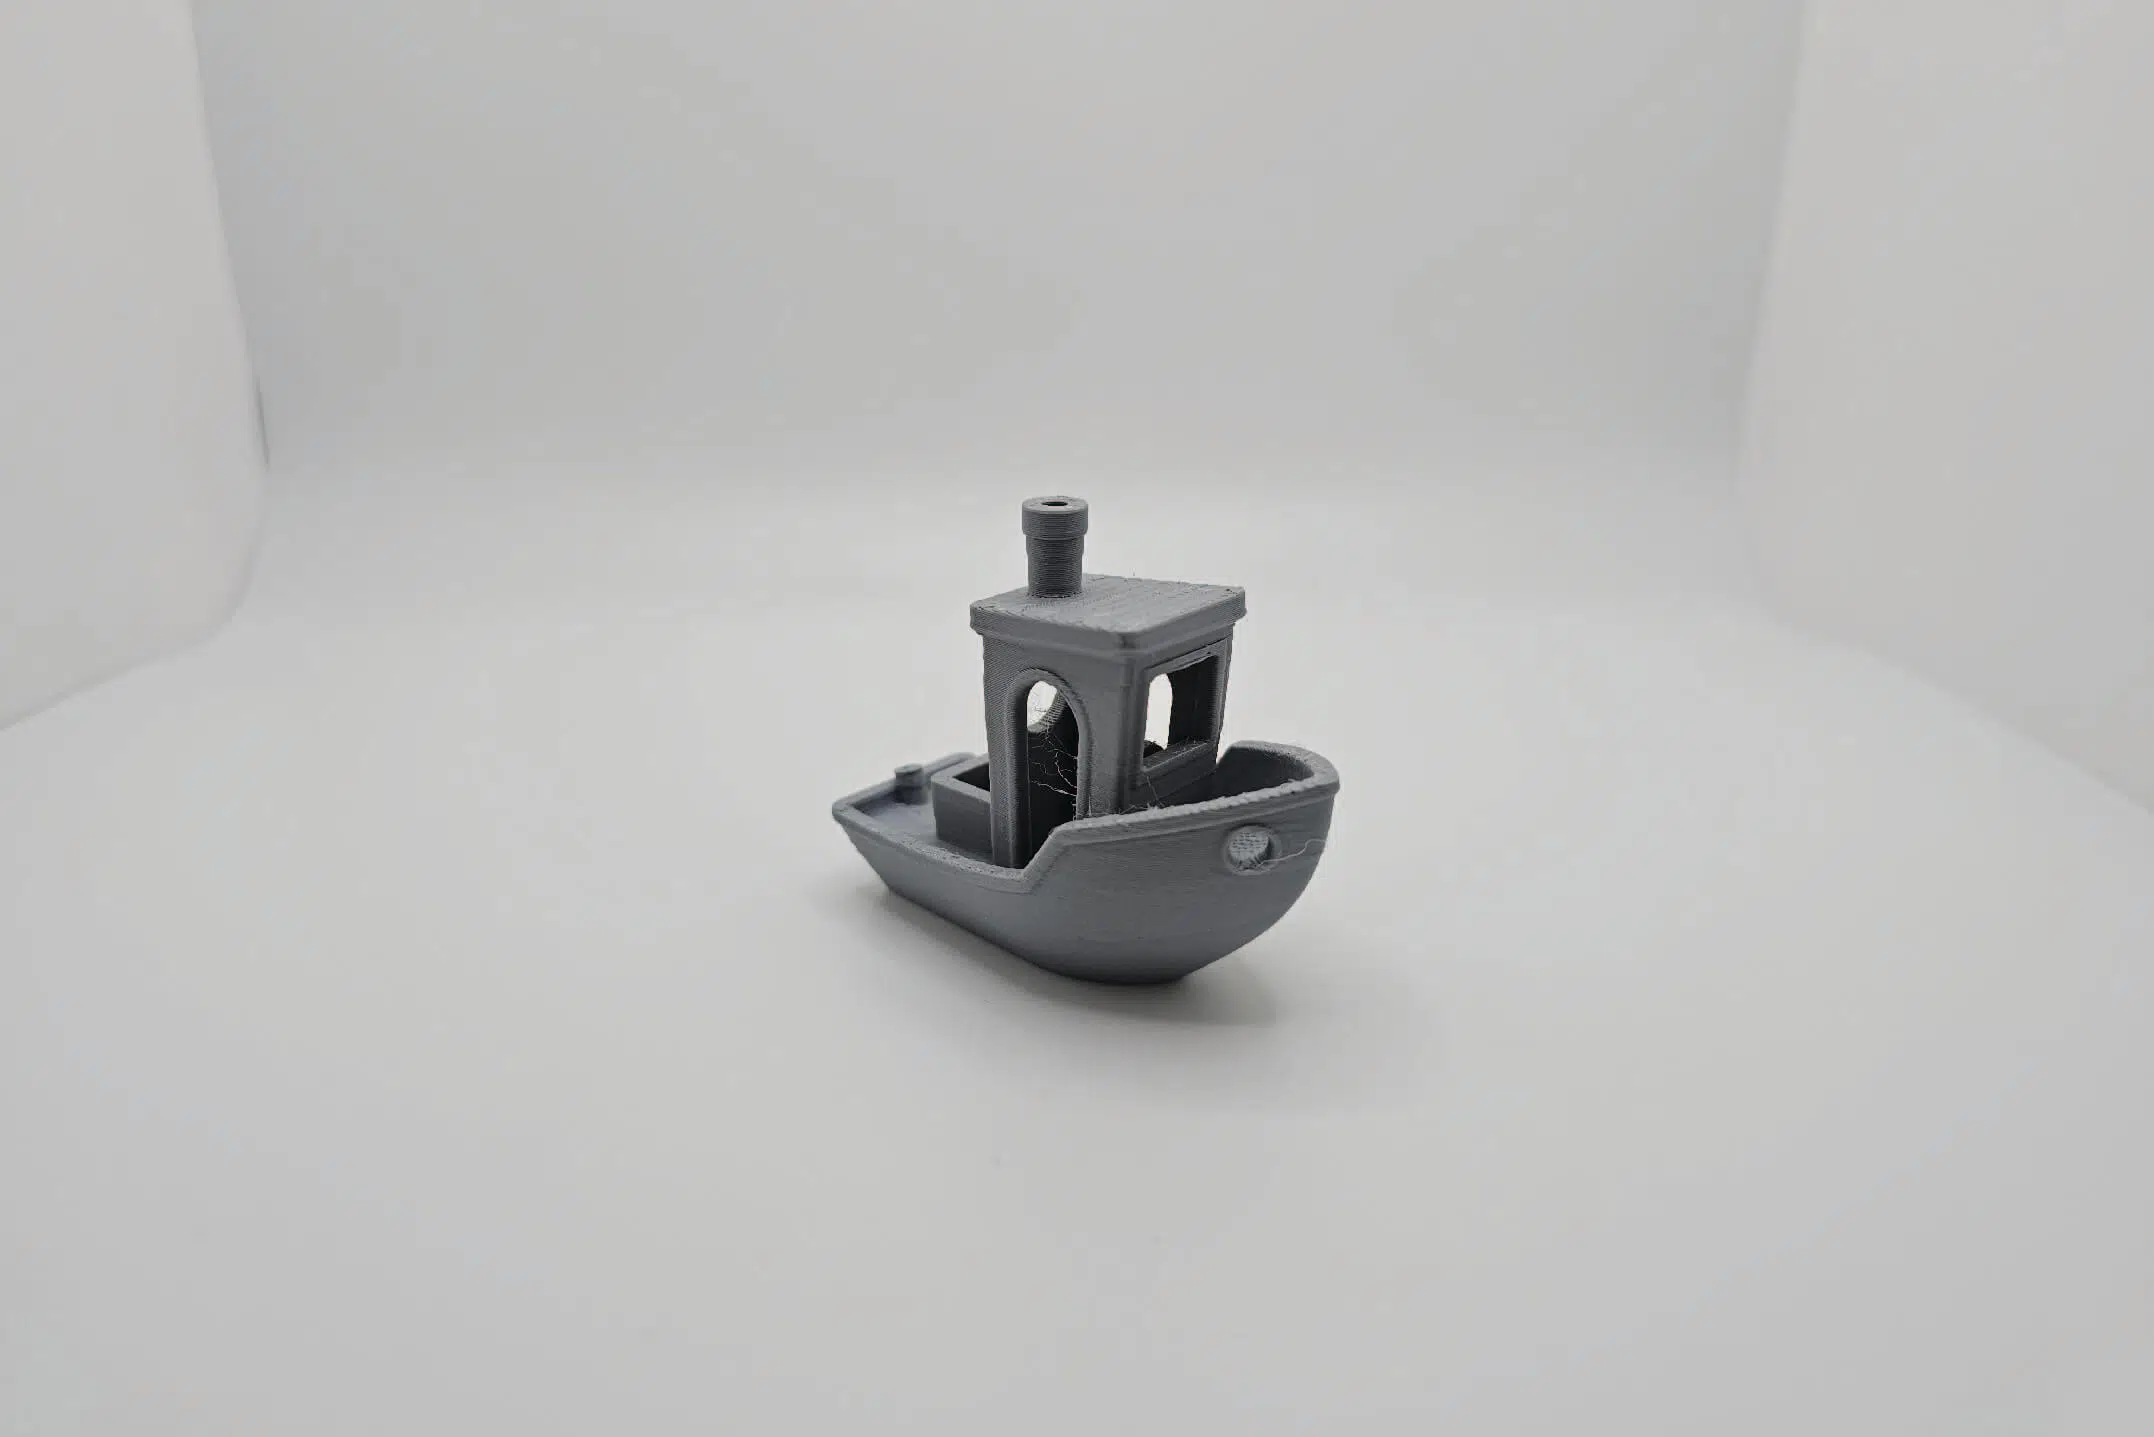
Loading filament is simple, as the X1 Carbon automatically recognizes PLA or carbon fiber nylon and heats the nozzle to the correct temperature. Once the extruder purges, select a preloaded Benchy or cube file. The initial test print completes in 15 to 25 minutes and shows the machine's speed and precision.
We think anyone interested in 3D printing can complete the entire build process. After all, there is no need for manual leveling or slicer configuration because all calibrations and tuning happen automatically inside the machine.
If anything, areas for improvement include cable routing for the AMS, which can feel tight in the foam inserts. The calibration sequence, though automatic, is relatively loud and takes time. On top of that, a printed quick reference card would help those who prefer a paper guide alongside digital instructions.
Here's a thorough breakdown of the process:
| Stage | Time Estimate | Key Challenges | Tips / Notes |
|---|---|---|---|
| Unboxing and Parts Check | 5 minutes | Confirm every component and accessory is present | Spread all items out and tick them off against the packing list |
| Removing Packaging Materials | 3 minutes | Peel away foam blocks and securing tapes | Work gently around cables and the print head to avoid snags |
| AMS Module Installation | 5 minutes | Mount the Automatic Material System on top | Insert the PTFE filament tube until it clicks into place |
| Spool Holder Attachment | 2 minutes | Fasten the filament spool bracket to the AMS | Tighten screws until snug but avoid over-torquing |
| Touchscreen Connection | 2 minutes | Plug in the FPC cable and seat the display | Line up the connector pins before pressing the screen into its slot |
| Power-Up and Initial Boot | 2 minutes | Switch on the printer and complete the startup cycle | Wait for the home screen prompt before moving on |
| Wi-Fi Link and Firmware Update | 5 minutes | Join your network and apply any firmware patches | Use a reliable Wi-Fi signal; updates download faster when signal is strong |
| Printer Registration | 3 minutes | Bind the unit to your Bambu Lab account via the app | Open the Bambu Handy app and scan the QR code shown on the printer's display |
| Auto Calibration Sequence | 10 to 15 minutes | Run bed-leveling and flow-rate tuning routines | Stand by to listen for calibration noises; it's normal to hear clicks and moves |
| Filament Loading | 3 minutes | Insert spools into the AMS and feed filament | Trim the filament end at a sharp angle for smoother entry into the feeder |
| First Test Print | 10 to 25 minutes | Print the demo model to verify setup | Choose the preloaded Benchy or calibration cube and watch the first layer to confirm adhesion and levelness |
Our Initial Impressions on Build Quality
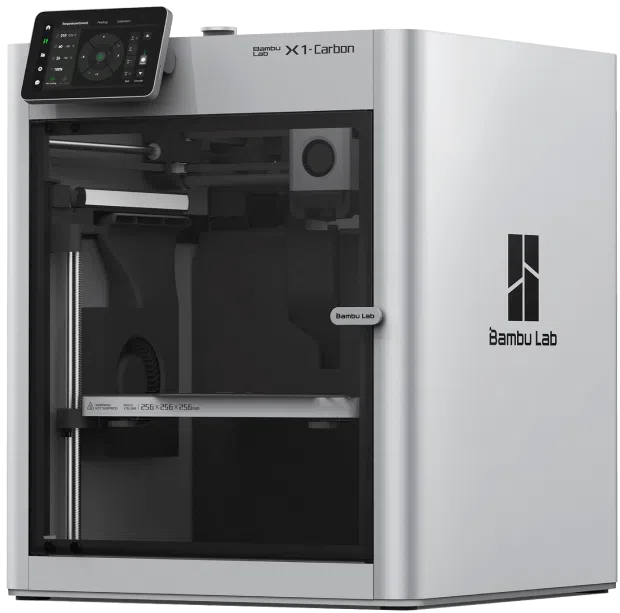
The Bambu Lab X1-Carbon makes a stellar first impression with its solid construction. Its steel frame and carbon-reinforced components give it a level of stability not often encountered in 3D desktop printers. In fact, all panels are well-fitted without loose sections or alignment problems, which shows Bambu Lab's attention to detail in their manufacturing.
This 3D printer's enclosure is made of metal, making it long-lasting and suitable for insulation. Thanks to magnets, the glass door closes cleanly and firmly, making everything feel properly engineered. Moreover, this helps keep internal temperatures consistent, resulting in fewer print errors.
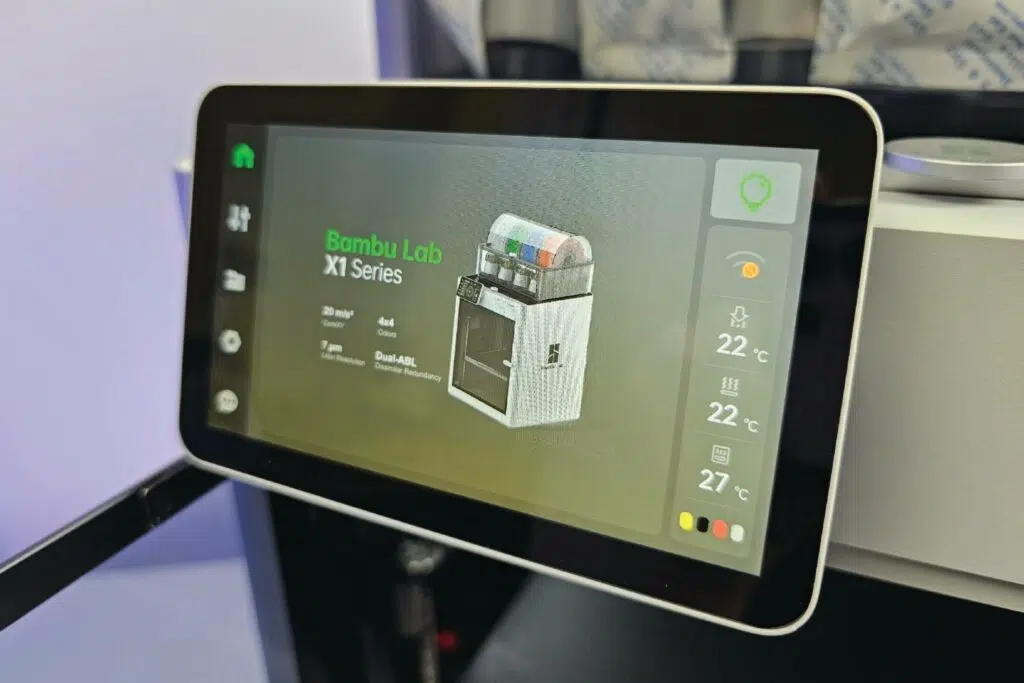
It's also worth noting that the machine's touchscreen control panel is bright, responsive, and mounted in a manner that avoids flex or wobble. Meanwhile, the machine's internal parts are secured in a metal housing, which contributes significantly to its longevity and print reliability.
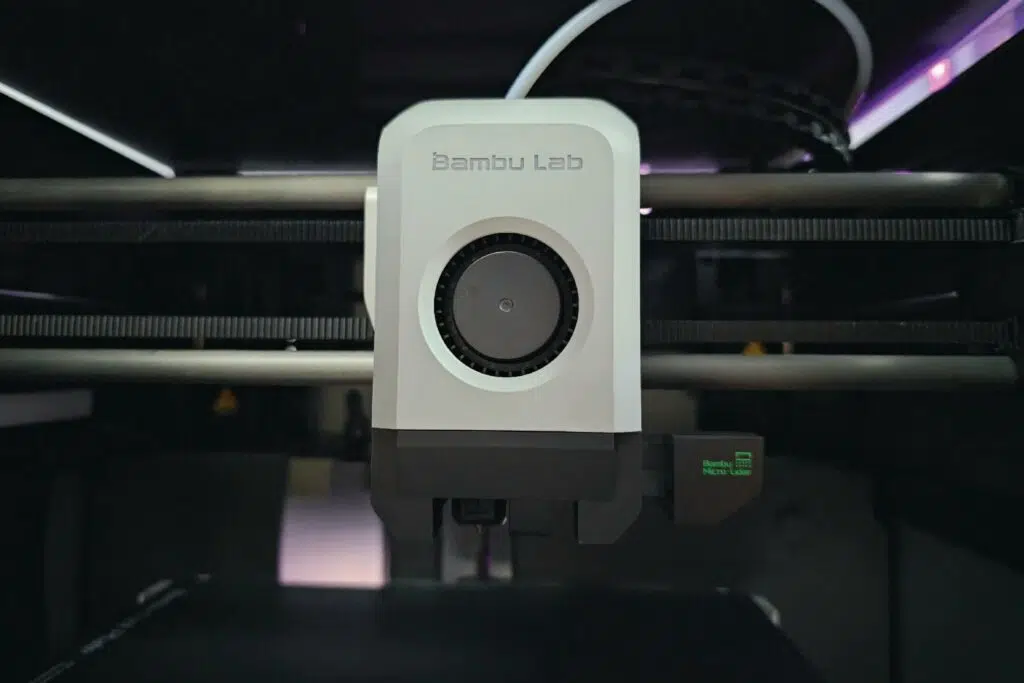
Unfortunately, not everything about the X1-Carbon feels premium. For one, the filament outlet is tucked away awkwardly behind the unit and is popularly known among enthusiasts as the "poop shoot." Furthermore, fan noise during calibration and filament loading is noticeable and might be distracting in quieter rooms.
Nevertheless, even with these small drawbacks, the X1-Carbon stands out for its build. It's a serious machine that feels engineered for long hours and demanding jobs.
Design and Technical Specifications
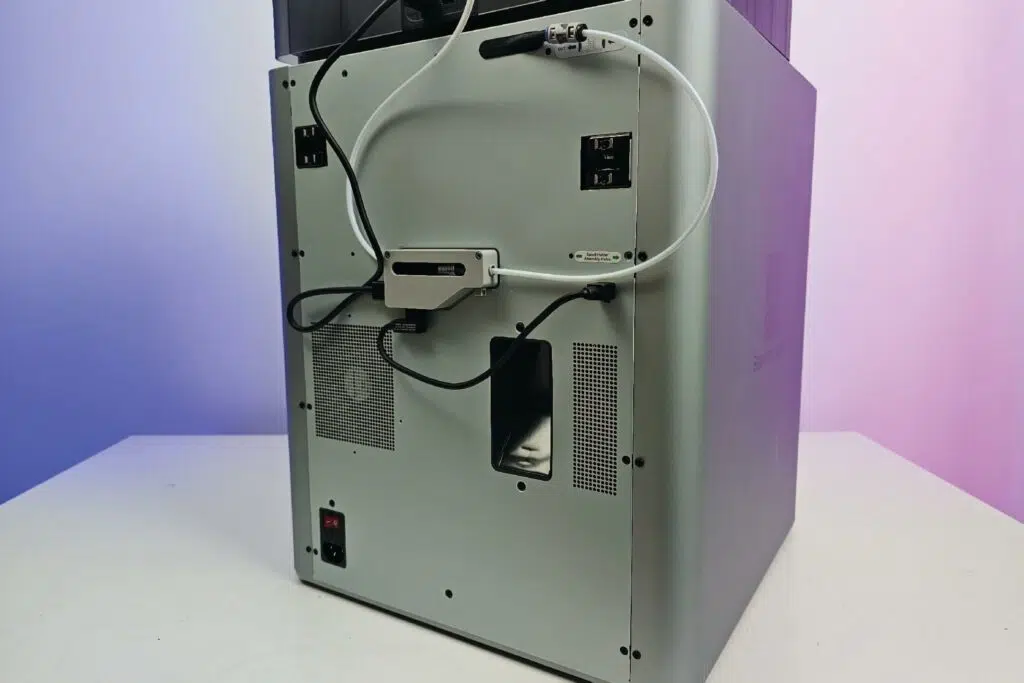
The X1-Carbon fits neatly on a standard desk or workbench at just over half a square meter of footprint. Its enclosed chamber keeps heat contained without needing a dedicated enclosure, and its compact proportions mean it won't dominate a shared workspace. Also, neat freaks won't have to worry as cable management clips keep unsightly wiring tidy behind the unit.
The core structure combines a reinforced steel chassis with carbon-fiber panels. This blend of metal and composite rigidifies the frame, minimizing vibrations during high-speed motion.
Given its price tag, it shouldn't be surprising that the 3D printer's outer panels are made out of powder-coated metal and tinted tempered glass. While this is somewhat common today, it was one of the X1-Carbon's greatest novelties when it first released.
Visually, we think the printer channels an Apple-inspired minimalism. Smooth surfaces, rounded corners, and a restrained color palette allow it to blend seamlessly alongside Mac desktops and iPads. The large touchscreen sits flush with the front face, reinforcing the impression of a single, unified device.
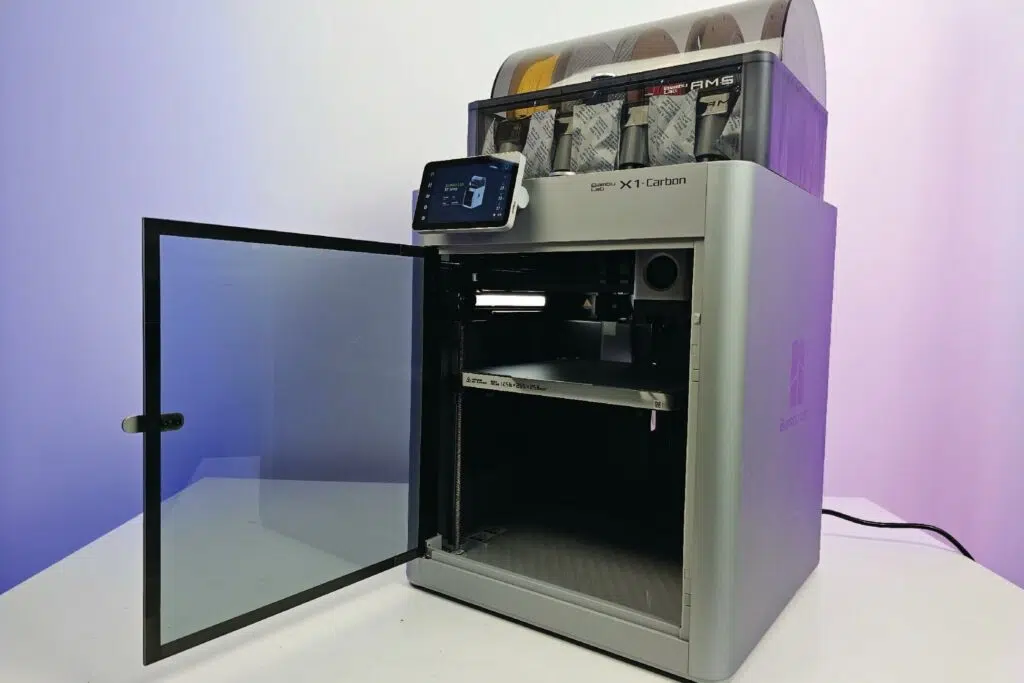
The printer maintains its sleek profile with the AMS attached, albeit with added bulk. The AMS unit anchors cleanly on top, matching the color and finish of the 3D printer's body. Rather than appearing as an afterthought, it looks like a genuine extension of the 3D machine's silhouette.
Bambu Lab Automatic Material System (AMS)
The Automatic Material System (AMS) is a modular filament feeder designed exclusively for the X1-Carbon.
It mounts above the printer, locking into place and matching the printer's finish and styling. It aims to automate material handling, letting the 3D machine switch between up to 4 filaments without user intervention.
Each of the four spring-loaded spool slots inside the AMS holds a separate filament. PTFE tubes guide each filament from its spool into the printer's extruder module (poop shoot).
When a change is required, the 3D printer's slicer profile sends a command to the AMS, which retracts the present filament and automatically feeds out the next one. After this, the extruder is purged to prepare the new material.
Built-in sensors in each spool bay detect filament presence and monitor tension during printing. If a spool runs low or jams, the AMS pauses the job and alerts the user via the touchscreen or mobile app. This feedback loop makes sure the X1-Carbon never becomes dry mid-print and maintains consistent extrusion pressure throughout complex, multi-color, or multi-material jobs.
The connection between the AMS and the X1-Carbon is plug-and-play. Two click-in cables, one for data and one for power, link the systems, and the printer's firmware recognizes the AMS instantly. From that point on, material changes, filament feeds, and error checks occur seamlessly in sync with the 3D printer's motion without additional setup steps.
While the AMS adds roughly 5 kg and a few centimeters of height to the X1-Carbon, its benefits outweigh these considerations. The AMS turns the X1-Carbon into a hands-free, multi-material powerhouse by eliminating manual filament swaps and incorporating proactive error handling.
Key Technical Specifications
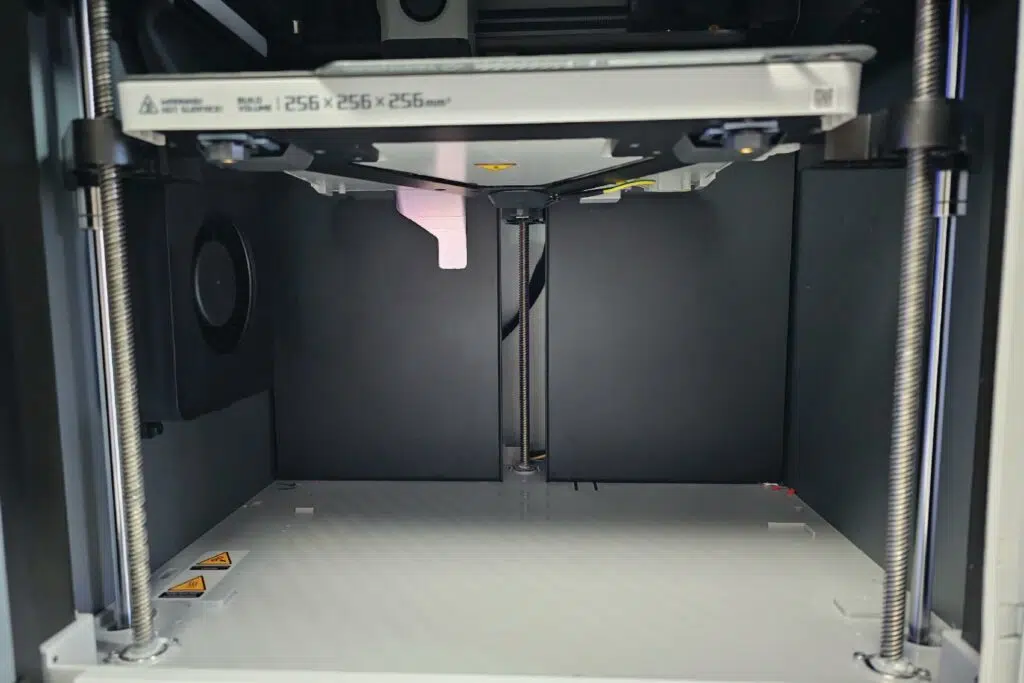
- ▪Build Volume: 256 mm x 256 mm x 256 mm
- ▪Printer Size: 389 mm x 389 mm x 590 mm
- ▪Weight: 14kg
- ▪Enclosed Print Area: Yes
- ▪Display: 5-inch 1280 × 720 Touch Screen
- ▪Storage: 4GB EMMC and Micro SD Card Reader
- ▪Control Interface: Touch Screen, APP, PC Application
- ▪Drive System: CoreXY (FDM)
- ▪Connectivity: Wi-Fi, microSD
- ▪Internal Camera: 1920 × 1080
- ▪Build Plate Surface: Bambu Cool Plate, Bambu Engineering Plate Included
- ▪Compatible Build Plates: Cool Plate, High Temperature Plate, Textured PEI Plate, Smooth PEI Plate, Dual-Texture PEI Plate
- ▪Maximum Build Plate Temperature: 110℃@220V, 120℃@110V
- ▪Bed Leveling: LIDAR / Force Gauge Automatic Mesh Leveling
- ▪Maximum XY Accuracy: 0.0019mm
- ▪Minimum Z Height: 0.00125mm
- ▪3rd Party Filament Support: Yes
- ▪Operating System: Windows, MacOS, Linux
- ▪Supported Slicers: Bambu Studio, Orca Slicer, Cura, PrusaSlicer
- ▪Supported File Types: STL, OBJ, 3MF
- ▪Max Hotend Temperature: 300 ℃
- ▪Supported Filaments: PLA, PETG, TPU, ABS, ASA, PVA, PET, PA, PC, Carbon/Glass Fiber Reinforced Polymer
- ▪Filament Diameter: 1.75 mm
- ▪Hotend: All-Metal
- ▪Max Speed of Tool Head: 500 mm/s
- ▪Max Acceleration of Tool Head: 20 m/s²
- ▪Nozzle: 0.4 mm Hardened Steel Included
- ▪Electrical Requirements: 100-240 VAC, 50/60 Hz, 1000W@220V, 350W@110V
Great for Newbies
The X1-Carbon makes it easy for anyone to start 3D printing without prior experience. Its clear and responsive touchscreen walks users through basic tasks like loading a file, starting a print, or checking printer status. There are no confusing menus or technical setup processes to deal with.
The Bambu Handy app adds even more convenience. You can monitor prints, view a live feed, pause or resume jobs, and get alerts directly on your phone. This gives beginners the freedom to walk away from the printer without losing control of the job.
The X1-Carbon also connects to Bambu Studio and MakerWorld, making accessing thousands of printable models simple. With a few clicks, everything from toys to tools can be found, sliced, and printed. You do not need design experience or third-party software to start printing useful or fun items.
Automatic calibration and filament handling remove common points of failure. The 3D machine adjusts itself before each print and handles tasks like purging or checking bed level without additional user input. This reduces time on trial and error, which can frustrate new users.
The X1 Carbon is not only beginner-friendly but also fast and reliable. For anyone curious about 3D printing, it removes the guesswork and delivers results quickly. It's a solid entry point for personal projects, home use, or small-scale product development and manufacturing.
Prints Really Quickly
The Bambu Lab X1 Carbon is fast by desktop 3D printing standards. It offers multiple print speed modes, with its standard settings already outperforming most hobbyist-level printers.
You can push it further using Sport or Ludicrous mode, but speed comes at a cost. At higher speeds, surface quality can suffer, and the chance of failed prints or wasted filament increases.
Even in its balanced mode, the X1 Carbon moves quickly through most projects. First layers are laid down in minutes, and complete jobs that used to take hours on older machines often finish in half the time. This speed is beneficial when 3D printing functional parts or fast prototypes on tight timelines.
That said, it's not the fastest printer available. There are industrial machines or speed-focused platforms that might edge it out in raw print time. However, for a desktop machine that emphasizes reliability and automation, the pace is more than acceptable.
For casual users or those with some experience, the X1 Carbon delivers refreshing speed without being reckless. It prints fast enough to keep projects moving but not so fast that quality becomes a gamble. That special middle ground makes it a decisive option for many enthusiasts.
Easily Monitor Your Projects in Real-Time
One of the best features of the X1-Carbon is the 1080p camera inside its enclosure, which gives you a live view of your prints. The camera feed appears on the 5-inch touchscreen and streams to the Bambu Handy mobile app, letting you check progress from anywhere. As a result, it's very easy to print issues before they become failures.
For content creators, the built-in camera doubles as a recording tool. Time-lapse sequences capture layer depositing for polished videos, which is ideal for social media or project portfolios.
The system writes footage straight to an inserted SD card in small segments, making it easy to stitch together highlights of your print jobs. More importantly, anyone can review recordings after a job is complete by removing the SD and accessing the video files from a desktop or phone.
Because of this, it's not challenging to analyze print performance, troubleshoot layer adhesion or extrusion inconsistencies, and share detailed 3D printing footage with friends or online forums.
To sum things up, the X1 Carbon's camera setup enhances practical monitoring and creative documentation. Casual users gain peace of mind knowing they can look at a screen or app to confirm everything runs smoothly. Meanwhile, seasoned creators can benefit from ready-to-use video assets that showcase the unique capabilities of their 3D prints.
Print Performance and Quality
The Bambu Lab X1 Carbon delivers consistently sharp, high-quality 3D prints that rival more expensive machines. Much of this consistency comes from its advanced sensors and smart calibration tools. The built-in Lidar scanner checks bed leveling and first layer thickness with accuracy that manual methods simply can't match. This makes every print more predictable, cutting down on early failures.
AI Failure Detection plays a significant role in quality assurance. The system monitors the print in real-time and can pause jobs if it sees problems like spaghetti or shifting layers. Combined with the onboard camera and filament monitoring, it creates a reliable safety net for users who want peace of mind during longer or unattended prints.
The machine's motion system is dependable and refined, helping keep layer lines tight and surface textures clean. Even at higher speeds, the X1 Carbon holds its detail well. Intricate parts, overhangs, and bridging are handled with control that's rare in desktop-class machines.
With all that being said, though, there's still room for improvement. The AI detection can occasionally misjudge minor issues, prompting unnecessary pauses. Lidar calibration, while accurate, is limited to first-layer checks and lacks contribution to any mid-print adjustments. A next-generation model could benefit from expanded use of real-time scanning or adaptive corrections as the print progresses.
We believe the X1 Carbon sets a much higher bar for desktop consumer-level 3D print quality. It incorporates cutting-edge hardware with innovative features that make professional-quality results more accessible, even to individuals without deep technical knowledge.
Test Prints and Benchmark Results
| Test Type | Result Highlights | Observations |
|---|---|---|
| Line Width & Gap Test | Clear 0.2 mm lines and gaps; details under 0.1 mm tend to merge | LIDAR-guided flow tuning delivers tight extrusion control. Features below 0.1 mm blur together under high-speed settings. |
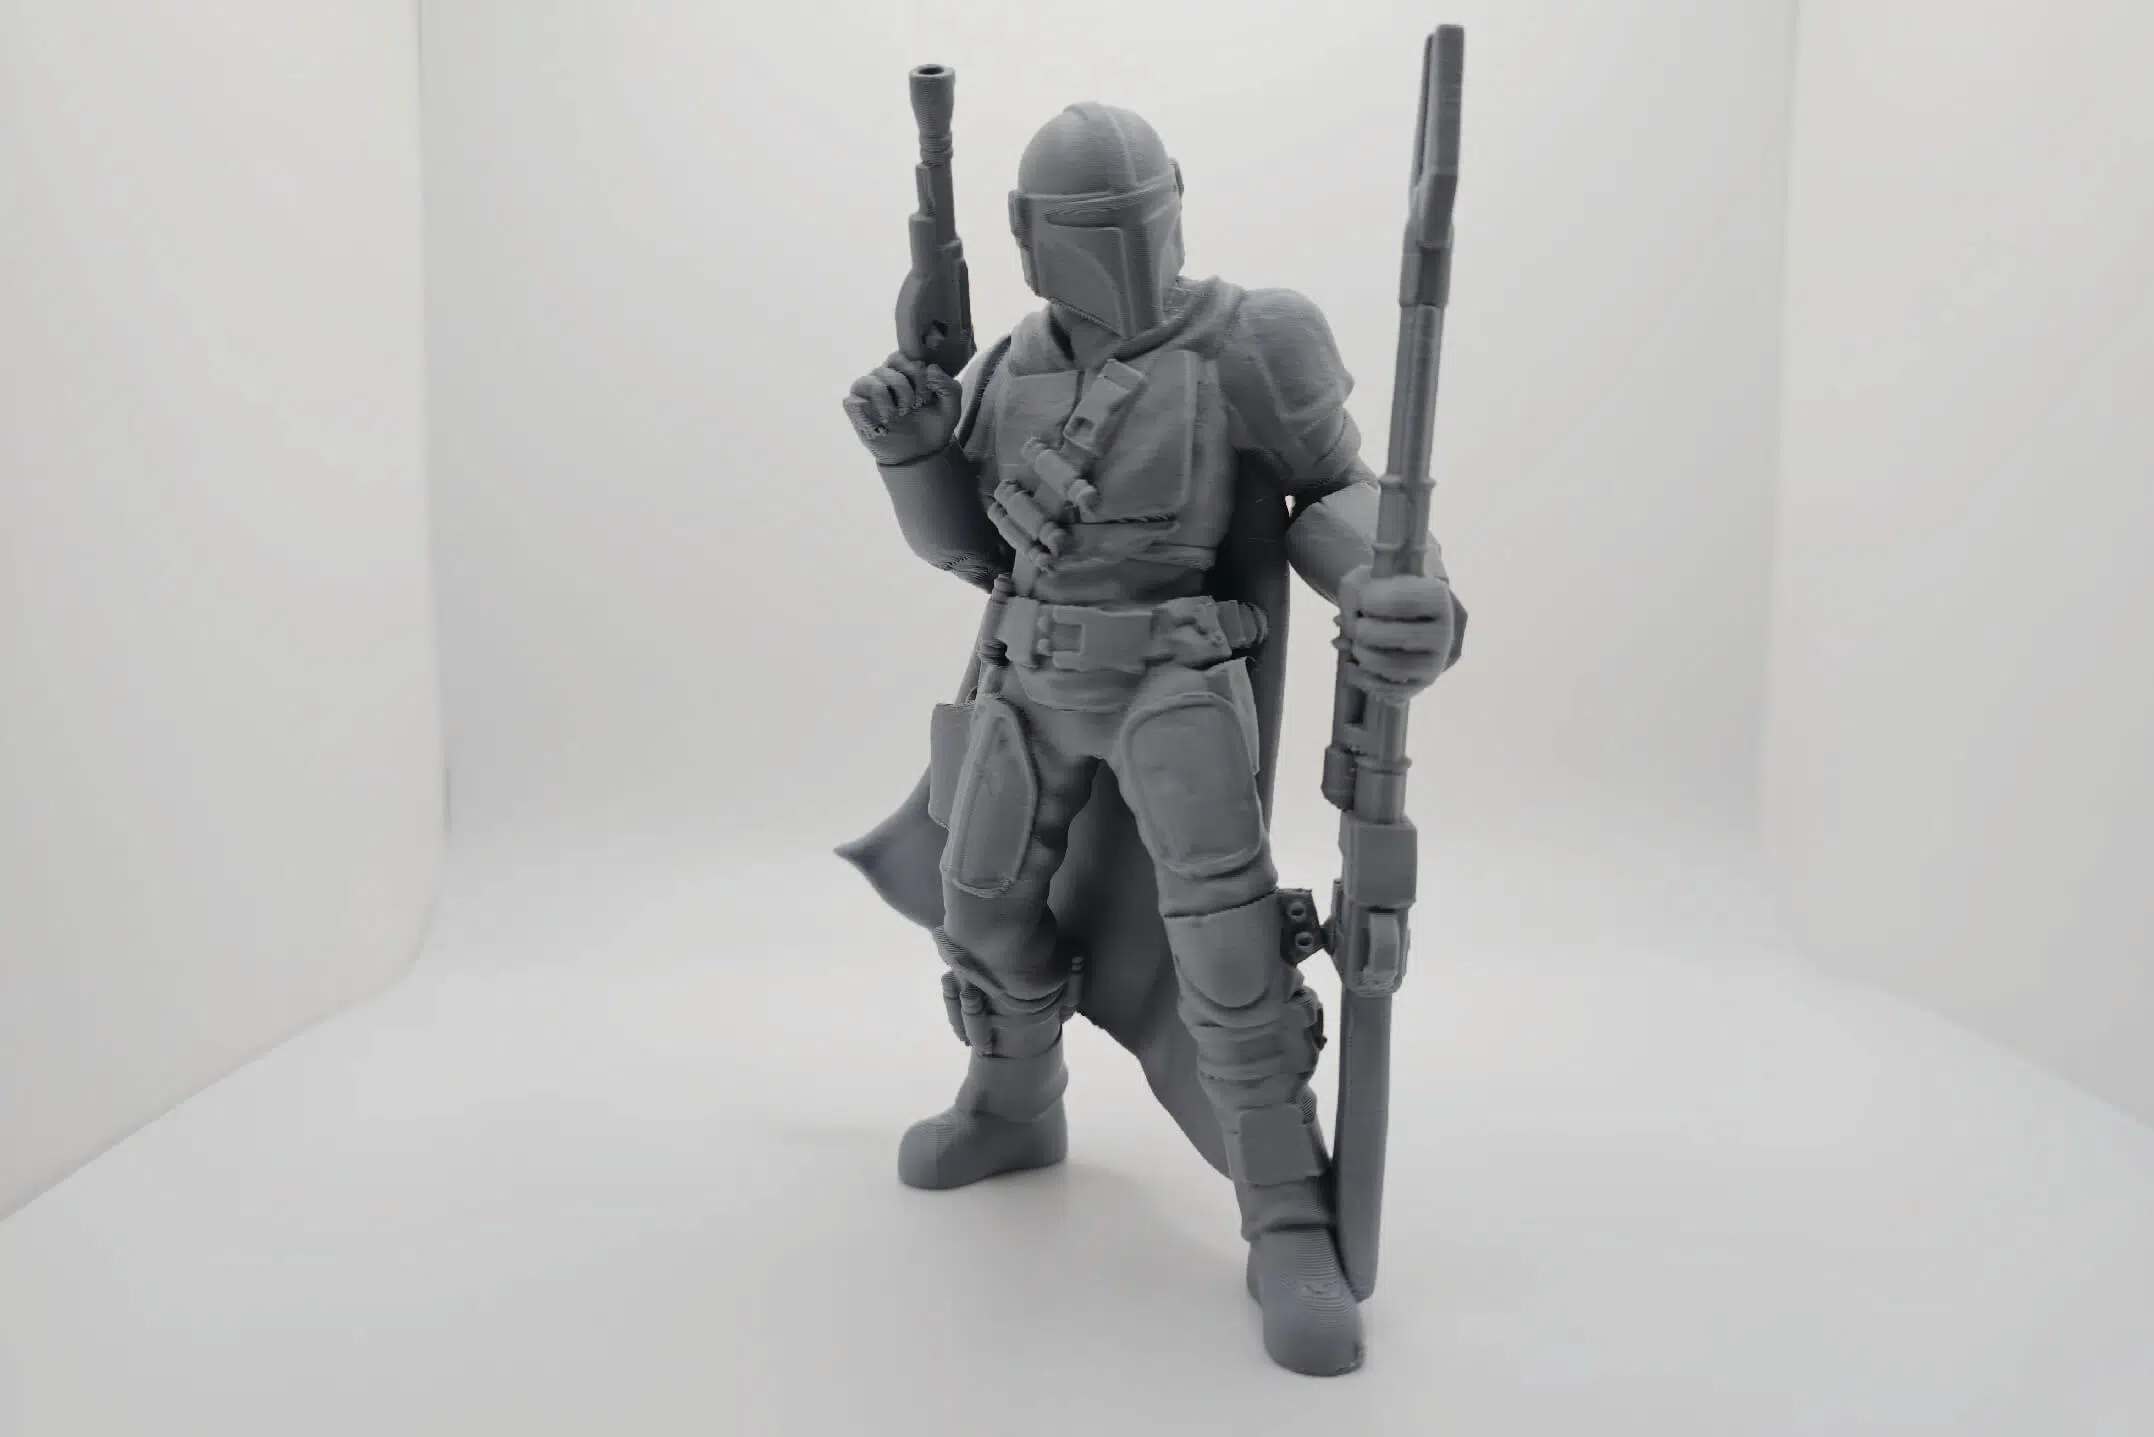
| Miniature Bust | Crisp facial details with barely noticeable layer lines | High-resolution mode and efficient cooling produce sharp edges. Curved surfaces reveal fine surface texture that may need light sanding. |
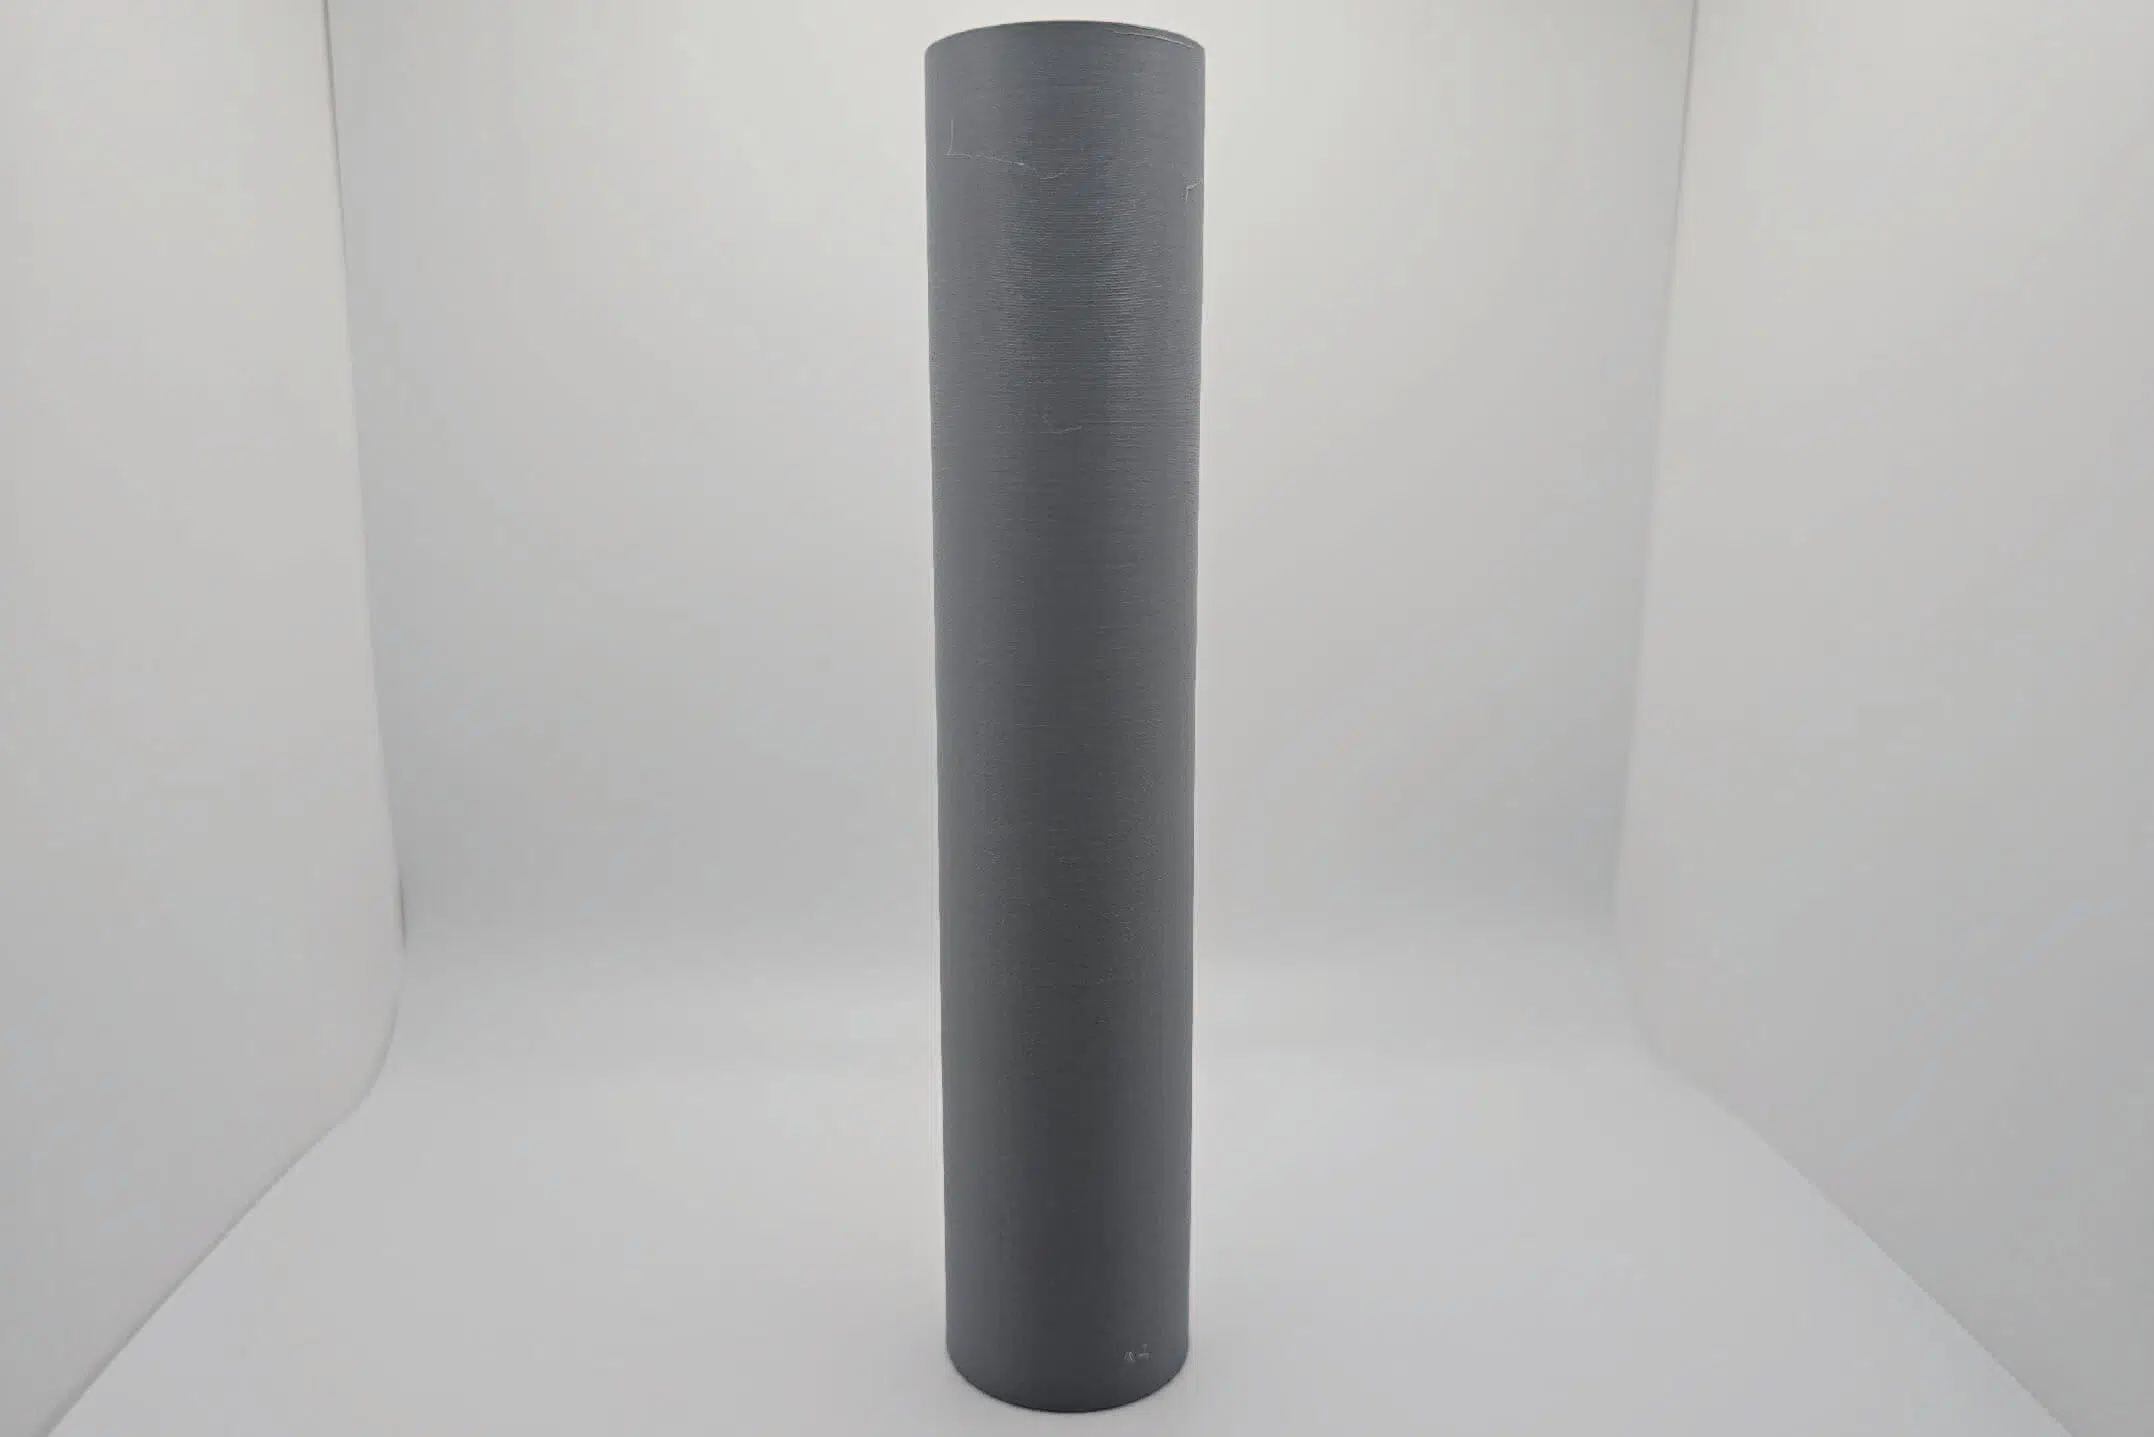
| Print Tower | Uniform layers up to 150 mm tall with no visible stepping | CoreXY mechanics and vibration compensation keep tall prints stable. Extended runs can generate slight warmth buildup at the top. |
| Overhang Test | Clean results to 60 degrees; mild drooping beyond that | Powerful part-cooling fan handles steep angles well. Slowing speeds and boosting fan output improve performance past 60 degrees. |
| Bridging Test | Bridges spanning 25 mm print with minimal droop | Bridges spanning 25 mm print with minimal droop |
| First Layer Adhesion | Rock-solid first layer across PLA, PETG, and ABS | Automated bed leveling plus precise flow calibration ensures each first layer sticks. A textured steel plate option boosts grip. |
| Multi-Material Print | Accurate color shifts with tight alignment; slight purge lines between swaps | The AMS system swaps filaments cleanly. Frequent changes increase purge volume and extend print time. |
| Surface Finish | Smooth, functional surfaces with very faint layer ridges | Fast printing speeds hold surface quality. Light polishing or a quick brush of solvent removes any remaining texture. |
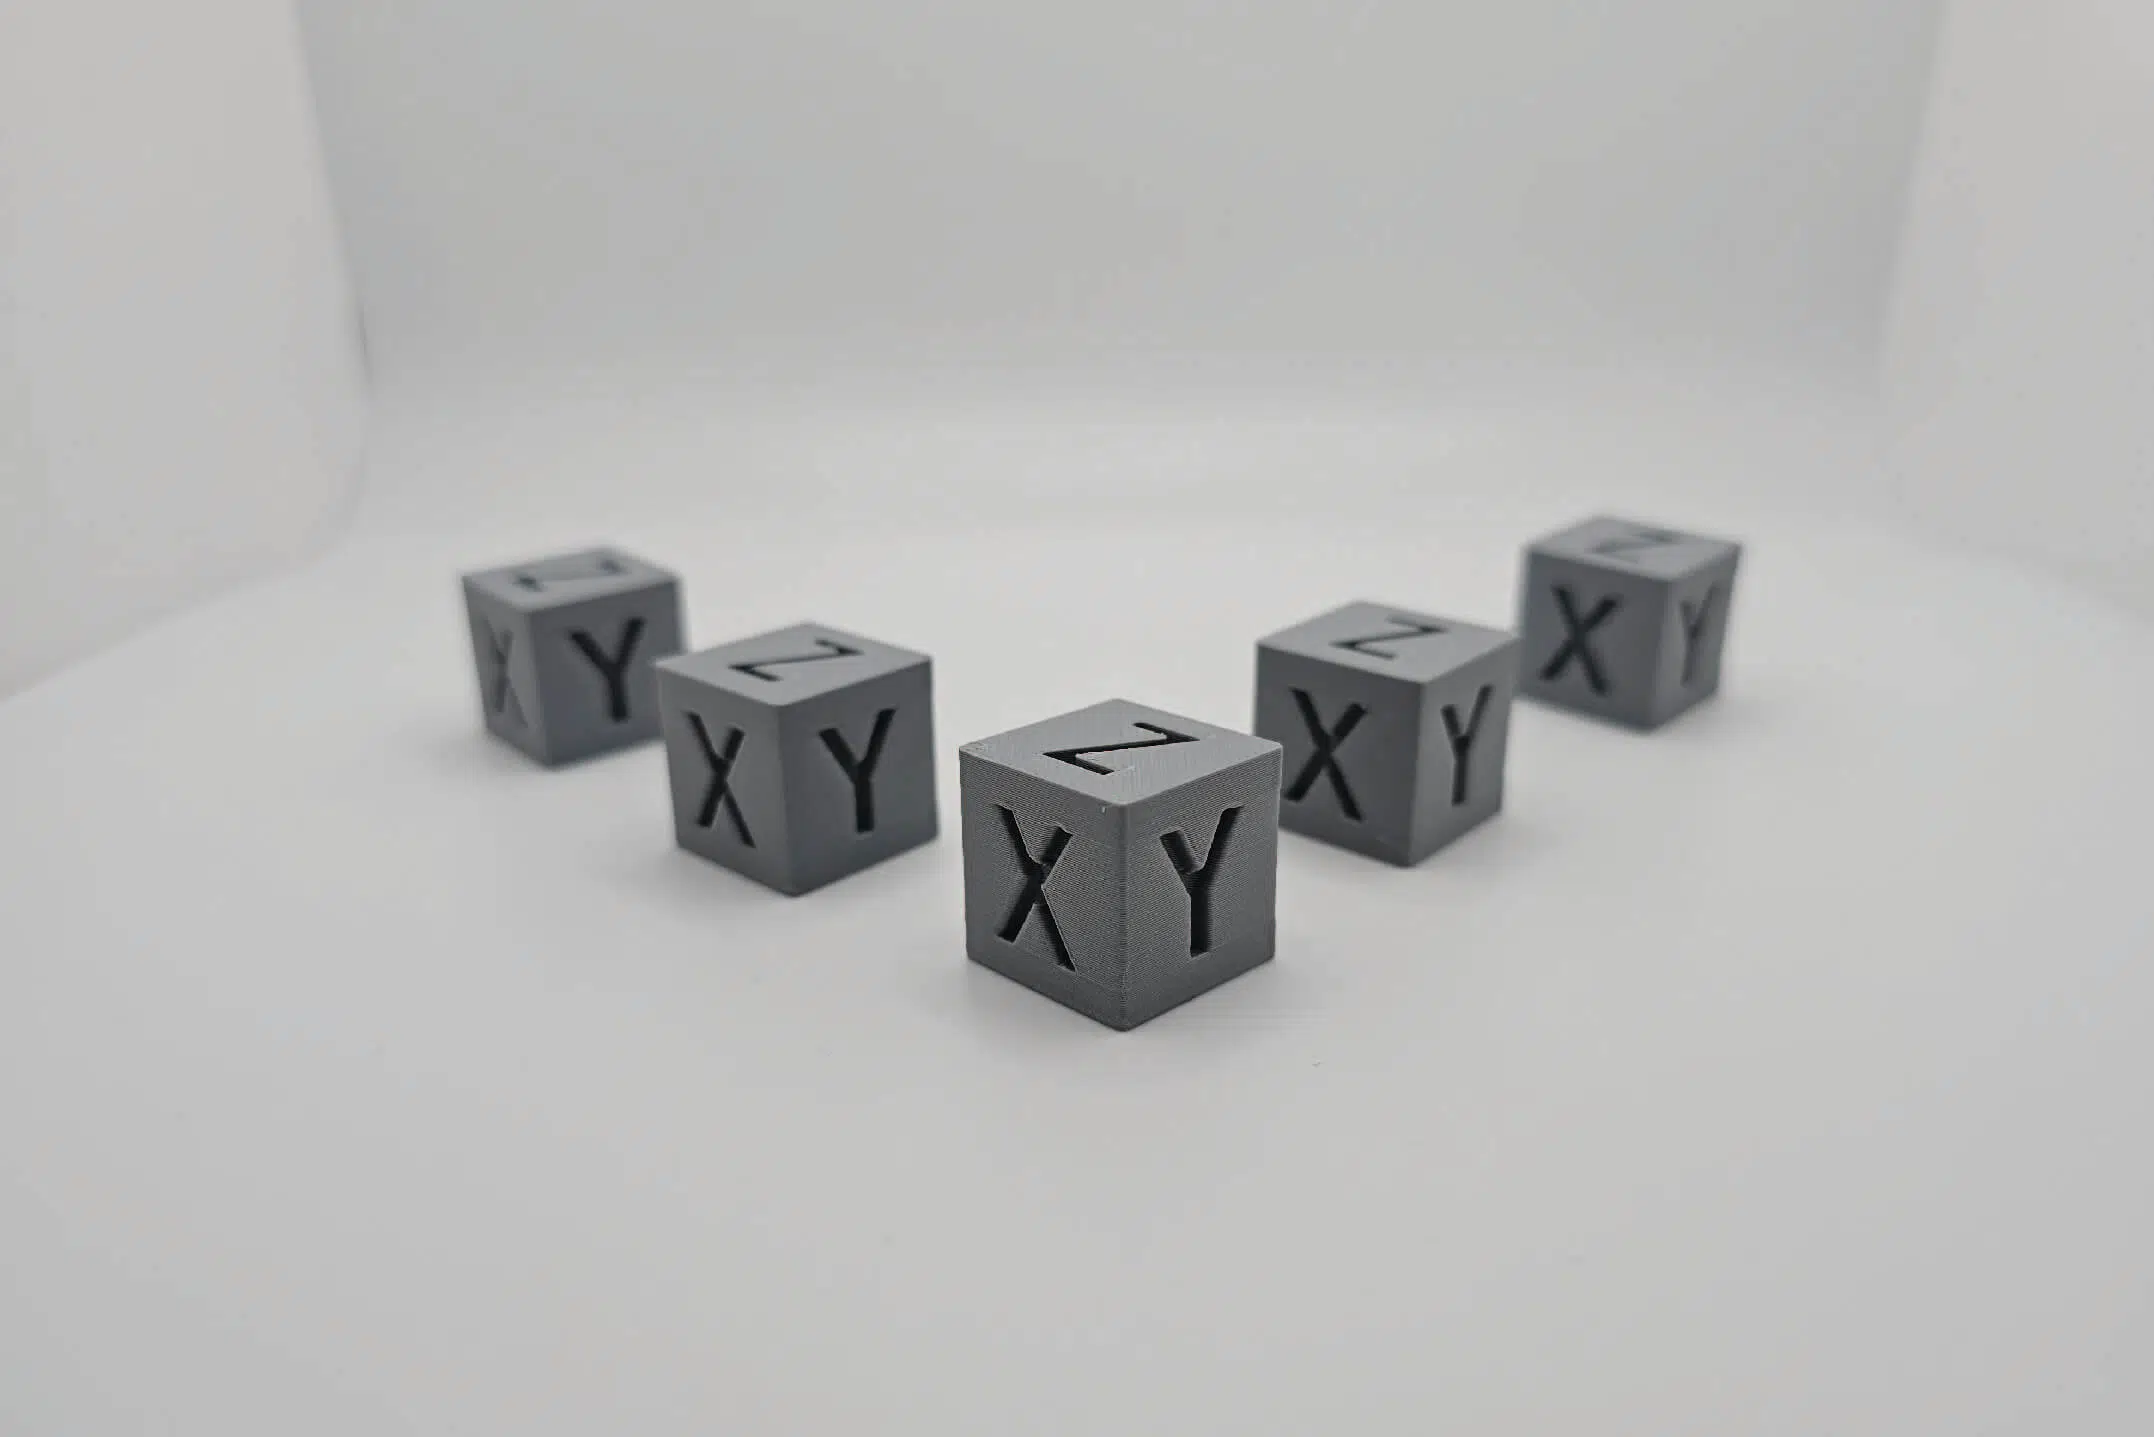
| Dimensional Accuracy | Parts within plus/minus 0.05 mm of target dimensions | Advanced calibration routines lock in precise measurements. Minimal material shrinkage ensures reliable fits for mechanical assemblies. |
| Noise Levels | Quiet operation even when printing at top speeds | Rigid carbon-fiber frame and premium stepper motors keep sound levels low. Ideal for home or office environments. |
Firmware, Tuning, and Calibration
Since the firmware maintenance and calibration of the X1-Carbon are fully automated yet offer deep customization, the 3D machine is a welcoming experience for newcomers. Those new to 3D printing can start without fear of technical hurdles. Simultaneously, enthusiasts can employ the handy tools to fine-tune every aspect, which makes this machine an excellent first printer.
Firmware updates on the Bambu Lab X1 Carbon happen without user intervention. On power-up, the printer connects to Wi-Fi, checks for new releases, and installs them automatically. There is no need to download files or transfer data via USB.
This printer's calibration is handled in much the same way. Every print starts with an automated sequence that uses Lidar and force sensors to level the bed and set the height of the nozzle. In the background, first-layer checks and flow calibration are done simultaneously.
Now, for most applications, tuning is minimal. Bambu Lab provides well-tested profiles covering speeds, temperature, retraction, and cooling. Hence, beginners can rely on the defaults and expect reliable results. At the same time, these presets serve as a good foundation for those who wish to refine print parameters over time.
Advanced users can explore detailed settings. The firmware allows for custom acceleration, jerk, and PID adjustments via Bambu Studio. Experienced creators can even create or import specialized profiles to optimize for exotic materials or extreme printing speeds.
Despite everything mentioned, areas for improvement remain.
For instance, mid-print bed leveling checks could help compensate for temperature drift during long jobs. In addition to that, a more detailed update log in the touchscreen interface would aid troubleshooting.
Possible Upgrades for the Bambu Lab X1 Carbon
The X1-Carbon can be improved with a few targeted add-ons. These enhancements build on the printer's solid foundation, unlocking new levels of performance, reliability, and versatility.
The following three highlight our top upgrade picks for the X1 Carbon. Each item addresses a pain point and integrates smoothly with the existing hardware. Think of them as small investments that deliver significant gains to your every 3D printing project.
Dual AMS Setup with AMS Hub
Adding a second AMS to the Bambu Lab X1 Carbon is one of the most practical upgrades you can make if you're serious about multi-material printing. With two AMS units, you boost your active filament count from four to eight, opening up a plethora of new creative possibilities.
Upgrading the X1-Carbon with a second Automatic Material System starts by acquiring an AMS Hub and an extra AMS unit. For those wondering, the hub replaces the stock filament buffer and links both modules to the printer. It comes with everything needed for installation, like power and data cables, PTFE tubing, and mounting hardware.
Aesthetics-wise, this upgrade fits seamlessly with the original design, so there's absolutely no need for drilling, adapters, or third-party mods.
Installing the second AMS is simple. You stack it on top of the first, connect it to the hub, route your tubing properly, and power everything back on. The X1-Carbon detects both modules automatically, and you can handle all spools directly via Bambu Studio or the Handy app.
Once it's up and running, the system handles filament switching independently. You can set up prints that switch between standard PLA, support materials, or even specialty filaments without lifting a finger. It's especially useful for longer print jobs or when printing with soluble supports.
Double-Sided PEI + PEO Build Plate
Swapping the stock build surface with a double-sided PEI+PRO plate improves print adhesion across a range of filaments. It makes print removal far easier, primarily for larger parts or jobs requiring consistent plate grip.
This plate upgrade almost always includes a smooth and textured side, letting you pick based on the surface finish you want.
The smooth side gives a clean, glass-like bottom layer, while the textured side boosts adhesion for tricky materials like PETG or TPU. No special adhesives or sprays are necessary when the surface is maintained properly.
So what's the best part? Installation is quick. Simply align the plate with the bed, make sure it's flat, and the magnetic backing locks it into place. It's flexible too, so removing finished prints is simple, just flex the plate and your print pops off.
Anti-Vibration Feet
Adding a set of anti-vibration feet is one of the easiest upgrades you can make to the Bambu Lab X1-Carbon, and the benefits are immediate. These small pads or mounts go under the printer and help absorb movement or vibrations caused by rapid print head and bed shifts.
The result is reduced noise, less mechanical stress on the surface beneath the printer, and even minor improvements in print quality, especially during longer prints or high-speed modes.
Most anti-vibration feet are inexpensive and widely available. They take just a few seconds to put in place and can be removed or replaced easily. In fact, some creators have even started using mouse pads as anti-vibration feet, and from our experience, they're exceptionally good.
Maintenance, Upkeep, and Reliability
Keeping the Bambu Lab X1-Carbon operating at its best takes just a few quick tasks. Regular attention prevents issues and maintains consistent results:
- ▪Clean the Magnetic Build Plate: After every print, remove the steel plate and wipe both sides with alcohol. This clears leftover filament and keeps the first layer sticking properly.
- ▪Check the Nozzle and Extrusion Path: Before loading new filament, check the nozzle for buildup. Use the included pin tool to clear out blockages so filament feeds cleanly.
- ▪Inspect PTFE Tubes and Filament Guides: Check the tubing for wear or kinks every ten spools or so. Damaged tubes can cause jams, so replace them when needed.
- ▪Lubricate Rails and Lead Screws: After around fifty hours of print time, apply a light coat of machine oil to the X, Y, and Z rods and screws. This reduces friction and helps maintain smooth, accurate movement.
- ▪Tighten Frame Screws and AMS connections: Once a month, go over the printer and make sure all frame bolts, Bambu Bus cables, and AMS plugs are snug. Loose parts can lead to vibration and connection issues.
Common Issues with the Bambu Lab X1 Carbon
The X1 Carbon is famed for reliability, but like any 3D printer, a few recurring issues can appear with regular use:
- ▪First Layer Inconsistency: Rerun the bed leveling if your first layer isn't laying down cleanly. Debris on the build plate or uneven filament flow can cause it to be off.
- ▪Clogged Nozzle or Extruder Jams: Hardened filament can collect near the nozzle over time. Use the cleaning pin and purge old filament thoroughly during swaps.
- ▪Filament Feed Errors from AMS: If filament stops mid-print, check the AMS for tangled spools or worn PTFE tubing. Keeping the path smooth is key to error-free printing.
- ▪Noisy Operation or Shaky Prints: Check the frame bolts and linear rails if the printer starts getting loud or your layers begin to misalign. A quick tune-up usually solves the issue.
Comparisons with Alternative Models
This section compares the Bambu Lab X1 Carbon against four awesome printers, looking at their speed, ease of use, print quality, pricing, setup process, and long-term upgrade potential:
| Bambu Lab X1 Carbon | Creality K1 | Prusa MK4 | Anycubic Kobra Max | FlashForge Creator 4 | |
|---|---|---|---|---|---|
| Build Volume | 256 × 256 × 256 mm | 300 × 300 × 300 mm | 250 × 210 × 220 mm | 400 × 400 × 450 mm | 400 × 350 × 500 mm |
| Print Speed | Up to 500 mm/s | Up to 600 mm/s | Up to 200 mm/s | Up to 180 mm/s | Up to 200 mm/s |
| Assembly Complexity | Fully assembled, auto calibration | Fully assembled, dual auto-leveling | Semi-assembled; manual calibration | Semi-assembled, auto bed leveling | Semi-assembled, auto bed leveling |
| Price Range | $1,499 – $1,879 | $389 – $599 | $999 – $1099 | $429 – $649 | $10,999 |
| Community Support | Active online community; official support | Large user base; Creality Wiki & forums | Strong open-source community; Prusa forums | Moderate; official forums & Facebook groups | Professional support, niche user base |
| Customization & features | AI failure detection, multi-color AMS, CoreXY, carbon rods, dual-sided flex plate, 1080p camera, carbon filter | AI camera, CoreXY, ceramic heater, dual-gear extruder, flexible PEI plate, Creality OS cloud sync | Modular design, Input Shaper, color LCD, silent operation, third-party firmware & hardware support | LeviQ auto-leveling, large build volume, touchscreen, budget components, limited third-party customization | Dual extruders, enclosed chamber, high-temp filament support, touchscreen, pro/industrial focus |
Creality K1
The Creality K1 is often seen as a direct competitor to the X1-Carbon, especially regarding print speed and price. It has a comparable CoreXY motion system and fast print capabilities, but it trades off some of the polish and refinement that Bambu delivers.
In day-to-day use, the K1 Max feels less "mature".
Its slicer and interface aren't as smooth, and it lacks the same level of automation for calibration and error handling. You can get great results, but it may take more manual tuning.
The K1 Max is appealing to users who prefer open-source flexibility and don't mind tweaking. However, if you value reliability, polish, and automation, the X1-Carbon still holds the edge.
Prusa MK4
Compared to the Bambu Lab X1-Carbon, the MK4 is slower and lacks the automation and smart features that make the X1 more hands-off. You must spend some of your time on manual tuning and setup, especially if you plan to push the printer to its limits.
That said, the MK4 appeals to tinkerers who want complete control and transparency. But for those who want speed, automation, and minimal fuss, the X1-Carbon still feels like the more advanced and efficient option.
Anycubic Kobra Max
The Anycubic Kobra Max is a large-format FDM printer for users who require substantial build volumes, such as prop makers and cosplay enthusiasts. With a build capacity of 450 x 400 x 400 mm, it allows for the creation of sizable models without the necessity for segmentation.
In contrast, the Bambu Lab X1-Carbon offers a smaller build volume but compensates with advanced features like high-speed printing, automation, and a refined user experience.
The ultimate choice between the two depends on specific user needs: the Kobra Max for large, cost-effective prints, and the X1-Carbon for a more automated and precise printing experience.
FlashForge Creator 4
The FlashForge Creator 4 is built for industrial use, with a large 400 x 350 x 500 mm build volume and an IDEX system for dual-material or mirrored printing. It handles a wide range of materials, including carbon fiber and flexible filaments, thanks to its swappable extruders and a heated chamber that can reach 65°C. Compared to the X1-Carbon, the Creator 4 is a more specialized and less user-friendly printer, as the X1-Carbon focuses on automation, speed, and reliability, making it a better fit for most home or studio setups.
Our Final Take
The Bambu Lab X1-Carbon delivers fast, precise prints with minimal manual effort. Its CoreXY system and automatic calibration keep quality consistent, while the AMS lets creators put up to four filaments at once for hands-free material swaps.
The Bambu Handy app and built-in camera make it easy to monitor and manage prints from anywhere. For around $1,499 to $1,879, it offers near-pro-grade performance in a compact, home-friendly package.
Still, it has areas that need work:
- ▪Print waste builds up in the rear "poop scoop," a small trap behind the bed meant to catch filament purges.
- ▪The scoop fills quickly and can cause a mess or block movement if not cleared regularly.
- ▪AMS tubing is tightly routed and can be difficult to maintain or replace.
- ▪Material purges between color or filament changes use more filament than expected.
- ▪Calibration and cooling cycles produce noticeable noise during operation.
Even with those quirks, the X1-Carbon is a great, accessible 3D printer for both beginners and experienced users. Its speed, automation, and general refinement make it one of the most uncomplicated ways to hop into the increasingly popular art of 3D printing and creation.

Scott Gabdullin is a Canadian entrepreneur, investor, and marketing expert who has successfully combined his passion for technology and innovation with a love for adventure and exploration.
Scott brings 12 years of digital marketing experience and a hardcore work ethic to his new passion for 3D printing. If he is not working on this business, he is likely travelling and Overlanding across North America with his wife and 2-year-old son in their Jeep Rubicon.
Read more →