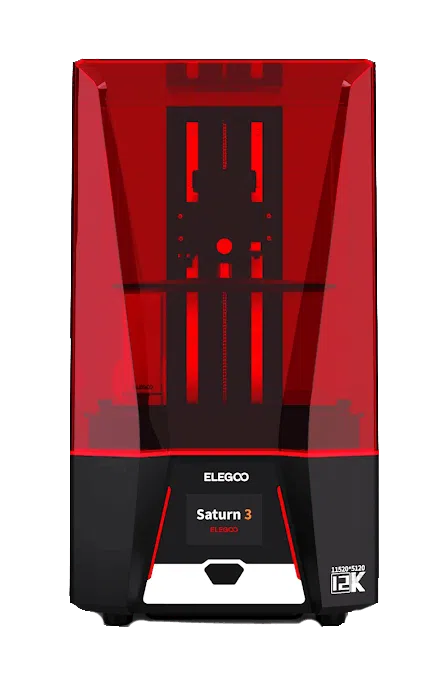
ELEGOO Saturn 3 Review
If you're looking for an affordable, fuss-free mid-size resin printer with some of the best XY resolution available today, the Saturn 3 belongs at the top of your list. A 10-inch 12K mono LCD and dual linear Z-rails deliver razor-sharp detail with rock-steady vertical motion.

Score breakdown
12K detail, built like a tank
Precision engineering and rugged durability make the ELEGOO Saturn 3 a standout choice for creators who prioritize reliability and detail. Its 218 × 123 × 250 mm build area can accommodate everything from intricate miniatures to working prototypes of technically advanced mechanisms.
This printer can run up to 70 mm per hour. It uses MSLA technology to guarantee uniform UV light distribution for crisp, consistent layer curing. The machine has dual linear rails along the Z-axis for better stability, which equates to smoother surfaces and dependable layer adhesion.
Designed for longevity, the Saturn 3 features a mono LCD screen protected by 9H tempered glass, built to withstand over 2,000 hours of UV exposure while resisting scratches and wear. File transfers are done via USB, and the machine ships set up for ELEGOO's ChiTuBox slicing software.
An Overview of the ELEGOO Brand
ELEGOO set out to make reliable, affordable resin printers. Its Mars series serves desktop users, while the Saturn lineup caters to more seasoned enthusiasts. The company brings high-resolution resin printing to hobbyists, educators, and small manufacturers at a price that undercuts many competitors.
The Saturn 3 Ultra is the latest variant in that lineup. It packs all the features of the original Saturn 3 but adds wireless connectivity. Like all ELEGOO printers, it uses ChiTuBox slicing software, with free updates through its global support network.
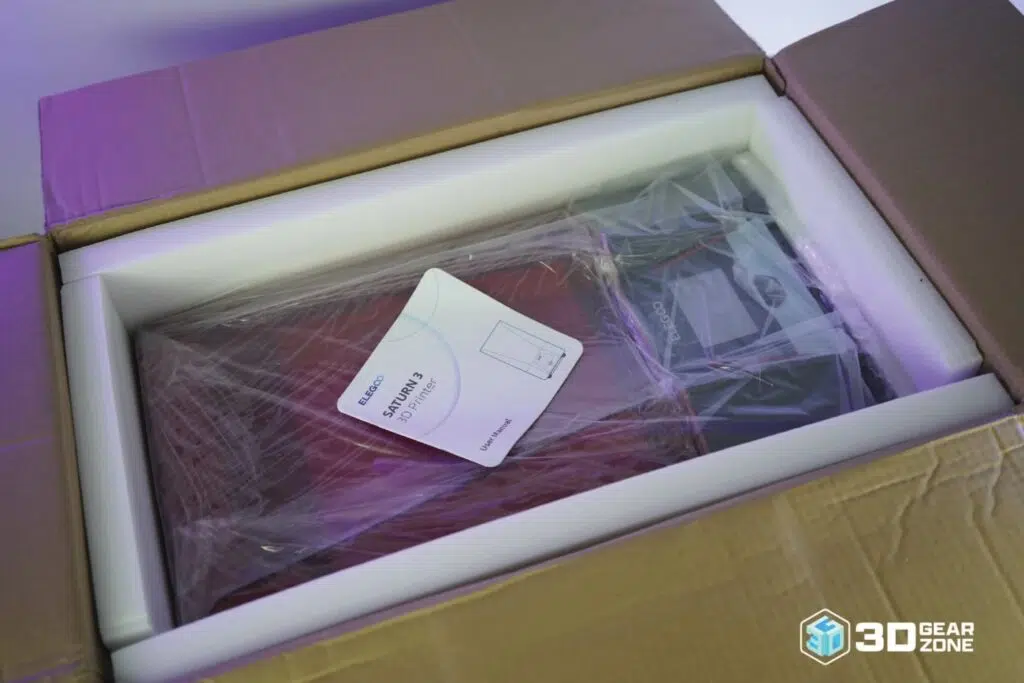
Unboxing and Building the ELEGOO Saturn 3
You do not need advanced technical skills to build the Saturn 3. You only need to unpack, assemble a few parts, and level the platform.
What's in the Box?
- ▪Saturn 3 central unit with magnetic front door
- ▪Metal resin vat with factory FEP film
- ▪Laser-engraved build plate with leveling knobs
- ▪4-inch capacitive touchscreen and control knob
- ▪USB stick with a 10 mm calibration cube
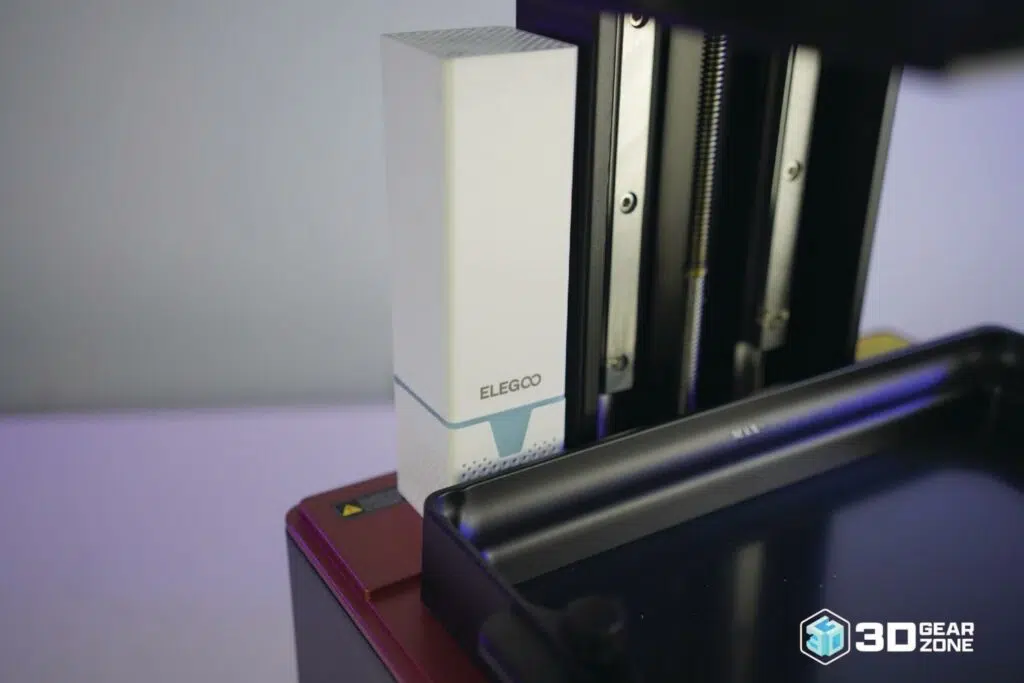
- ▪Plug-in air purifier module and dual USB ports
- ▪Nitrile gloves, respirator mask, resin funnel
- ▪Power brick, spare screws, toolkit, manual
Building the Machine
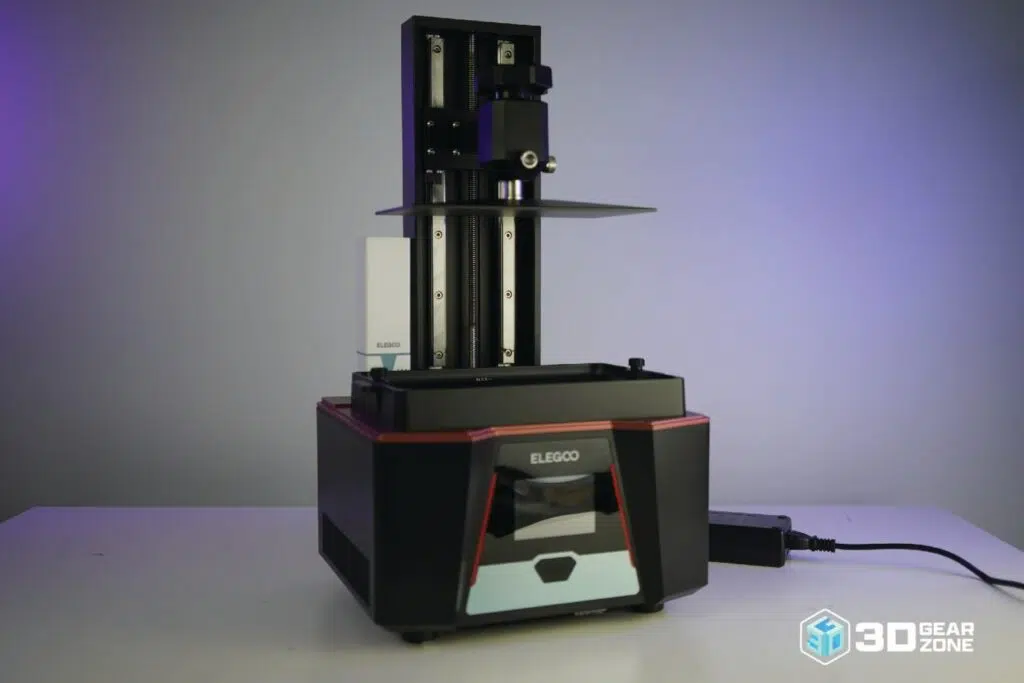
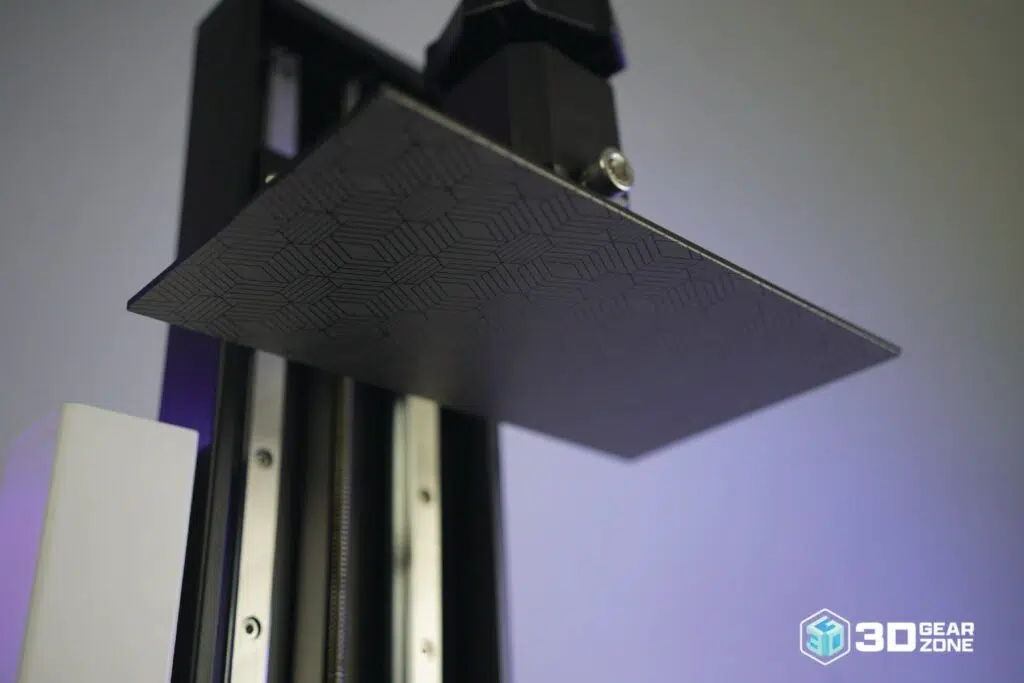
The printer was secured in a dual-layer foam cradle inside a sturdy cardboard sleeve. Its magnetic door clicked into place, and leveling the build took only a few minutes. We slid the metal build plate into its gantry channel until it sat firmly, then hand-tightened the four hex screws at each corner, making sure the plate sat level and secure.
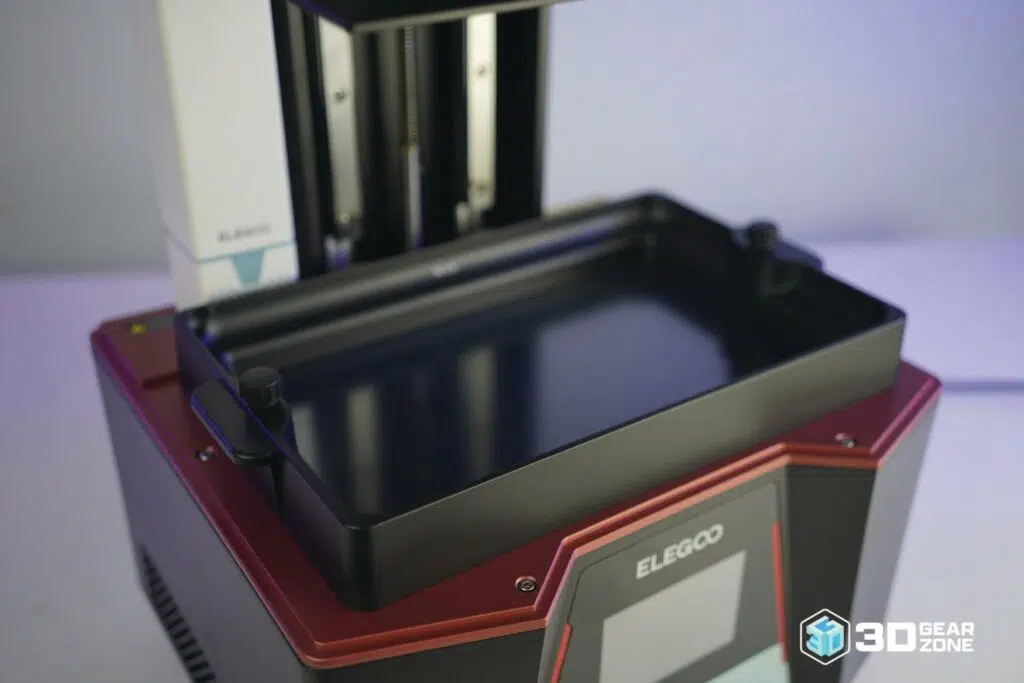
We positioned the resin vat into its frame, clipping it in place without force, then snapped the plug-in air purifier onto its mounting points. After confirming the FEP film was smooth and the door sealed evenly, we powered on, navigated the touchscreen, and ran the calibration cube. The Z-axis lowered onto a sheet of paper on the vat lip; we adjusted each leveling knob in small, equal turns until the paper slid with slight resistance and the surface was true.
| Stage | Time Estimate | Key Challenges | Tips / Notes |
|---|---|---|---|
| Unboxing & Inventory Check | 5 min | Checking for all parts and accessories | Lay everything out and match each item to the packing list. |
| Build Plate Installation | 3 min | Aligning the plate within the gantry | Hand-tighten the four hex screws evenly to avoid tilting. |
| Resin Vat Installation | 2 min | Proper seat and wrinkle-free FEP film | Check that the vat clicks in firmly and the film lies flat. |
| Air Purifier Module Setup | 1 min | Properly seating the purifier | Align with the USB port and gently press it into place. |
| Bed Leveling & Calibration | 10 min | Adjusting knobs for even surface contact | Use the paper method and adjust all four corners for uniform resistance. |
| First Test Print | 10 min | Watching the first layer for adhesion | Use the included 10 mm cube file; watch layer lines and adjust Z offset. |
Our Initial Impressions on Build Quality
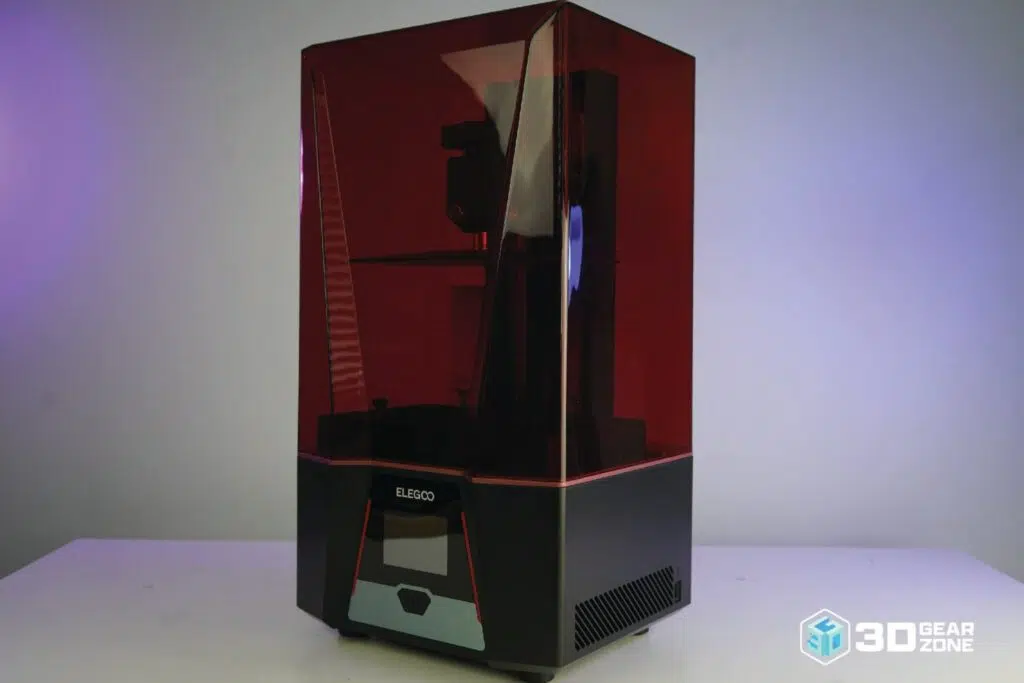
The Saturn 3 has excellent build quality. The metal frame is rigid and well-aligned, with zero flex or movement during setup. Dual linear rails on the Z-axis give the machine stability that helps maintain precision on taller prints, and the all-metal build plate is heavy and well-machined. The resin vat is anodized aluminum and arrives with clean FEP film, fitting into the frame without tools.
The magnetic front door comes pre-mounted and closes flush, though the plastic hinges feel a bit light compared to the rest of the machine. Cables are neatly routed with no loose wiring near moving parts. The 4-inch touchscreen is responsive but basic, and there's no physical power switch, which would have been useful for a printer of this caliber.
Design, Build Quality, and Technical Specifications
ELEGOO positioned the Saturn 3 for users who require high-resolution prints and a larger build volume without paying for industrial hardware. It's built for hobbyists and small studios looking for pro-level results with a simple setup.
The rectangular body is compact relative to its build volume, favoring easy access over aesthetics. The front-facing touchscreen sits where you can reach it, and the magnetic door opens smoothly without extra clearance. The build chamber is open and unobstructed, simplifying vat installation and plate leveling, while the door blocks UV light during prints.
Key Technical Specifications
- ▪Build Volume: 218 x 123 x 250mm
- ▪Printer Size: 306 x 273 x 567mm
- ▪Weight: 14kg
- ▪LCD: 10″ 12K mono (11520 x 5120)
- ▪XY Resolution: 19 x 24 µm
- ▪Drive Type: Resin (MSLA), 405nm
- ▪Max Print Speed: ≤70mm/hr
- ▪Z-Axis: Dual linear rails
- ▪Screen Protection: 9H tempered glass, 2,000hr
- ▪Bed Leveling: Manual 4-point
- ▪Connectivity: USB Type-A
- ▪Slicers: ChiTuBox, Lychee, Voxeldance Tango
- ▪File Types: STL, OBJ, M3F
- ▪3rd-Party Resin: Yes
12K Mono Screen and Efficient Cooling
The Saturn 3's pivotal upgrade is its 10-inch 12K monochrome LCD, with a resolution of 11520 × 5120. This high pixel density displays excellent detail across large models. Combined with the build volume, it supports both batch printing and large parts without sacrificing surface quality.
The mono panel also increases print speed and lifespan by letting more UV light through, curing resin faster and reducing exposure times. An internal heat-dissipation system behind the LCD uses active airflow to keep screen temperature consistent and reduce the risk of thermal distortion.
Print Performance and Quality
The Saturn 3's rigid design and high-resolution mono LCD let it reproduce surface details with exceptional sharpness, and its stable mechanics guarantee that even complicated geometries come out smooth and well-defined. Despite the large build volume, it maintains uniform resolution and detail across the entire print area, so multiple parts or larger models can be done in one job without compromising edge detail.
Resin MSLA printers are famously sensitive to mechanical variance: misalignments from layer to layer or slight Z shifts produce banding or surface ripples. To address this, the Saturn 3 uses dual linear guide rails on its Z-axis that support the platform with minimal lateral play, so each layer aligns exactly with the last. The result is smooth, repeatable vertical motion, and improved UV light transmission shortens exposure times without overcuring.
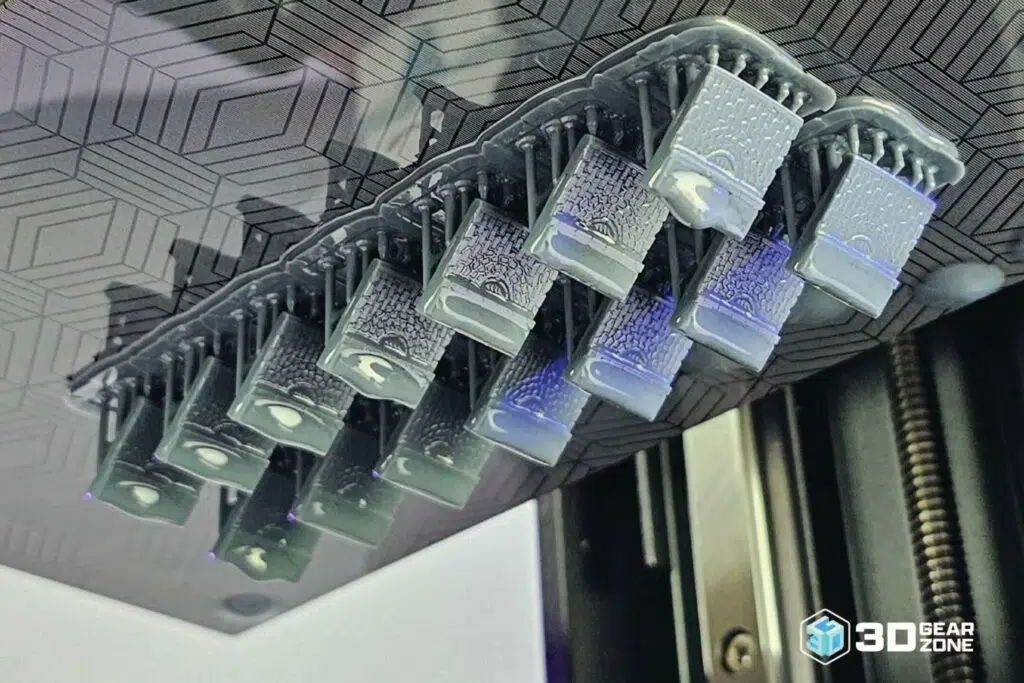
Test Prints and Benchmark Results
| Test Type | Result Highlights | Observations |
|---|---|---|
| Line Width & Gap Test | Clear 0.2 mm lines and gaps; 0.1 mm features blur | Over-curing on edges reduces gap clarity; manual four-point leveling must be precise. |
| Miniature Bust | Fine facial features and sharp edges | Surface grain visible on curves; support contact points demand extra cleanup. |
| Print Tower | Consistent layer heights up to 100 mm | Z-axis backlash causes slight banding above 80 mm. |
| Overhang Test | Successful up to 50° with minimal sag | Droop appears at 55° and above; resin drip forms on near-vertical faces. |
Firmware, Tuning, and Calibration
The Saturn 3's firmware is functional and stable but limited. Advanced users will find that motor current, acceleration, and motion tuning aren't accessible through the printer itself; fine adjustments happen in slicing software. Its four-point leveling adds rigidity, prevents twisting, and locks calibration in place, reducing the need for frequent re-leveling.
We noticed some vibration in the Z-axis above 80 mm of height, and there's no firmware-level correction for it. However, slicer-based compensation in ChiTuBox worked effectively, with no artifacts on the final prints. ELEGOO's default profile slightly overexposed our gray resin, so we cut normal exposure by 0.2 seconds for cleaner edges.
Possible Upgrades for the ELEGOO Saturn 3
The Saturn 3 stays close to its predecessors in core design but opens the door for hardware improvements. The upgrades we found most worthwhile:
- ▪Magnetic flex-plate system for easy part removal
- ▪NFEP or ACF release film for cleaner separation
- ▪Quieter, higher-airflow cooling fans
- ▪Z-axis stabilizer brackets to cut banding
- ▪UV-blocking film and blackout lid strips
- ▪Vibration pads or rubber feet for steadier motion
Because the firmware has limited tuning options, most performance gains come through slicer settings. We used ChiTuBox and Lychee to fine-tune exposure, lift speeds, supports, and print order. Lowering lift speed on tall prints reduced Z-band wobble, while adjusting bottom-layer exposure cut overcuring and made removal easier.
Maintenance, Upkeep, and Reliability
Keeping the Saturn 3 running smoothly is straightforward if you stay on top of basic maintenance:
- ▪Wipe the build plate with isopropyl alcohol after every print to keep adhesion consistent.
- ▪Inspect the FEP film for clouding, punctures, or deep scratches and replace when damaged.
- ▪Keep the LCD free of resin spills and cured droplets; screen damage can ruin whole prints.
- ▪Check the Z-axis and frame bolts every month or two; a loose gantry hurts layer accuracy.
Replacement parts (FEP sheets, build plates, air purifiers, even LCD modules) are easy to find through ELEGOO's store and major retailers. Common issues to watch for:
- ▪Adhesion problems — re-level the plate and check for residue on the surface.
- ▪Screen bleeding or dead pixels — minor bleeding is common after heavy use and worsens over time.
- ▪FEP tension loss — sagging film or prints sticking to it mean the FEP needs tightening or replacing.
Comparisons with Alternative Models
Here's how the Saturn 3 stacks up against four competing resin machines on build volume, speed, setup, and price.
| ELEGOO Saturn 3 | Anycubic M5S 12K | Phrozen Mega 8K S | Creality Halot-Mage S | |
|---|---|---|---|---|
| Build Volume | 219 × 123 × 260 mm | 218 × 123 × 200 mm | 330 × 185 × 300 mm | 223 × 126 × 230 mm |
| Print Speed | 70 mm/hr | 105 mm/hr | ~400 layers/hr | 150 mm/hr |
| Setup | Semi-assembled, 4-point leveling | Leveling-free, out of box | Fully assembled, pre-calibrated | Fully assembled, flip-lid |
| Price Range | $299 – $399 | $549 | $1,299 – $1,600 | $569 – $750 |
The Anycubic Photon Mono M5S 12K matches the Saturn 3's XY resolution in a slightly smaller volume but prints faster at 105 mm/hr thanks to optimized exposure. The Phrozen Sonic Mega 8K S targets very large prints with a 330 mm-wide area, though its larger vat means higher resin costs.
The Creality Halot-Mage S 14K sits between hobby and prosumer, printing faster at 150 mm/hr with a stronger light source and optimized cooling. All are strong, but the Saturn 3 remains the value pick for sharp detail at a mid-size scale.
Our Final Take
The ELEGOO Saturn 3 delivers consistently sharp, high-resolution prints thanks to its 12K mono LCD and uniform UV exposure. Its all-metal chassis and dual linear rails provide stable, vibration-free motion and repeatable accuracy even during long jobs, and factory-calibrated adhesion holds firm across multiple runs, all at a competitive $299 to $399.
It does have limits: no wireless or network connectivity, a smaller build volume than many FDM machines, and a resin vat that needs periodic replacement. Still, the Saturn 3 remains a dependable choice for professionals, small businesses, and serious hobbyists who need fine detail and reliable uptime without overspending.

Scott Gabdullin is a Canadian entrepreneur, investor, and marketing expert who has successfully combined his passion for technology and innovation with a love for adventure and exploration.
Scott brings 12 years of digital marketing experience and a hardcore work ethic to his new passion for 3D printing. If he is not working on this business, he is likely travelling and Overlanding across North America with his wife and 2-year-old son in their Jeep Rubicon.
Read more →