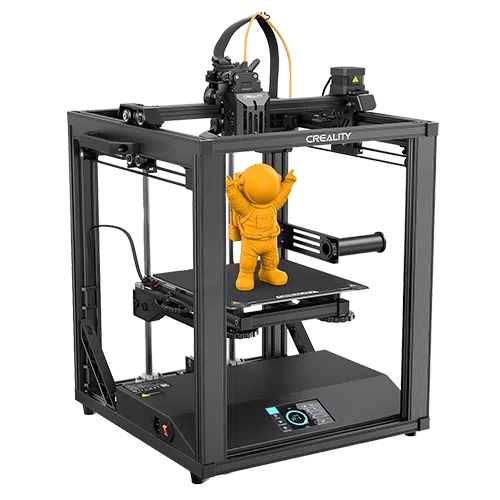
Creality Ender 5 S1 FDM 3D Printer With Sonic Pad Review
The Creality Ender 5 S1 provides reliable FDM printing with its solid build, easy assembly, and consistent results. Its 220 x 220 x 270 mm print volume makes it adaptable for everything from quick prototypes to larger, more detailed projects.

Score breakdown
A stable cube-frame all-rounder
With a metal frame and a direct-drive extruder, the Ender 5 balances affordability, performance, and build quality. If you're looking for a 3D printer that provides reliable performance and the flexibility to grow your skills, the Ender 5 S1 is a good option.
This review features the 3D printer, which has been kindly provided to us by the manufacturer for the purpose of this review. While the manufacturer has supported us by supplying the printer, they have not influenced the content of this review in any way. Our assessments and observations are entirely our own, and we have conducted our usual thorough testing to ensure we provide an accurate evaluation of the product. At 3DGearZone, we are committed to transparency and honesty, ensuring that our audience can trust the content we produce.
The Creality Ender 5 S1 is ideal for beginners and more experienced users. It delivers stability and consistency during prints. In addition, the direct drive extruder and automatic bed leveling simplify setup and maintenance, leading to a superior printing experience compared to other FDM printers.
This review will evaluate the Creality Ender 5 S1's performance, features, and drawbacks to help you determine if it meets your 3D printing needs. Let's dive in and see what this printer offers!
An Overview of the Creality Brand
Creality is a leader in the industry with its range of machines that consistently balance value and performance. Their FDM printers, specifically the Ender series, have become staples in hobbyist and professional communities. These printers are known for their user-friendly design, steadfast build quality, and capability to produce solid prints with minimal effort.
Creality also offers significant upgrade potential for users, such as a premium hotend or a full-on build plate replacement. The company's devotion to maintaining and improving its products with the support of its large community is one of the principal reasons why people keep coming back.
Unboxing and Building the Creality Ender 5 S1
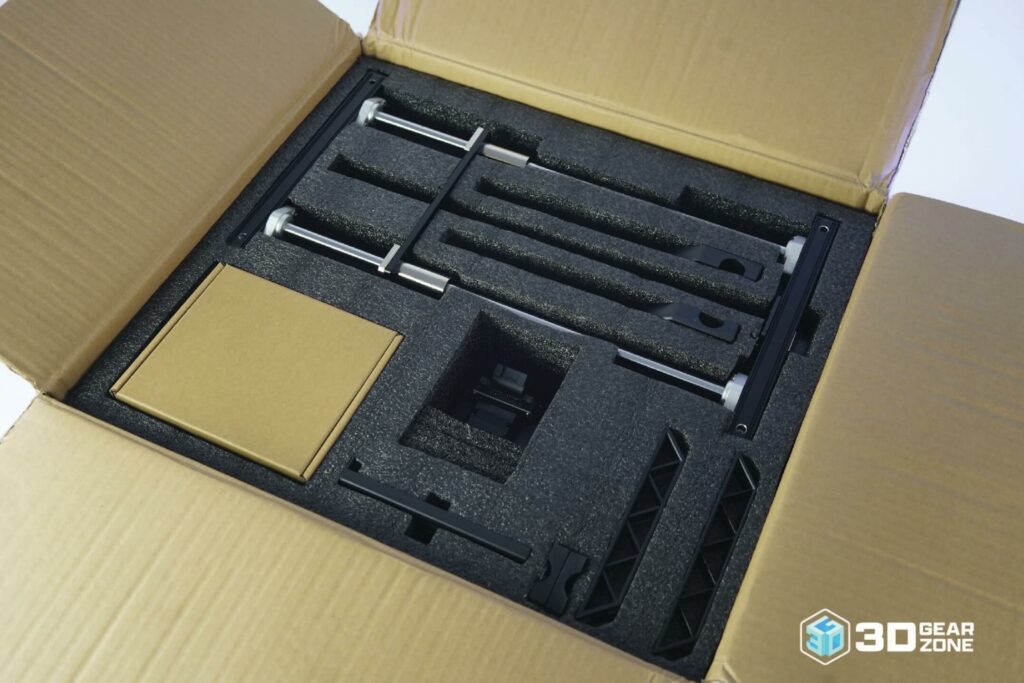
We received the Ender 5 S1 in a well-packaged box with clearly labeled components. Though it mainly arrived assembled, you'll need to install the extruder and the frame, which is a quick and straightforward process.
What's in the Box?
- ▪Pre-assembled frame
- ▪Metal build plate
- ▪Tool kit with a set of wrenches and a spatula
- ▪USB stick with demo files
- ▪Power cable
- ▪User manual
Each part was secured in foam and clearly labeled so you can sort and identify components without second-guessing. The frame rails and electronics were tightly packed to prevent movement during shipping, which helped avoid any damage before we even started.
Creality organizes the fasteners, labeling each group to match the assembly guide, eliminating the usual trial and error. The wiring comes pre-routed through protective sleeves, and the power supply is already mounted under the base, keeping our workspace tidy and reducing build time.
Building the Creality Ender 5 S1
Following our unboxing, the first calibration took around 45 minutes.
As mentioned, the steel frame comes mostly preassembled. We slid the vertical gantry into the base and tightened a few bolts by hand. All wiring is bundled into a single harness with labeled connectors, making it effortless to match each cable to its port.
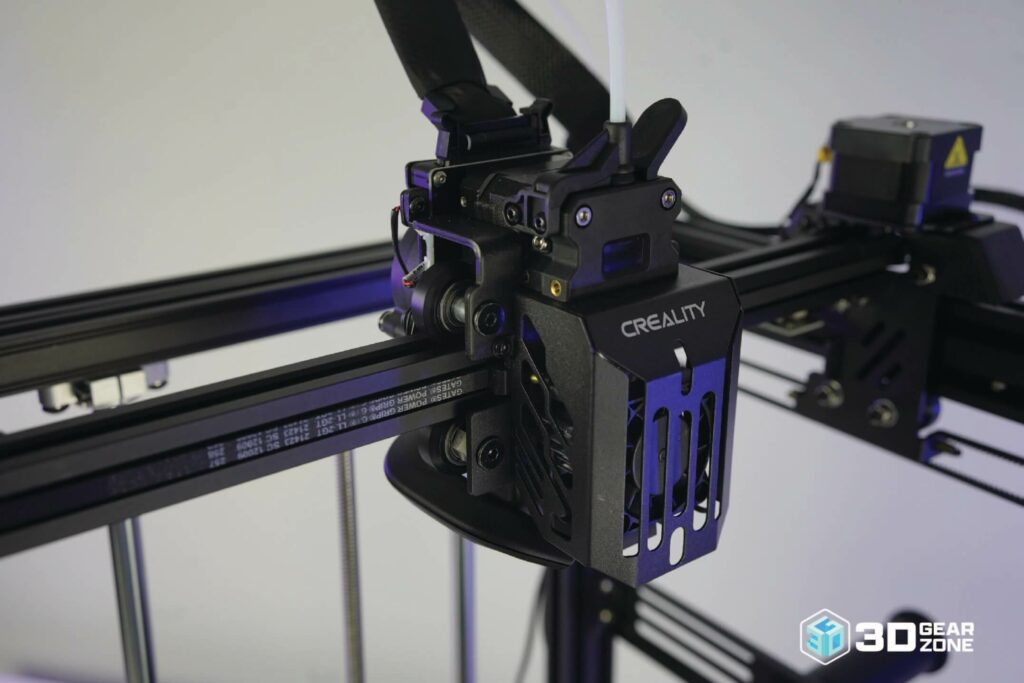
After that, we mounted the Bowden extruder, ran the filament tube through the guide chain, and used the included tool to adjust belt tension on both axes.
Once the screen was mounted and the power supply was connected under the base, we turned the machine on and followed the guided setup through the touchscreen. With clear instructions, the firmware walked us through bed leveling and nozzle height adjustment. It even preheated the nozzle to the right temperature before feeding filament, which helped us avoid under-extrusion.
We ended with a clean test print, confirming everything is ready so that we can move straight into real prints without a long learning curve.
| Stage | Time Estimate | Key Challenges | Tips / Notes |
|---|---|---|---|
| Unboxing & Inventory Check | 5 min | Check for any missing pieces | Lay everything out, tick off against the packing list |
| Frame Assembly | 10 min | Aligning frame parts properly | Ensure the frame is level and flush for stability |
| Extruder Installation & Wiring | 10 min | Properly wiring the extruder | Double-check all connections for a tight fit |
| Extruder & Hotend Installation | 1-2 hours | Installing the extruder correctly and preventing leaks from the hotend | Double-check tube fit and screw fastening; ensure consistent filament flow |
| Bed Leveling & Calibration | 15 min | Ensuring the correct Z offset | Use the paper method for precise leveling |
| Firmware Setup & Calibration | 5 min | Ensuring latest firmware version | Update the firmware before use to get the latest features |
Our Initial Impressions on Build Quality
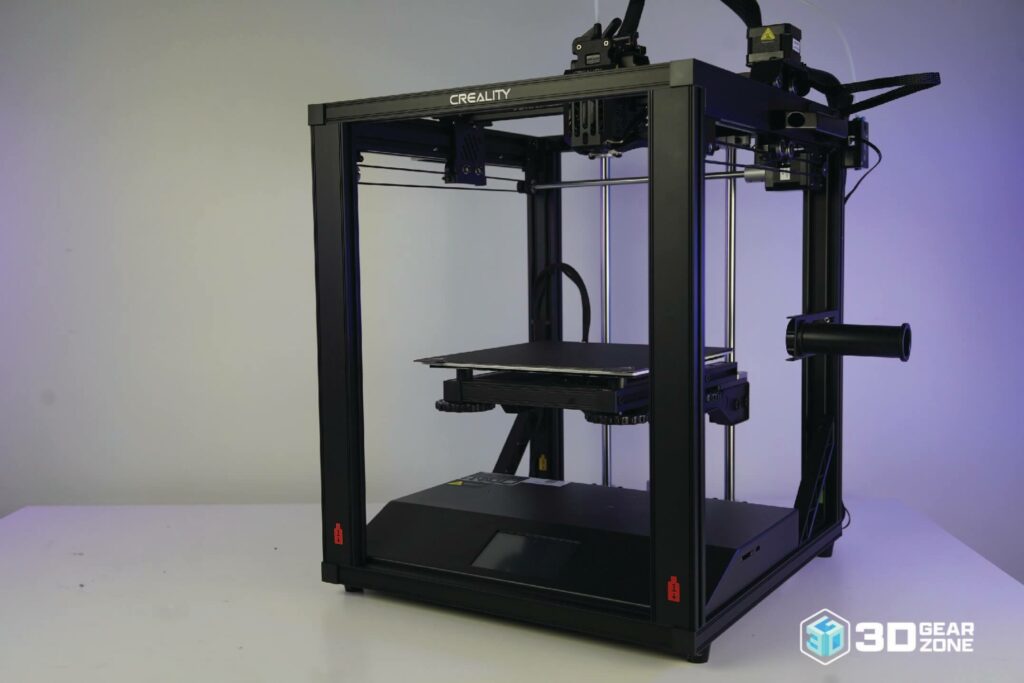
The Ender 5 S1 remains steady while printing, allowing it to maintain accuracy. It doesn't wobble or bend like the Anycubic Kobra Max or the Flsun Super Racer (SR). The added rigidity provided cleaner lines, better detail, and fewer issues during long prints.
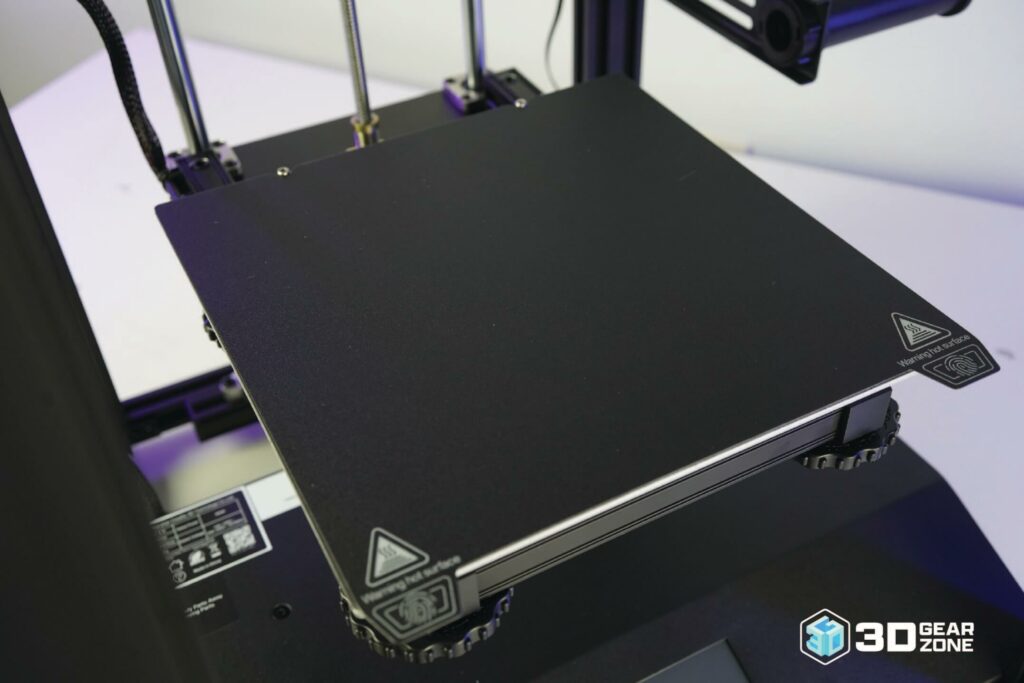
The build plate is another strong point. It holds onto prints well, even with tougher materials. We never had to be concerned about parts lifting or shifting mid-print. It heated up evenly and provided a reliable surface for consistent first layers.
Inside, the Ender 5 S1 uses an updated version of the V2's silent mainboard. This keeps the noise down while the machine runs, making it easier to work without distraction.
That said, this machine isn't perfect. The stock part cooling fan is on the small side, which can slow print speeds when working with detailed or overhanging sections. If you plan to push the machine harder or print complicated models quickly, that cooling setup will definitely need an upgrade.
Design, Build Quality, and Technical Specifications
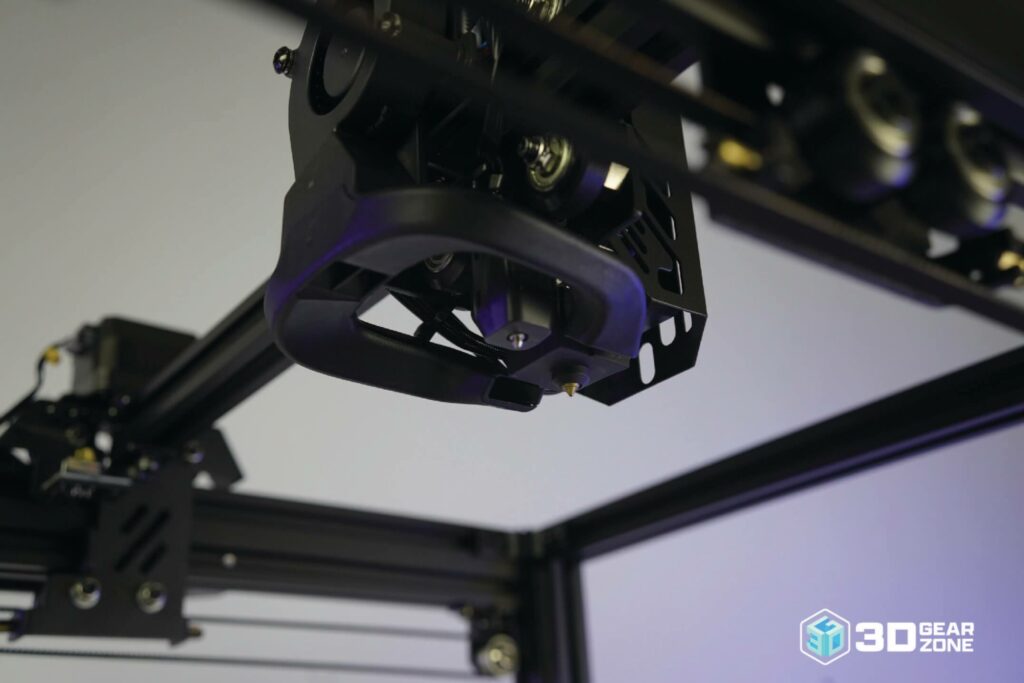
The Creality Ender 5 S1 has a quality frame, and the direct-drive extruder is more compatible with flexible filaments. This is a fundamental upgrade for those looking to experiment beyond the standard PLA or ABS.
Key Technical Specifications
- ▪Build Volume: 220 (l) x 220 (w) x 270mm (h)
- ▪Printer Size: 490 x 455 x 625mm
- ▪Weight: 11kg
- ▪Display: Color Touchscreen
- ▪Drive Type: FDM Direct Drive
- ▪Filament Capability: PLA, ABS, PETG, TPU, Nylon, Polycarbonate
- ▪Connectivity: SD Card
- ▪Drivers: TMC 2209
- ▪Build Surface: PEI-coated spring steel sheet
- ▪Heated Bed: Yes
- ▪Bed Leveling: Automatic
- ▪Nozzle Diameter: 0.4mm
- ▪Maximum Hotend Temperature: 300 °C
- ▪Maximum Movement Speed: 150mm per second
- ▪Maximum XY Accuracy: 0.1mm
- ▪Minimum Z Height: 0.1mm
- ▪Number of Extruder(s): 1
- ▪Filament Diameter: 1.75mm
- ▪Third-party Filament Support: Yes
- ▪Operating System: Windows, MacOS, Linux
- ▪Supported Slicers: CURA, Simplify3D, PrusaSlicer, Creality Slicer
- ▪Supported File Types: STL, OBJ, M3F
Precision Motion and Reliable Control
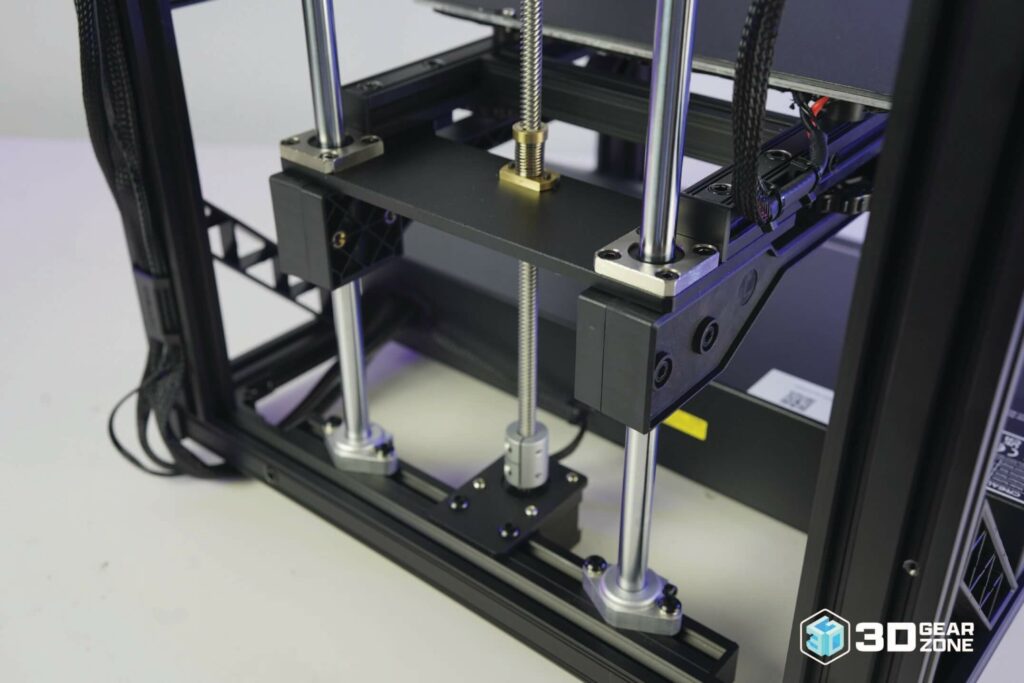
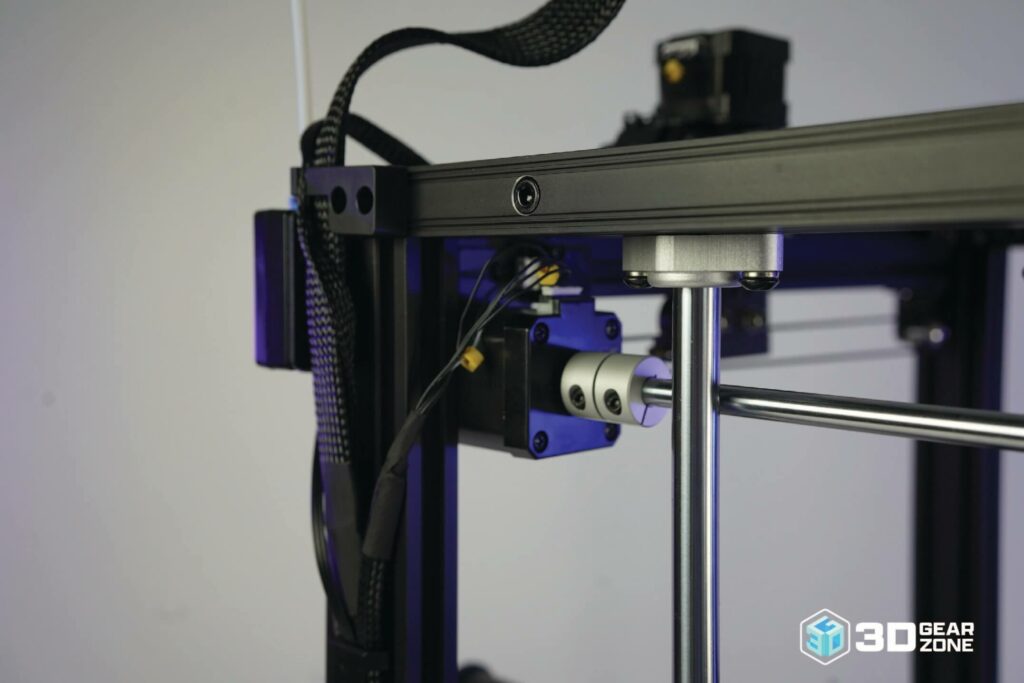
The direct-drive extruder handles flexible and standard filaments with consistent grip, and the motion system utilizes dual Z-axis motors for better stability during tall prints. Combined with linear rods on the Y-axis, the printer can reduce layer shifts and keep prints sharp even at higher speeds.
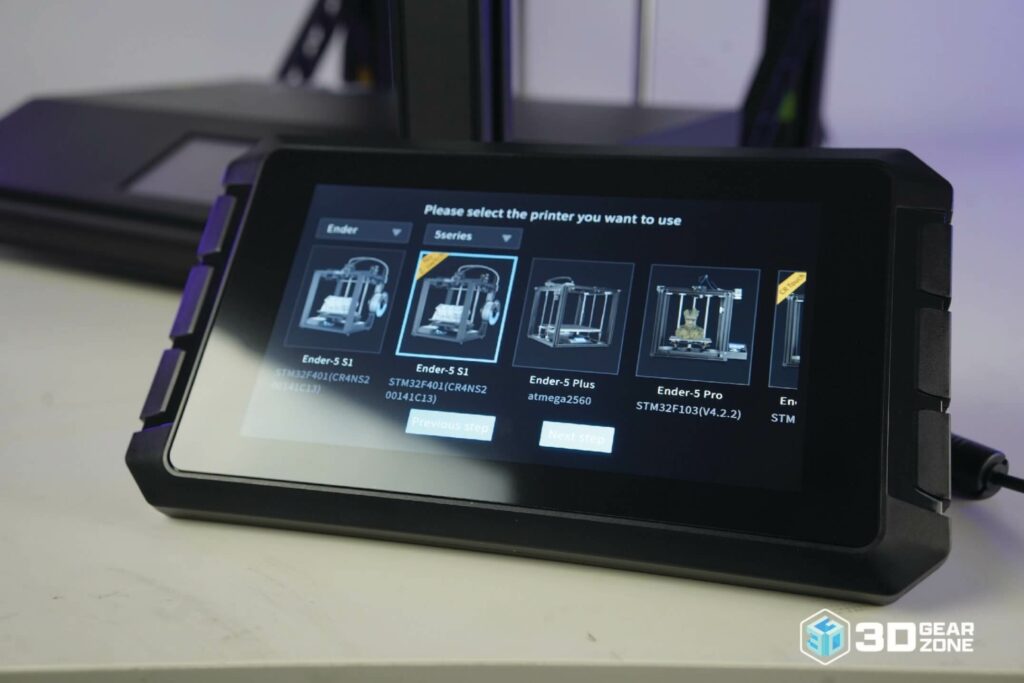
Our experience with that touchscreen interface was good. It loaded fast, responded well under repeated usage, and gave us fast access to core functions like preheat, leveling, and filament loading. More importantly, firmware updates can be installed from a USB stick without diving into menus, making maintenance simple and efficient.
Thermal Runaway Detection System
Like most modern 3D printers, the machine includes a reliable thermal runaway detection system that cuts power if the hotend or bed exceeds safe limits. The power supply is grounded and mounted low to avoid tipping, and the cable routing is clean, keeping moving parts unobstructed. The entire 3D machine is built to operate stably for long prints without extra monitoring.
High-Speed Printing with Minimal Compromise
Creality advertises the Ender 5 S1 with a print speed of up to 250 mm/s, and the machine can realistically handle higher-than-average speeds without sacrificing too much quality.
The Sprite direct-drive extruder keeps up well with flow demands, and the rigid frame prevents wobble at faster travel rates. While extremely fine details could soften at top speeds, general print quality stays intact, which is useful for large parts or rapid prototyping.
Print Performance and Quality
The Creality Ender 5 S1 has a dependable direct-drive extruder system that allows for smoother filament extrusion, which is especially helpful with flexible materials like TPU. In our tests, it delivered quality prints with excellent detail and satisfactory layer resolution. Even at higher speeds, it holds its shape well, keeping fine details intact.
This reliability likely comes from its mechanical design, which uses linear rails and a firm Z-axis to keep movement precise. The direct-drive extruder handles flexible filaments without problems. From shorter parts to taller prints, it produces clean layers with well-rounded accuracy across the board.
Test Prints and Benchmark Results
We ran several benchmarks covering miniatures to test performance across different use cases. The Ender 5 S1 handled each test well, delivering pristine edges, well-supported structures, and accurate geometries. The line width and gap test came out sharp and clean. This shows the 3D machine's calibration is perfect right out of the box.
Beyond that, the print tower maintained decent layer consistency, only showing shifting near the top. Finally, overhangs were clean with hardly any droop, and while there were a few marks left from support removal, the overall finish still looked great.
| Test Type | Result Highlights | Observations |
|---|---|---|
| Line Width & Gap Test | Clean lines, sharp corners | Excellent calibration, no overexposure |
| Miniature Bust | High detail in clothing and facial features | Prints were sharp with no major issues |
| Print Tower | Smooth layering, strong vertical consistency | Some minor layer shifts in the upper sections, minimal |
| Overhang Test | Clean prints with minimal sagging | Small supports marks after removal, good overall quality |
The Creality Ender 5 S1 comes with pre-installed firmware. However, those looking to push the printer's limits can unlock advanced features, including more precise temperature control and improved 3D printing profiles for specialized materials, with the installation of custom firmware.
All Advanced Features and Upgrades
Even though the Creality Ender 5 S1 is packed with features, several upgrades are worth considering for users who want to enhance their printing experience. For example, if you're after premium hardware, enhanced connectivity, or the freedom to mod and customize your machine, there are plenty of options to suit your needs.
Premium Hardware Upgrades
Direct Drive Extruder
You can upgrade to a direct-drive extruder for better extrusion control, especially with flexible filaments like TPU. This modification brings the extruder closer to the hotend, reducing the path the filament travels, leading to better control over extrusion and more infrequent issues with stringing or under-extrusion.
Silent Stepper Motor Kit
For those who want to reduce noise during printing, replacing the stock stepper motors with a silent stepper motor kit is a game-changer. These motors operate much quieter, making your printing sessions less disruptive. This upgrade is ideal for home environments where noise is a concern but print quality must not be compromised.
Upgraded Cooling Fans
Stock cooling fans can be noisy and not as efficient as you'd like. Replacing them with higher-performance, quieter fans can help cool the hotend and printed layers more effectively, especially for finer prints.
Remember, good cooling is paramount for maintaining consistent layer adhesion and preventing warping, particularly with materials like PLA.
Connectivity and Control Enhancements
Wireless Connectivity
For greater convenience, adding wireless connectivity lets you control and monitor your printer remotely. With this setup, you can upload your print files from your computer or phone, monitor print progress, and pause or resume prints without being physically near the machine. You can achieve this by installing a third-party module like the Creality Wi-Fi Box or a Raspberry Pi running OctoPrint.
Touchscreen Upgrade
If the standard LCD screen doesn't quite meet your needs, you can upgrade to a larger, more responsive touchscreen interface for a better user experience. Many aftermarket options offer better user interfaces and faster responsiveness, making navigating your printer's settings and control panel easier. The touchscreen upgrade can provide a more intuitive and user-friendly printing experience.
BLTouch Auto-Leveling Sensor
If you're tired of manual bed leveling or struggling with inconsistent prints due to leveling issues, upgrade to a BLTouch auto-leveling sensor. This sensor adds an automatic bed leveling feature, assuring your print bed is perfectly calibrated for every print. It saves time and improves print quality, especially on larger or more intricate models.
Customization and Modding Potential
Upgraded Frame and Structural Mods
Some users opt for metal frame upgrades or custom frame parts to increase rigidity and reduce vibrations. Upgrading the frame can improve print quality, especially during high-speed prints where stability is critical. Additionally, custom enclosures can be built or purchased to improve print quality with materials that require more stable temperatures, such as ABS or ASA.
Filament Dry Box
If you print with moisture-sensitive materials like Nylon or PETG, you can build or purchase a filament dry box. This mod helps keep your filament dry and moisture-free, preventing 3D print failures brought upon by filament degradation.
Custom Cooling Ducts and Fan Mounts
Customizing your cooling setup is another way to enhance print quality. Radial blower designs offer direct cooling. Vortex-style ducts spin air around the hotend for even coverage. In addition, dual-fan splitters boost airflow for sharper overhangs. Meanwhile, omni-draft rings and Volcano-style chambers can handle 360° cooling and high-flow filaments.
Upgraded Power Supply
While the stock power supply is adequate, you can swap it out for a more reliable, high-quality option that can accommodate higher power output. A better power supply secures uniform power and can improve long-term reliability, especially if you're printing for extended periods or plan to run the printer at higher speeds.
Maintenance, Upkeep, and Reliability
Regular maintenance keeps the Creality Ender 5 S1 running at peak performance. It's not a machine that constantly needs pampering, but it'll serve you well if you stay on top of the basics.
- ▪Clean the Build Plate: After each print, wipe the build plate with isopropyl alcohol to remove any filament residue.
- ▪Check the Nozzle and Hotend: Inspect the nozzle regularly and clean or swap it when needed. Keep the hotend clean, especially after printing high-temp materials like PETG or Nylon.
- ▪Grease the Z-Axis Leadscrew and Linear Rails: Wipe down the leadscrew and apply a bit of lithium grease to prevent binding or chatter.
- ▪Tighten Frame Screws: Every couple of weeks, check the screws on the frame and gantry. Tighten anything that feels loose.
Common Issues
The Ender 5 S1 is tough, but like any printer, it can encounter a few snags. Here's what you might see and how to fix it.
- ▪CR Touch Auto-Level Mesh Tilt: The CR Touch probe mounts on a slightly twisted X-axis gantry, often raising the print's left side. Simply shifting the Y-offset to 0 mm or shimming the X-axis corrects this built-in alignment error.
- ▪Bed Leveling Problems: The Ender 5 S1 has CR Touch auto-leveling, but still relies on a properly trammed bed. If you're getting poor layers, check your Z-offset and manually level if needed.
- ▪Magnetic Spring-Steel Sheet Lift: Creality's PC spring-steel build surface relies on embedded magnets that can weaken or shift when removing larger parts, pulling the sheet free, or tearing edges off the bed; an issue unique to the S1's plate system.
- ▪Build-Plate Surface Durability: Printing above 250 °C on the hotend or 70 °C on the bed can scratch or delaminate the textured spring-steel sheet around its anchor points. Repeated high-temp cycles and magnet clamping stress the PC surface over time.
Availability of Parts and Upgrades
Most of the Creality Ender 5 S1's components are modular, accessible, and replacement parts are easy to find. Want to swap out the mainboard, upgrade the extruder, or add a touchscreen? You can find them online or at most 3D printing supply shops. The design means you can take the machine in any direction you want.
Comparisons with Alternative DIY Printers
When considering DIY printers in the same tier as the Creality Ender 5 S1, a few contenders come to mind. Here's how the Creality Ender 5 S1 fights against others in its class.
| Creality Ender 5 S1 | Voron 2.4 | Flsun Super Racer (SR) | Anycubic Kobra Max | Creality Ender 6 | |
|---|---|---|---|---|---|
| Build Volume | 220 x 220 x 280 mm | 120 x 120 x 120 mm | 260 x 330 mm (cylindrical) | 250 x 250 x 400 mm | 300 x 300 x 340 mm |
| Print Speed | Up to 250 mm/s; typical 100-150 mm/s | 250+ mm/s with fine tuning | 150-250 mm/s; speed-focused | 60-100 mm/s; lower at large scales | 60-120 mm/s typical |
| Assembly Complexity | Moderate; semi-assembled cube frame | Complex, fully DIY from parts | Moderate; mostly pre-assembled | Easy; minimal setup needed | Moderate; semi-assembled |
| Price Range | $400 – $500 | $500+ (varies) | $350 – $450 | $450 – $550 | $500 – $600 |
| Community Support | Extensive and growing | Niche but very active | Active community support | Moderate | Moderate; Creality ecosystem |
| Customization | Highly customizable with CoreXY mods | Fully customizable; designed to mod | Limited due to the Delta architecture | Basic mods available; not speed-focused | Decent mod support; less firmware depth |
Our Final Take
The Creality Ender 5 S1 balances speed, rigidity, and mod potential without entering full DIY territory. Its cube frame makes prints more stable, and with Klipper support, we can push speeds well past most entry-level machines.
Beyond that, the direct-drive extruder handles flexible filaments easily, giving us cleaner, more consistent prints.
That said, this machine is not flawless. The semi-assembled design still needs some setup time, and we will likely have to tweak firmware or install mods like input shaping to acquire the best performance. It's also a bit louder than some newer enclosed models.
Still, for hobbyists who want to push performance without going full Voron, the Ender 5 S1 hits a sweet spot. We get the speed, structure, and community support to grow with it.

Scott Gabdullin is a Canadian entrepreneur, investor, and marketing expert who has successfully combined his passion for technology and innovation with a love for adventure and exploration.
Scott brings 12 years of digital marketing experience and a hardcore work ethic to his new passion for 3D printing. If he is not working on this business, he is likely travelling and Overlanding across North America with his wife and 2-year-old son in their Jeep Rubicon.
Read more →