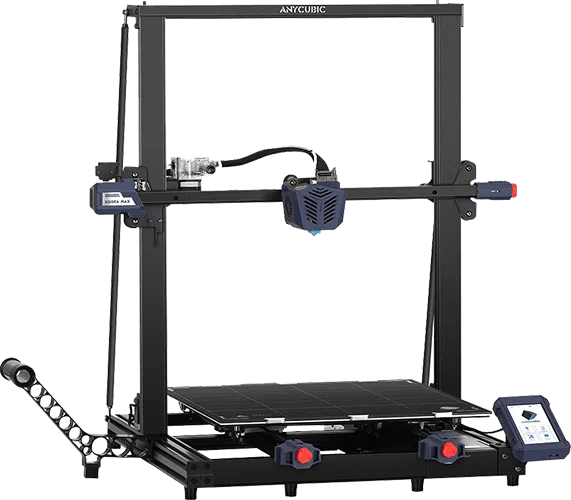
Anycubic Kobra Max FDM 3D Printer Review
When the Anycubic Kobra Max hit the scene, it quickly caught the attention of makers looking for one thing above all else: the massive build volume without a price tag that sends you running. It promised the ability to print enormous models in one go, tackle multi-part assemblies without constant reloading, and deliver reliable quality for its size.

Score breakdown
Big prints brought within reach
The Anycubic Kobra Max first launched in mid-2021 and immediately made waves in the large-format FDM printing market. At a time when oversized build volumes were usually locked behind high price tags and complex setups, 400 x 400 x 450 mm printing was brought into a more affordable and approachable range. Makers who had been limited to small or mid-sized builds suddenly had a credible option for printing full props, large prototypes, and batch jobs without splitting files or gluing parts together.
The initial reception from the 3D printing community was enthusiastic. Social media feeds and maker forums quickly filled with photos of towering cosplay helmets, multi-part armor sets printed in one go, and functional parts scaled up beyond what was possible on most consumer printers. Tutorials, slicer profiles, and modding guides appeared rapidly, smoothing the onboarding process for new owners. The Kobra Max became a go-to choice for anyone chasing big prints without wanting to leap into industrial territory, and its combination of size, stability, and ease of use helped cement its place in the hobbyist and small business space.
An overview of Anycubic's Kobra series
The Kobra series represents Anycubic's push into user-friendly, feature-rich FDM 3D printing. Where the Photon line made waves in resin printing, the Kobra lineup focuses on delivering accessible large-scale filament printing for hobbyists and professionals alike. Starting with the original Kobra, Anycubic brought features like automatic bed leveling, easy assembly, and solid motion systems to a competitive price point.
The Kobra Max takes that foundation and scales it up dramatically. With a staggering 400 x 400 x 450 mm build volume, it's designed for users who want to create big models without splitting them into smaller parts. Whether you're printing cosplay armor, large prototypes, or multiple functional parts in one run, the Kobra Max is built to handle it.
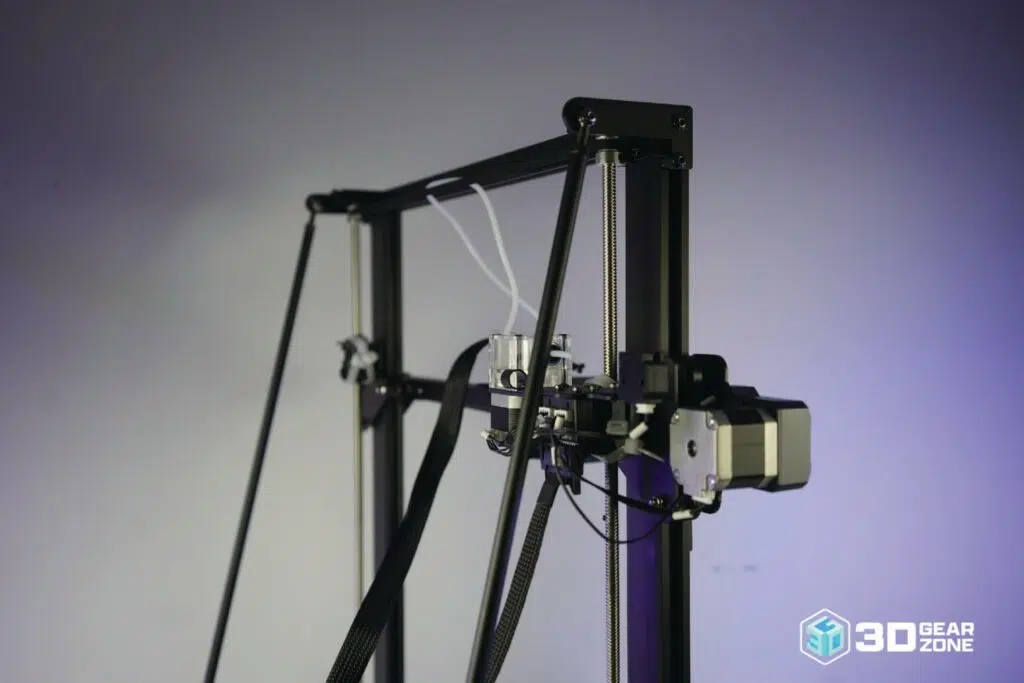
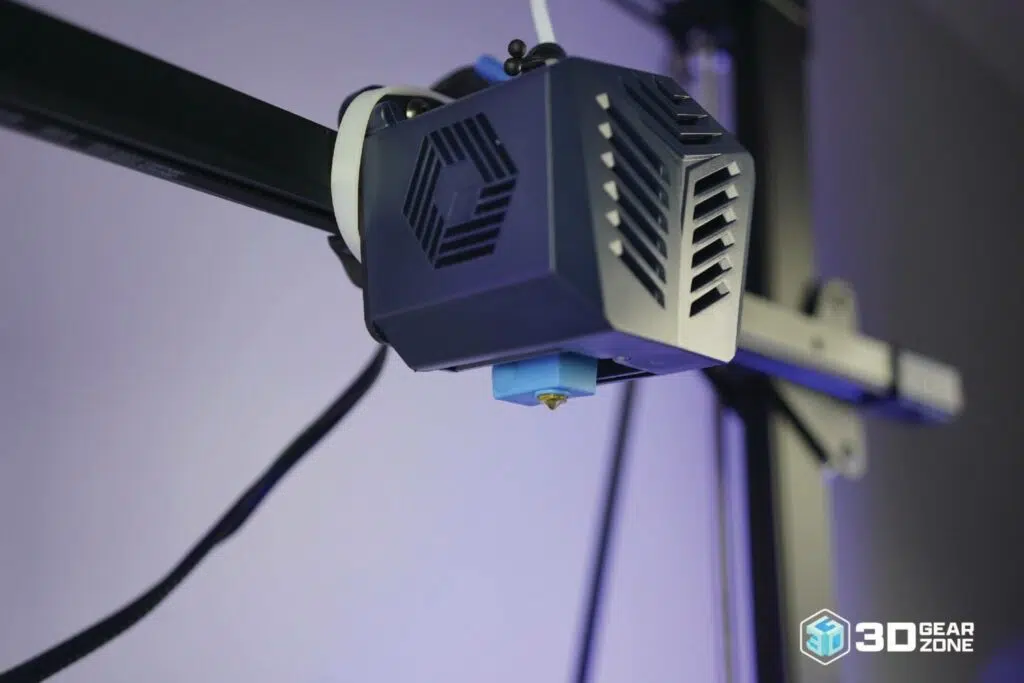
Despite its size, it's not an intimidating machine to learn. The LeviQ auto-leveling system keeps things simple for beginners while still giving experienced users the freedom to fine-tune. The direct drive extruder makes flexible filaments easier to print, and the dual Z-axis rails add stability for tall prints. It's a printer that aims to make big printing approachable.
Unboxing and building the Kobra Max
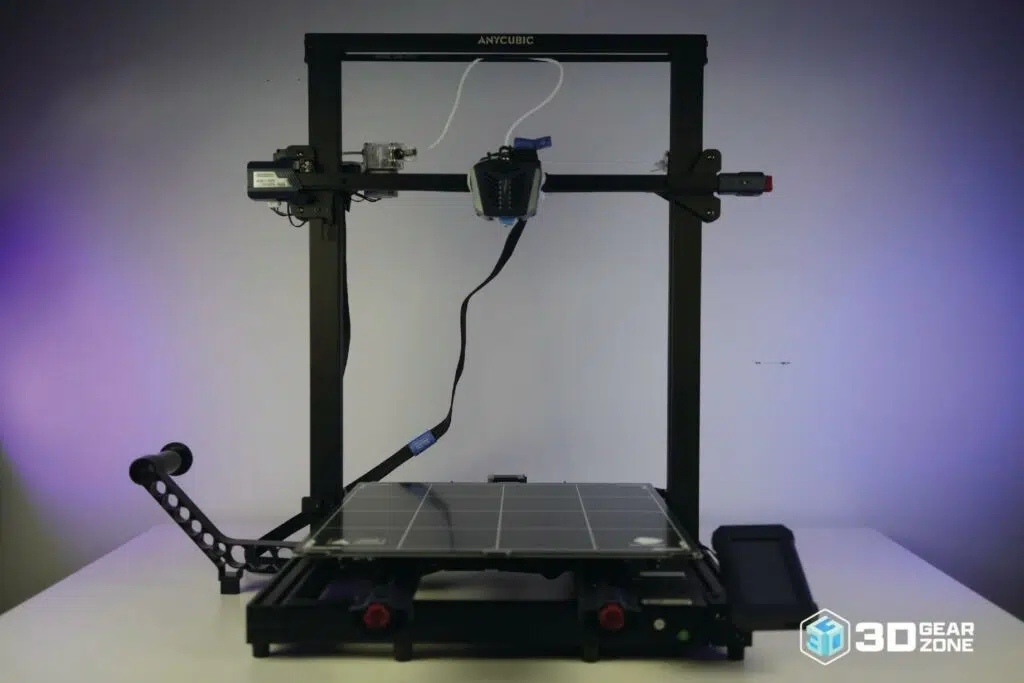
Unboxing the Anycubic Kobra Max sets the tone for a straightforward start. It arrives in a well-protected box with thick foam inserts keeping each part safe during transport. The components are organized neatly, and nothing feels loose or rattled around. Major sections of the printer are preassembled, so you won't be stuck with a pile of unlabeled parts.
Following the manual, you'll bolt together the gantry, attach the print head and wiring, and connect the spool holder. The wiring is already labeled, and the connectors click into place without forcing. With basic tools included in the box, most users will have it ready in under an hour.
What's especially nice is that the auto-leveling system kicks in right after setup. This saves you from manually adjusting knobs for hours just to get a decent first layer. Once the bed is leveled and the filament is loaded, you're essentially ready to start your first print.
What's in the box
- ▪Kobra Max Printer (partially preassembled)
- ▪Print Head with Direct Drive Extruder
- ▪Large Heated Bed (with pre-installed build surface)
- ▪Power Supply Unit
- ▪Spool Holder
- ▪Touchscreen Interface
- ▪Power Cable
- ▪Basic Toolkit (Allen keys, wrenches, screws)
- ▪Nozzle Cleaning Tools
- ▪USB Cable and microSD Card with Adapter
- ▪Test Filament Sample
- ▪Quick Start Guide / Manual
Building the machine
Putting together the Kobra Max is more assembly than a resin printer like the Mono X, but it is still approachable, even for first-time FDM users. The user manual is clear and includes diagrams that walk you through each step. Once unboxed, you will bolt the vertical gantry to the base, attach the print head assembly, and connect the wiring harnesses, all of which are labeled for easy matching.
The LeviQ automatic bed leveling takes over once assembly is complete, sparing you the trial-and-error of manual adjustments. You simply load filament, follow the on-screen prompts, and let the printer calibrate itself. This is valuable given the large bed size, where manual leveling can be more challenging.
| Stage | Time Estimate | Key Challenges | Tips / Notes |
|---|---|---|---|
| Unboxing & Placement | 15–20 minutes | Handling the large frame safely | Place it on a level, sturdy surface with space around all sides |
| Removing Shipping Material | 5 minutes | Locating protective foam and zip ties | Keep the original packaging for transport or return |
| Assembling Frame | 15–25 minutes | Aligning the gantry and base precisely | Tighten bolts evenly to avoid misalignment |
| Installing Print Head & Spool Holder | 5–10 minutes | Securing without pinching wires | Follow wiring labels carefully |
| Connecting Cables | 5 minutes | Ensuring correct connections | Match labels; avoid forcing plugs |
| Auto Bed Leveling | 5–8 minutes | None. It's automated. | Follow touchscreen prompts and load filament |
The entire process from unboxing to first calibration typically takes under an hour.
Our initial impressions of the build
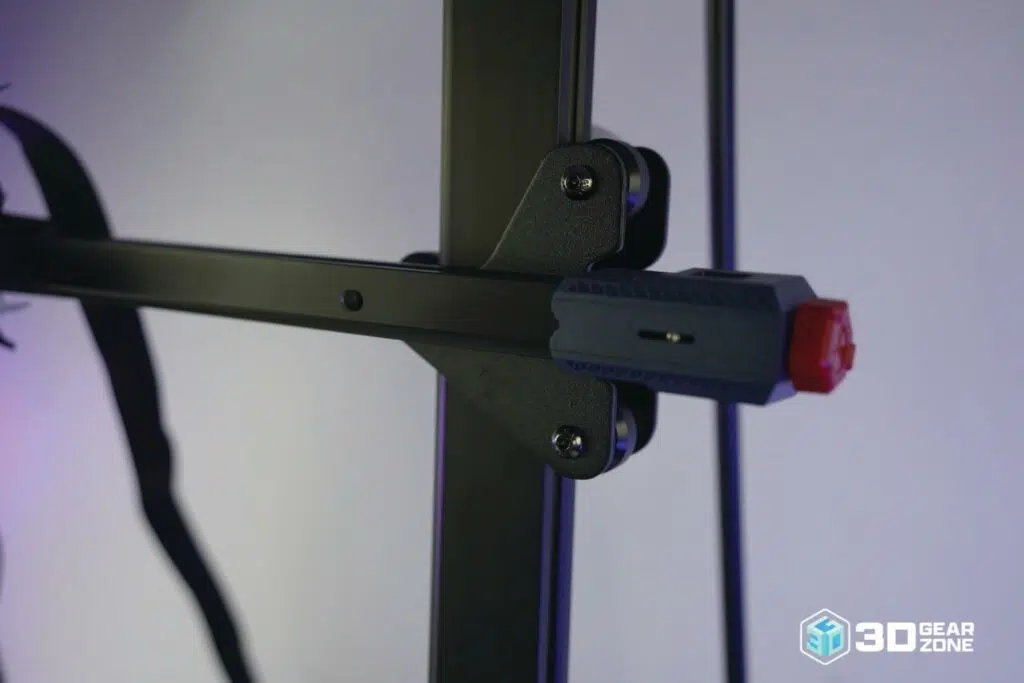
The Kobra Max makes a big statement right out of the box. Its towering frame and wide print bed are immediately impressive, and the reinforced metal structure gives a sense of stability. The dual Z-axis setup with synchronized lead screws adds to that rigidity, which is crucial when working on prints that can run for days.
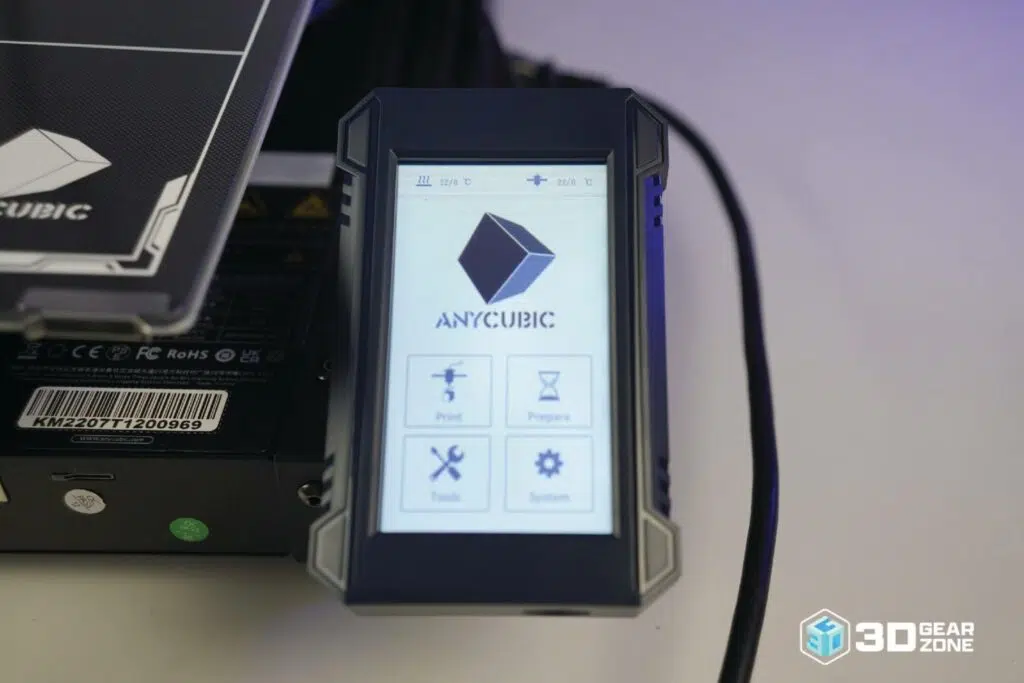
The large, color touchscreen is responsive and easy to navigate, and the direct drive extruder assembly feels solid. The wiring is routed cleanly, reducing the chance of snags during printing.
Given its footprint, you will need to dedicate a fair amount of space to it. It's best placed on a sturdy table or workbench where vibration is minimal. While it's not a silent printer, the noise level is reasonable for its size, and you can still work nearby without it being overly disruptive.
Design and technical specifications
The Kobra Max's main selling point is its enormous build volume of 400 x 400 x 450 mm. This opens up possibilities for full-size props, large engineering prototypes, or running multiple smaller parts in one print cycle.
It uses a direct drive extruder for improved filament control, especially with flexible filaments like TPU. The heated bed ensures good adhesion for large prints, while the LeviQ auto-leveling system keeps the first layer consistent across the entire massive surface.
Specs at a glance
- ▪Build Volume: 400 x 400 x 450 mm
- ▪Print Speed: Up to 180 mm/s (recommended 80 mm/s for best quality)
- ▪Layer Height: 0.1 – 0.4 mm
- ▪Nozzle Diameter: Standard 0.4 mm (interchangeable)
- ▪Filament Types: PLA, ABS, PETG, TPU
- ▪Bed Leveling: LeviQ Automatic Leveling
- ▪Extruder Type: Direct Drive
- ▪Connectivity: microSD Card, USB
- ▪Display: 4.3-inch Color Touchscreen
- ▪Heated Bed: Yes, textured build surface
- ▪Frame: All-metal construction with dual Z-axis
Print performance and quality
The Kobra Max delivers consistent, stable results across its massive build plate. Large single-piece models benefit from the dual Z-axis stability, with minimal layer shifting even during multi-day prints. Surface finishes are clean for an FDM printer in this class, and dimensional accuracy holds well when profiles are tuned.
Small details are important, but ultra-fine features might appear slightly softer compared to smaller printers with more targeted cooling. Flexible filaments perform well thanks to the direct drive, and standard materials like PLA and PETG produce strong, dependable parts.
Test print and benchmark results
To see how the Kobra Max performs in everyday use, we ran it through a series of print tests meant to push both its size and precision. These included dimensional accuracy checks, steep overhangs, long bridge spans, tall model stability trials, and flexible filament prints. The results were consistently strong for a machine of this scale.
Large models printed as single pieces kept a smooth surface finish with minimal layer shifting, even on multi-day runs. Fine details came out clean and well-defined for FDM printing, while TPU parts printed with crisp edges and good flexibility. Even on tricky structures like lattice designs or unsupported bridges, the printer kept defects low and required little post-processing.
This shows the Kobra Max is more than just a big build volume. It's capable of producing accurate, reliable prints that make that space genuinely worthwhile.
| Test Type | Result Highlights | Observations |
|---|---|---|
| Dimensional Accuracy Test | Close to CAD specs | Minor variation at large diagonals due to thermal expansion |
| Overhang Test | Clean up to 60° | Minimal stringing with tuned retraction settings |
| Bridging Test | Good up to 80 mm | Slight sagging beyond that without cooling mods |
| Tall Model Stability | No wobble detected | Dual Z-axis performed well over 48-hour print |
| Flexible Filament Test | Smooth extrusion | Consistent layer bonding with TPU |
Firmware, tuning, and calibration
The Kobra Max ships with stable and responsive firmware that makes navigation through its touchscreen simple. Updating is straightforward. You download the latest version from Anycubic's site, load it onto a microSD card, insert it into the printer, and follow the on-screen steps.
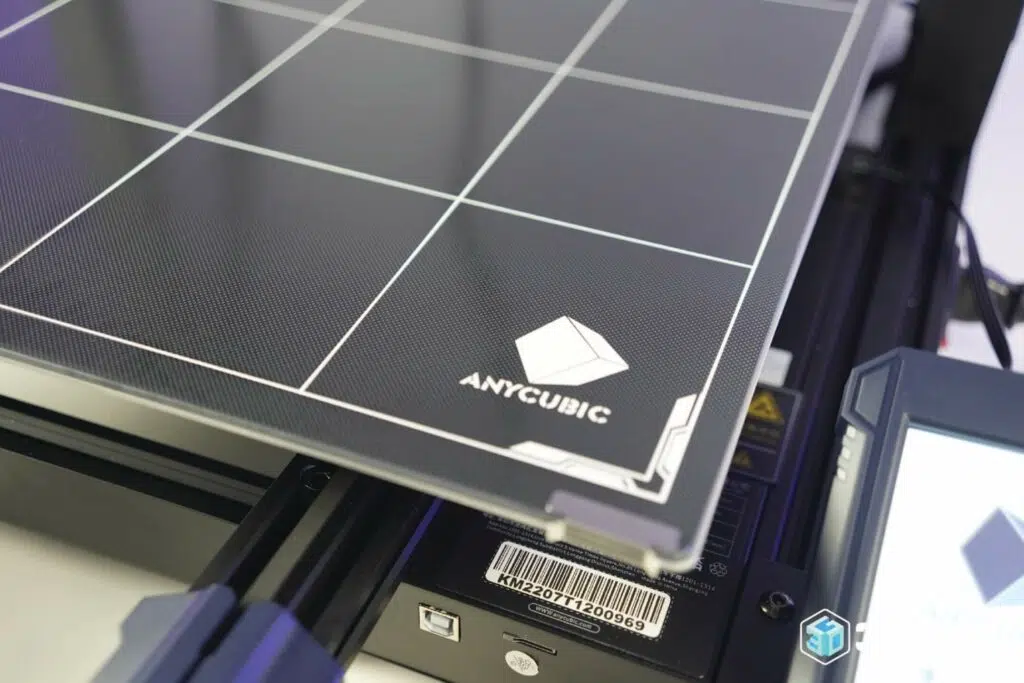
Like most of the best FDM printers, tuning is where you can really maximize its potential. While the LeviQ system handles automatic leveling, fine-tuning your Z-offset can make a noticeable difference in first-layer adhesion. Belts should be checked regularly for tension, as even a small amount of slack can show in long prints.
For slicer settings, starting with the manufacturer's recommended profiles is a good baseline, but most users find that slowing speeds slightly and adjusting cooling improves overhangs and bridges on this large bed.
Retraction distance and speed may need slight tweaks depending on filament type. Flexibles like TPU benefit from lower speeds, while PETG prints cleaner with moderate retraction and controlled cooling. Periodic checks of frame bolts and lead screws will keep everything aligned and running smoothly. Once dialed in, the Kobra Max holds settings well, producing consistent prints without constant recalibration.
Possible upgrades for the Anycubic Kobra Max
The Kobra Max is valued for its expansive build volume, but strategic upgrades can help translate that capacity into consistent, repeatable performance. The following are practical enhancements and modifications that experienced users have found effective for reducing print failures, improving efficiency, and day-to-day operations.
First layer and plate removal
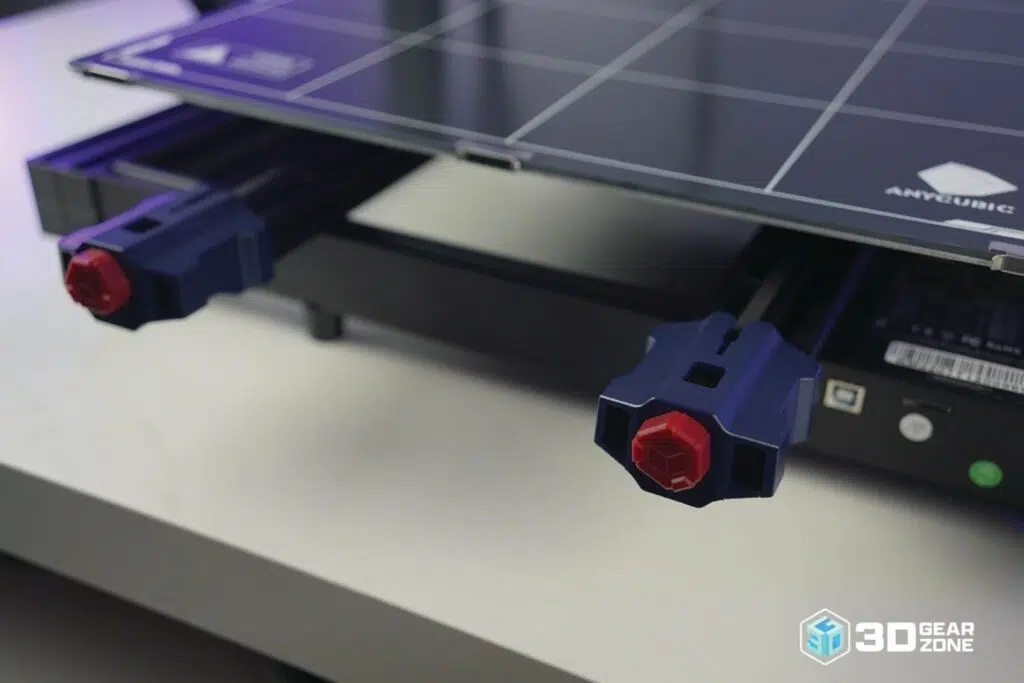
If you want your first layer to stick well but still pop off without a struggle, a spring-steel flex plate with a PEI surface is one of the best upgrades you can make. Large prints can hold on tight during a job, and prying them off a rigid plate can damage your model or the plate itself. With a flex plate, you just remove it, bend it slightly, and your print releases with ease. Having two plates on hand is even better. You can start a new print on one while the other cools, keeping your workflow smooth and uninterrupted.
If you like a glossy, glass-smooth bottom on your prints, try a flat glass sheet with a thin adhesive layer. Glass gives a beautiful shine for parts where appearance matters most. For heavy, everyday use with different filaments, PEI is a dependable choice. Go with the surface that fits the kind of work you do most.
Bed heat control on a giant build area
On a bed this large, the edges can cool faster than the center, which sometimes causes corners to lift. Adding an insulation pad under the bed helps keep the heat consistent, improves adhesion across the whole surface, shortens warm-up times, and even saves a bit of power. To keep airflow from messing with your prints, set up a simple draft shield or something as easy as a cardboard tri-fold works for PLA and PETG. If you're working with ABS or ASA, go for a proper enclosure to keep temperatures steady and prevent warping on long prints.
Change nozzles to match project size
Not every print needs the standard 0.4 mm nozzle. For big jobs, a 0.6 or 0.8 mm nozzle can lay down wider lines that bond well and cut your print times dramatically. Keep the 0.4 mm or smaller sizes for parts that need fine detail, and swap to a larger nozzle for large armor pieces, props, or structural parts. If you're printing with abrasive filaments, like those with carbon fiber or glow additives, use a hardened nozzle. For basic PLA and PETG, a brass nozzle will give you a nice, smooth finish.
Improve cooling with additional fans
Improving part cooling can make a big difference in print quality. A better duct or even a second fan can direct airflow right where it's needed, helping overhangs and bridges hold their shape cleanly. If you print a lot of PLA details, upgrading to a stronger but quieter fan is worth it. If you work with ABS or ASA inside an enclosure, keep the cooling gentle so layers stay bonded.
Power and job-safety helpers for long prints
With the Kobra Max, 24- to 72-hour prints are common. A small UPS can keep the printer running through short power outages, so you're not relying solely on resume-print features. A camera lets you check in on your print without hovering nearby, and a smart plug allows you to cut power once the hotend cools down after a job. Little additions like these can save you time and worry in the long run.
Maintenance, upkeep, and reliability
Like any 3D printer, the Kobra Max benefits from routine upkeep. Keeping it in top shape is straightforward if you follow a few consistent habits.
Daily maintenance and post-print care
To keep the Kobra Max running smoothly, make it a habit to perform a quick cleanup after each print. Start by removing any leftover filament strands or blobs from the nozzle before they cool and harden. Wipe down the build plate with isopropyl alcohol or a mild cleaning solution to remove any adhesive residue or dust. On a bed this large, check for small patches of filament that might have stuck during printing. If left in place, they can affect adhesion on your next job.
If you print with materials like PETG or ABS, inspect the surface for any signs of permanent bonding and gently scrape off problem spots with a plastic tool.
Additionally, store any filament you plan to reuse in a dry box or sealed bag with desiccant to keep it free from moisture, which can lead to stringing and weak layer bonding. While you're at it, take a quick look at the extruder gears for debris and remove any that could impact feeding performance.
Weekly checks
At least once a week, take a few minutes to give the printer a thorough once-over. Start by checking belt tension on all axes; they should feel firm but not overly tight, as loose belts can cause layer shifts while overly tight ones can wear components prematurely. Move on to the Z-axis lead screws and look for dust, filament particles, or other debris that could affect movement. A light application of synthetic grease or a suitable lubricant will keep the motion smooth and reduce wear on the stepper motors.
Use the LeviQ system to confirm the bed is still level, especially if you've recently moved the printer, changed nozzles, or completed an extended print job. While inspecting, look over all wiring and connectors to ensure they are fully seated, free of fraying, and not under tension.
Doing this weekly helps maintain consistent print quality and prevents small issues from becoming bigger problems down the road.
Consumables and part replacement
Nozzles, PTFE tubes, and bed surfaces are all consumables you'll need to manage proactively with the Kobra Max if you want to keep prints consistent and avoid unnecessary downtime.
For nozzles, it's best to inspect them after every few prints. Look for signs of wear, such as a widened opening, filament buildup, or clogs that affect extrusion flow. With PLA and PETG, a brass nozzle can usually last a couple of months under moderate use, but if you frequently run abrasive materials like carbon fiber or glow-in-the-dark filaments, upgrading to a hardened steel or ruby-tipped nozzle is wise. These resist wear much longer and help maintain print accuracy. Keeping at least two spare nozzles in your toolkit means you can swap one out immediately if a clog or damage occurs, rather than halting a project mid-way.
Bed surfaces will also need attention over time. The large bed on the Kobra Max is prone to gradual loss of adhesion due to dust, oils from your hands, or the repeated heating and cooling cycle. Clean the surface regularly with isopropyl alcohol to remove contaminants, and if you notice prints starting to lift or the surface developing scratches or gouges, replace it. A magnetic PEI-coated sheet can make this process much faster while also improving part release and first-layer adhesion.
The PTFE tube, which guides filament from the extruder to the hotend, is another component that wears with use and heat exposure. Every month, inspect the tube for discoloration, deformation, or residue buildup inside. If you feel extra resistance when loading filament or see a reduction in flow quality, replace the tube right away. Swapping it every few hundred print hours, even preemptively, helps prevent clogs and feeding issues that can ruin long prints.
Long-term reliability
Every few months, place the printer on a level surface and check that the frame is perfectly square. Go over all bolts with the included tools to ensure they are tightened to the manufacturer's specifications. If you have recently moved the printer, finished a particularly heavy or tall print, or noticed issues with the first layer, run the LeviQ bed leveling process again to restore accuracy.
While you are at it, examine all moving parts carefully. Check belts for tension and signs of wear, look over pulleys for smooth rotation, and inspect bearings for debris or stiffness. Replace worn components before they begin to cause visible print defects.
Common issues and fixes with the Anycubic Kobra Max
Like all 3D printers, it will always encounter common issues sooner or later. It can develop quirks over time, yet most of these can be spotted early and corrected.
Prints sticking too hard to the build plate
Many Kobra Max owners notice that prints sometimes adhere too strongly to the bed. While strong adhesion is good for keeping prints stable, excessive grip can make removal difficult and potentially damage the model, especially if it has thin or fragile details.
If this happens, start by checking the LeviQ bed leveling. If the nozzle is too close to the bed, the first layer will be pressed too firmly, increasing adhesion. Adjusting your Z-offset slightly higher can help. You can also lightly sand the bed with fine-grit sandpaper to create a subtle texture, allowing the print to grip enough without over-bonding.
If the problem continues, apply a thin layer of glue stick or a PTFE-based release agent before printing. This acts as a barrier, making part removal smoother.
Layer separation or weak bonding between layers
Layer splitting is often caused by incorrect temperature or exposure settings, or by a loose FEP film if you are printing with certain materials.
For filament printing on the Kobra Max, ensure you are using the correct temperature for the specific filament type. If you are printing tall models or in a cooler room, raising the nozzle temperature by a few degrees can help the layers fuse better.
Also, inspect your filament for moisture absorption, which can weaken layer adhesion; drying your filament in a filament dryer can restore print quality. If the issue persists, slow down your print speed to give each layer more time to bond.
Warping on large prints
The Kobra Max's large bed makes it great for full-size prints, but also increases the risk of warping, particularly with materials like ABS or nylon. Warping occurs when parts of the print cool at different rates, causing corners to lift.
To counter this, use a brim or raft to increase surface contact with the bed. For temperature-sensitive materials, printing inside an enclosure keeps the ambient temperature stable and prevents drafts from cooling certain areas too quickly. Even a DIY draft shield made from cardboard or acrylic panels can improve results.
Wobbling or instability on tall prints
With a build height of 450 mm, the Kobra Max can produce very tall prints. However, this can sometimes cause slight wobble or leaning if the printer is not perfectly stable.
Always place the printer on a level, sturdy surface to prevent vibrations. Check the dual Z-axis lead screws regularly for tightness, and lubricate them lightly with synthetic grease to keep motion smooth. Tighten all frame bolts periodically, especially if the printer has been moved recently. If you notice wobbling mid-print, reduce the print speed to lessen mechanical stress.
Comparisons with Kobra Max Competitors
When you are in the market for a large-format FDM printer, the choice often depends on how well it balances print size, quality, and overall cost. The Anycubic Kobra Max stands out with its massive build area and convenient features, but it is up against some strong contenders in this category.
| Specification | Anycubic Kobra Max | Creality CR-10 Smart Pro | Artillery Sidewinder X2 | FLSUN Super Racer (Delta) | Creality Ender 5 Plus |
|---|---|---|---|---|---|
| Build Volume (mm) | 400 x 400 x 450 | 300 x 300 x 400 | 300 x 300 x 400 | Ø260 x 330 | 350 x 350 x 400 |
| Screen Type | 4.3″ Touchscreen | 4.3″ Touchscreen | 3.5″ Touchscreen | 3.5″ Touchscreen | 4.3″ Touchscreen |
| Resolution | 0.1 mm | 0.1 mm | 0.1 mm | 0.1 mm | 0.1 mm |
| Print Speed | 180 mm/s | 150 mm/s | 150 mm/s | 200 mm/s | 100 mm/s |
| Price Range (USD) | $529 – $599 | $599 – $699 | $399 – $499 | $399 – $499 | $579 – $649 |
Kobra Max's biggest advantage is its ability to produce large models in a single piece without having to split them up. Its extra space is perfect for cosplay props, large prototypes, and complex designs where a seamless finish matters. While it is not the quickest at 180 mm/s, it maintains steady accuracy even when operating at full capacity.
The LeviQ auto bed leveling is straightforward and holds calibration longer than the CR-10 Smart Pro, making setup easier over time. The Sidewinder X2 is quieter and more compact, but its smaller build limits big projects. The Kobra Max handles overhangs better than the Creality Ender 5 Plus, and although the FLSUN Super Racer is quicker, its circular bed restricts wider prints. Price-wise, it costs more than the Sidewinder X2 but gives far more build space, and it offers better value in volume than the CR-10 Smart Pro.
If size, reliable adhesion, and consistent accuracy matter most, the Anycubic Kobra Max stays competitive in the large-format space.
Our final verdict
If you're weighing the Kobra Max in 2025, it really comes down to what you value most in a printer. It has standout strengths: massive build volume, reliable auto-leveling, and solid out-of-the-box performance for large-format prints. Those are things that still hold up well today, and for creators who regularly tackle oversized projects, it's hard to beat the convenience and scale it offers.
That said, you have to consider its size, slower print speed compared to some newer competitors, and the fact that dialing in settings for certain materials can take extra patience. If you want a compact, high-speed workhorse, other options might fit better. But if your deciding factor is the ability to print big without piecing models together, the Kobra Max still earns its spot as a worthy investment.
1. Elegoo.com, "Elegoo, INC." Accessed July 26, 2022.

Scott Gabdullin is a Canadian entrepreneur, investor, and marketing expert who has successfully combined his passion for technology and innovation with a love for adventure and exploration.
Scott brings 12 years of digital marketing experience and a hardcore work ethic to his new passion for 3D printing. If he is not working on this business, he is likely travelling and Overlanding across North America with his wife and 2-year-old son in their Jeep Rubicon.
Read more →