Anycubic M3 Max Resin 3D Printer Review
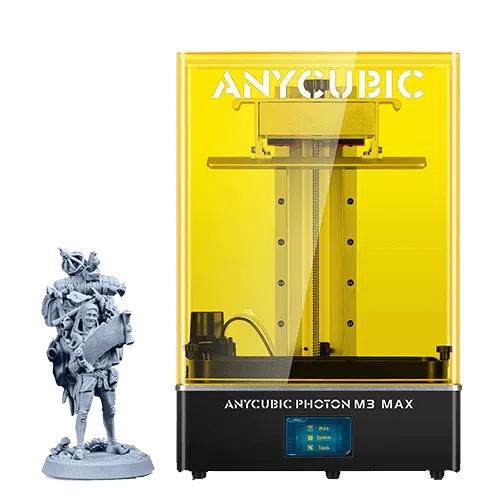
The Anycubic Photon M3 Max marked a major advancement in accessible large-format resin 3D printing. With a spacious 298 x 164 x 300 mm build volume, it allowed users to produce larger single-piece prints or batch multiple items, a capability once limited to industrial machines.

Score breakdown
A large-format printer built for scale
Beyond its size, the M3 Max offered a high-resolution monochrome LCD for faster speeds and finer detail, outperforming many older RGB models. Features like an automatic resin feeder improved ease of use and reliability during extended prints, helping make large-scale 3D printing much more practical and inexpensive for advanced makers and enthusiasts.
As of 2025, the M3 Max remains relevant despite newer competitors. It continues serving users who value large capacity and proven performance over the latest features. Positioned in the mid-to-upper-mid range, it balances volume, reliability, and cost, making it a good option.
The Anycubic Photon M3 Max focuses on scale without sacrificing consistency. From the start, it is clear this printer was built for long-form printing. Its construction feels deliberate, with a reinforced Z-axis and smooth lift mechanics that help prevent wobble during prints.
This printer's 7K monochrome screen offers impressive clarity, but what truly sets it apart is how well that detail holds across larger prints. Fine textures and surface details come through cleanly from edge to edge, which isn't always a given at this size. Combined with steady light projection, this results in sharp results over longer exposure times.
The automatic resin feeding system is a practical addition, especially for larger batches or prints that run overnight. It minimizes interruptions and reduces the risk of running dry mid-print, which is a real concern on high-volume jobs. Also, print setup is streamlined, with plate calibration and firmware that feel more polished than earlier models in the M series.
An Overview of the Anycubic Brand
Since 2015, Anycubic has built a strong reputation for making 3D printing more approachable for those looking to get into it. Above all, the brand focuses on providing reliable hardware and accessible pricing.
Their M series of resin printers reflects this goal well. It delivers faster, more detailed prints through monochrome LCD technology, and each model in the series scales up in size and resolution, giving users flexibility based on their needs.
Upon its release, the Photon M3 Max sat at the top of this lineup. It was designed for those needing more print capacity without entering industrial territory. The 3D printer easily handles larger models and batch prints, making it a practical choice for professionals, small businesses, and hobbyists serious about their craft.
Unboxing and Building the Anycubic Photon M3 Max
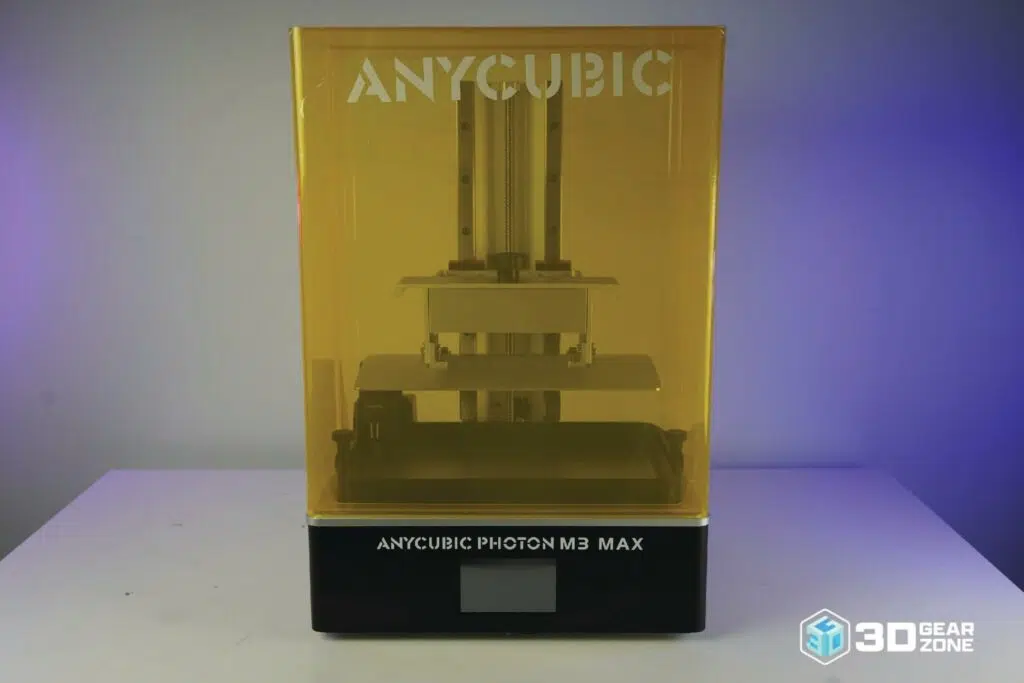
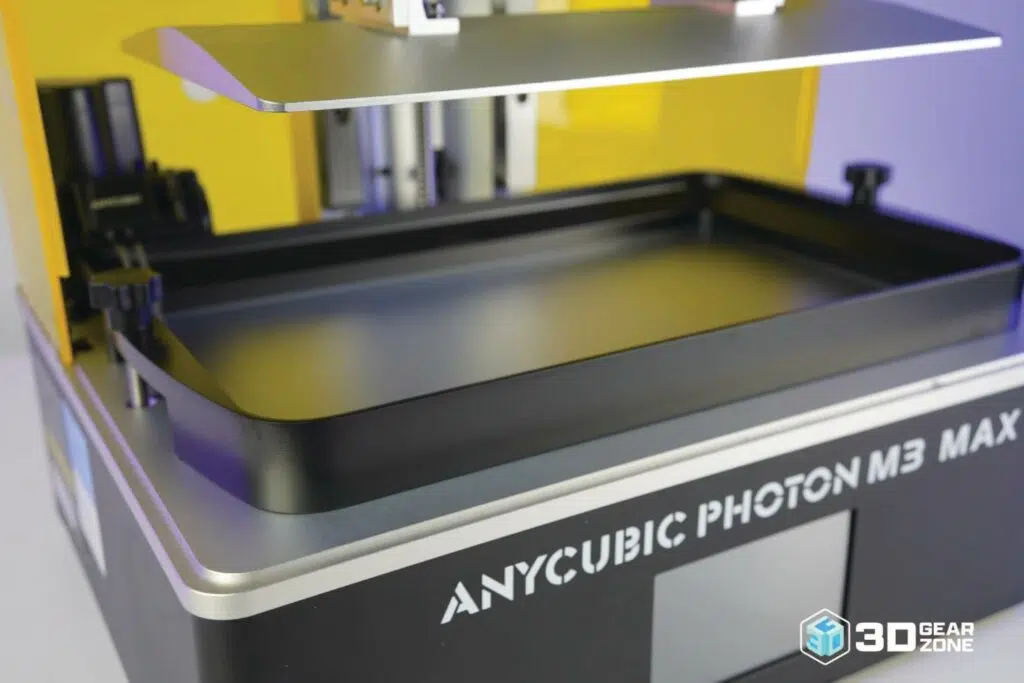
Opening the box of the Photon M3 Max immediately gives a sense of its scale. Anycubic ships it in a massive, reinforced package, with a steel frame built into the interior to keep the contents rigid and secure. All components, including the printer, resin vat, and build plate, are packed tightly in thick foam inserts that prevent motion that causes damage during transportation.
We got our M3 Max with visible damage to the outer box, but everything inside was in perfect condition. The steel frame did well, absorbing shock and stabilizing the printer. It was evident that Anycubic put real thought into protecting a machine of this size and weight.
Getting everything out of the box is easy, though the M3 Max's large footprint makes it a bit of a workout. That said, once unboxed, the layout is clean and organized, with each component clearly visible and ready to be set up.
What's in the Box?
- ▪Printer Unit
- ▪Printer Cover
- ▪Printing Platform
- ▪Resin Vat
- ▪Scrapers
- ▪Anti-Scratch Film Kit
- ▪USB Flash Drive
- ▪Power Adapter
- ▪Gloves
- ▪Funnel
- ▪Instruction Manual
- ▪Tool Kit
- ▪Facemask
- ▪Auto Resin Filler Module
- ▪Leveling Paper
Building the Machine
Setting up the Anycubic Photon M3 Max leans on the easier side of moderate, especially for any person with technical experience. Most of the printer comes pre-assembled inside the box, so the bulk of the work involves mounting the Z-axis to the base and connecting labeled cables.
Leveling the build plate requires more hands-on work. Because the M3 Max has such a large surface area, this step demands more care compared to smaller resin printers, you'd need to remove the plate, slide a leveling sheet between the plate and LCD, and gradually tighten the screws in a set order to ensure even pressure.
Anycubic's instruction manual is well-illustrated and very easy to follow, and the included tools will cover everything you need. If anything, the size and weight of the printer might make handling a little awkward at times, but the actual assembly process is manageable.
Compared to assembling an FDM printer from a kit, the M3 Max is refreshingly low-effort. Most of the setup comes down to following instructions and taking your time with the leveling. Once that's done, you're ready to print.
| Stage | Time Estimate | Key Challenges | Tips / Notes |
|---|---|---|---|
| Unboxing & Initial Setup | 15-30 minutes | Identifying and organizing all the components and handling the printer due to its size. | Carefully unpack all components and cross-reference them with the parts list in the user manual. Clear a spacious workspace. |
| Installing the Build Plate Arm | 5-10 minutes | Making sure that the build plate arm is correctly oriented and securely fastened. | Refer closely to the diagrams in the user manual for proper alignment. Tighten screws sufficiently but avoid over-tightening. |
| Attaching the Build Plate | 2-5 minutes | Aligning the build plate properly with the arm and securing it. | See to it that the build plate sits flush against the arm before tightening the securing mechanism. |
| Connecting Cables | 5-10 minutes | Identifying and correctly connecting the various power and data cables. | Consult the user manual for the correct ports and ensure all connections are firm. |
| Initial Power-On & Basic Checks | 2-5 minutes | Verifying that the printer powers on and the touchscreen is functional. | Check for any unusual noises or error messages upon the first power-up. |
Our Initial Impressions on Build Quality
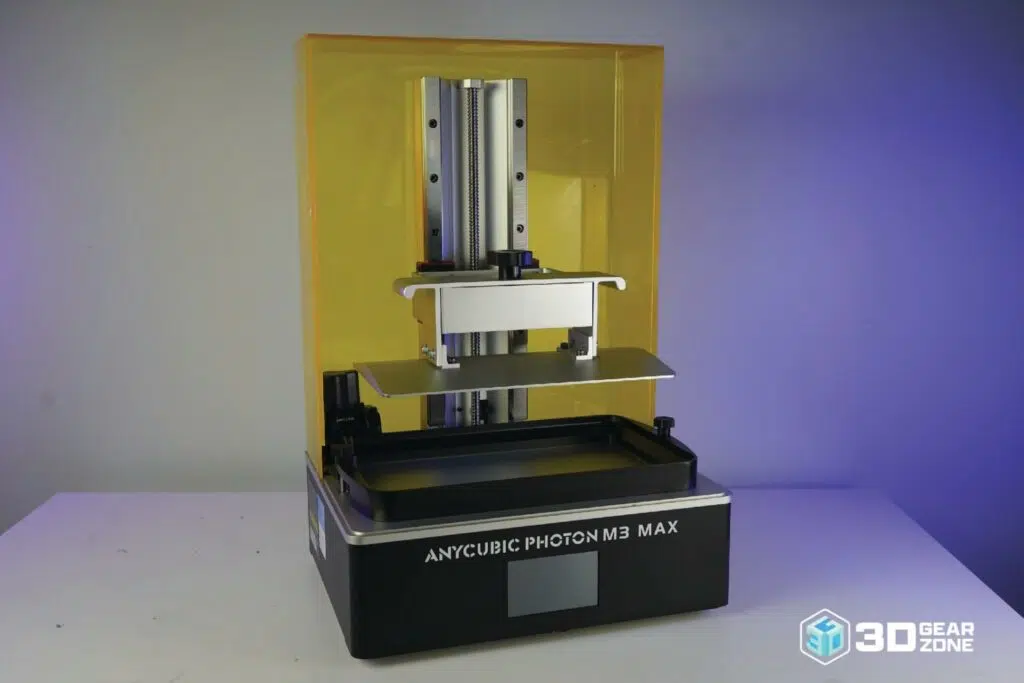
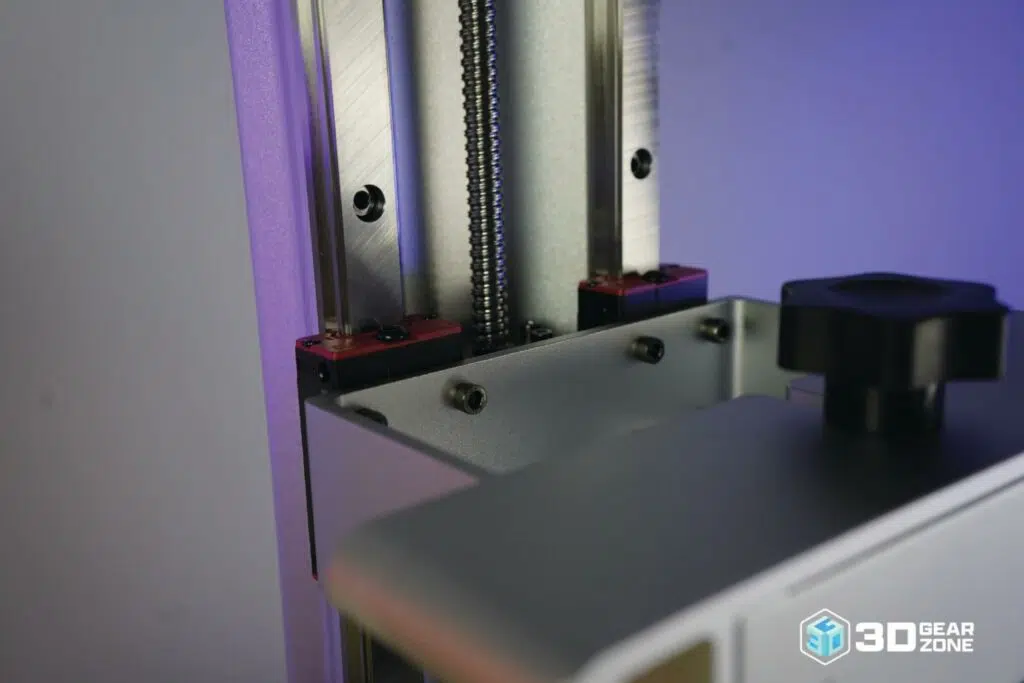
First impressions of the Anycubic Photon M3 Max's build quality are strong. The main chassis feels well-made and stable, which is precisely what you want for handling large or heavy prints. Fundamental structural parts like the Z-axis assembly and build plate arm are made from metal, adding to the all-around feeling of durability. The Z-axis runs on well-secured linear rails that glide smoothly. This level of precision is essential for maintaining consistent layer heights, especially on taller models where even minor inconsistencies can become noticeable.
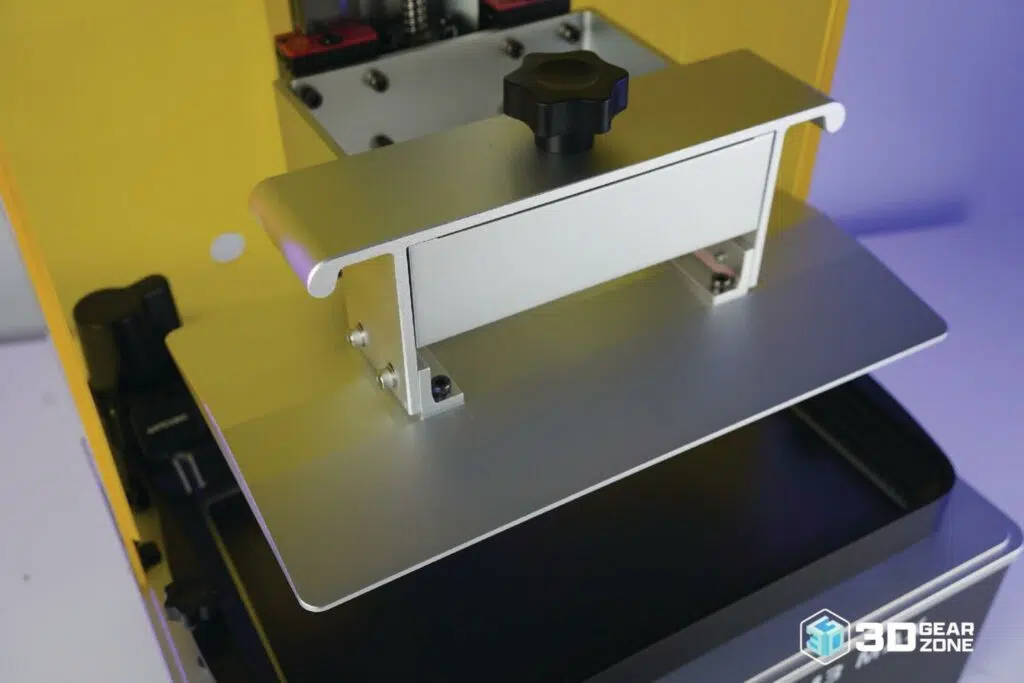
Meanwhile, the build plate is also large and carefully machined. Its mounting system utilizes a thick bracket and tight screws to keep it firmly in place, which helps maintain level calibration between prints.
The user interface and other details follow the same thoughtful approach. Touchscreen controls are responsive and laid out clearly, making it easy to move through menus and start prints. The electronics and UV light system housing blend cleanly into the overall frame. Even the resin vat, often an afterthought in other models, uses a secure locking mechanism.
A few small compromises show up, mostly in cosmetic areas. For example, certain plastic sections don't feel as premium as the rest of the build. Plus, the durability of the resin pump remains a question that only extended usage will answer. Still, these are all minor concerns compared to the machine's overall construction, which is excellent compared to 3D resin printers from other brands.
Design and Technical Specifications
The Anycubic Photon M3 Max is built for users who need serious resin printing capacity without trading off detail or reliability. It's a large-format LCD resin printer designed to handle everything from big display pieces to high-volume part production.
One of its standout features is the 13.6-inch monochrome LCD screen with 7k resolution, which delivers 6480 x 3600 pixels. It allows for exceptional XY accuracy of 46 microns, which means fine details and smooth surfaces. Monochrome tech also helps reduce print time due to faster layer curing, pushing speeds up to 60mm per hour. While it does not seem like much, that speed is significantly noticeable when tackling full-size prints or multiple parts in one go.
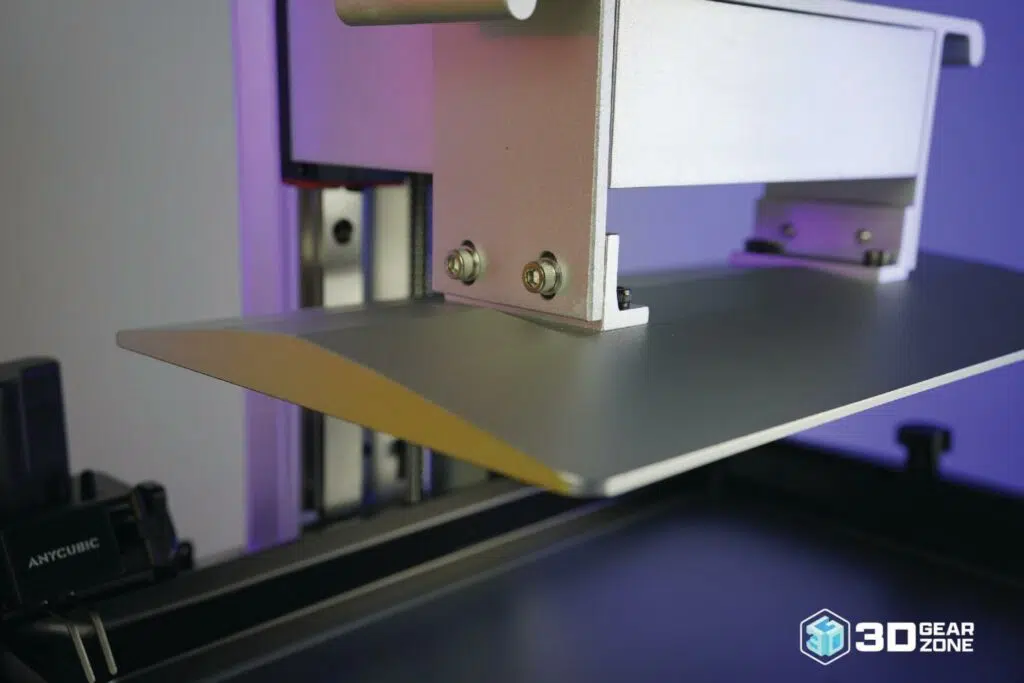
Dual linear rails and a lead screw setup handle movement on the Z-axis. This design keeps the build plate steady as it rises, helping to avoid shifting or wobbles, especially with taller prints. The build plate itself is laser-etched aluminum, which boosts first-layer adhesion and lowers the risk of failed prints due to peeling or warping.
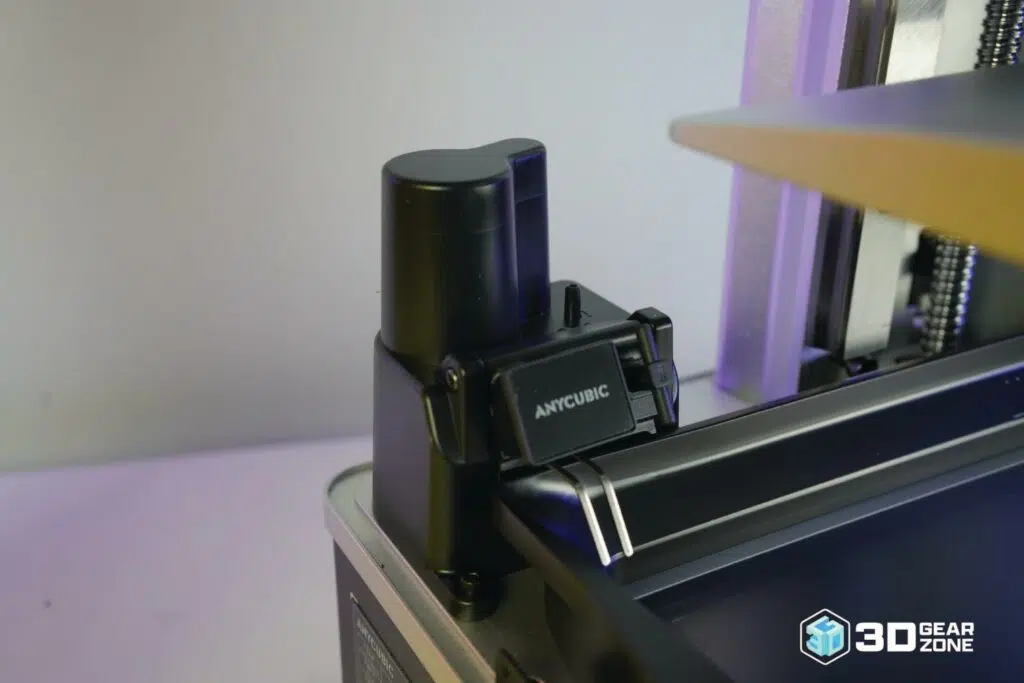
One major convenience feature is its automatic resin feeder. It detects low resin levels during long print jobs and refills the vat directly from a mounted bottle. This prevents mid-print failures and saves you from the tedious job of constantly checking and topping up resin by hand.
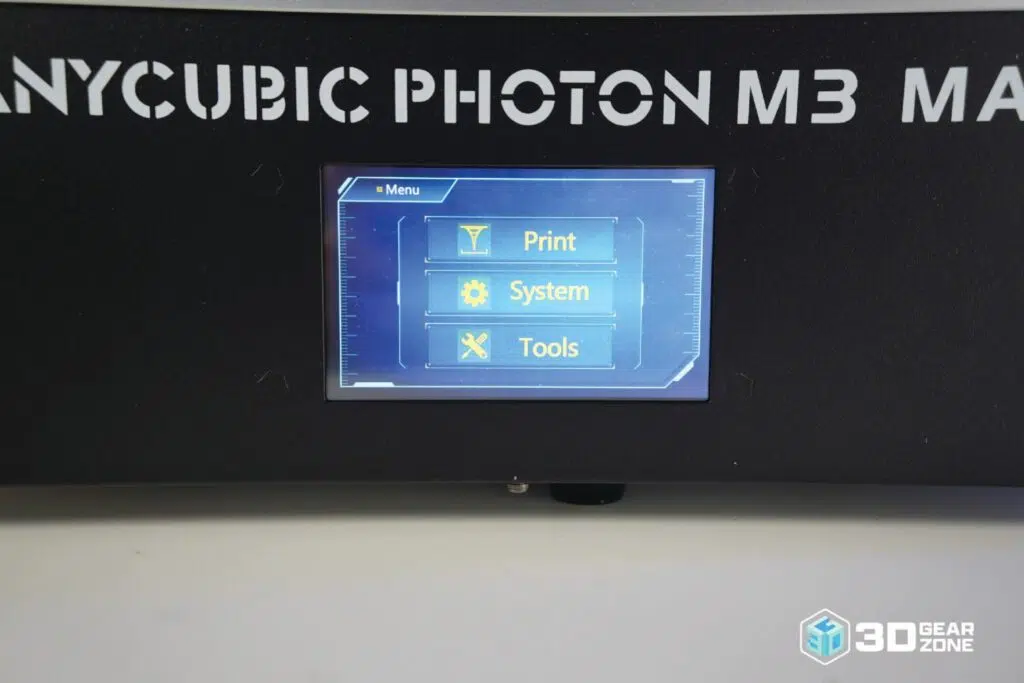
The Photon M3 Max uses a responsive 4.3-inch color touchscreen for controls and connectivity. File transfer is done through a USB port, keeping things simple and dependable. It also supports popular slicers like Chitubox and Lychee Slicer, so you can choose your workflow.
In addition, the printer runs on standard AC power, with a well-built UV LED array for consistent light distribution. A built-in cooling system also keeps temperatures stable, helping guarantee consistent exposure and protecting the hardware over time.
Key Technical Specifications
- ▪Build Volume: 300 x 298 x 164mm
- ▪Printing Speed: ≤60mm/hr
- ▪LCD Screen Size: 13.6″ 7K (6,480 x 3,600px) Mono LCD
- ▪Build Platform: Laser Engraving Platform
- ▪Slicing Software: Photon Workshop
- ▪Machine Dimensions: 596 x 400 x 408mm
- ▪Printing Volume: 14.7L / 498.5oz
- ▪Machine Leveling: 4-Point Manual Leveling
- ▪Light Source: Parallel Matrix (LED Lights x 84)
- ▪Operating Screen: 4.3″ Resistive Touch-Control
- ▪Machine Weight: 21kg / 46.3lb
- ▪Supported Materials: Most resins on the market (water-washable, standard, ABS-like, plant-based, etc.)
Create Large Prints
Printing big models or multiple parts at once is exactly where the M3 Max shines. Its generous build area handles single-piece prints that overwhelm smaller machines, and you can stack or batch items without worry. A rigid metal frame and dual linear rails keep everything steady from the first layer to the top of taller projects. Even runs that stretch into overnight sessions stay reliable, thanks to the superb build quality and the automatic resin feeder.
Consistent, Well-Defined Details
Thanks to the 7K monochrome LCD and uniform light delivery, fine features stay sharp across large surfaces. That 46-micron XY accuracy captures intricate textures and crispy edges without compromise, even on complex or tall prints. The laser-etched build plate provides reliable first-layer adhesion and prevents peeling or warping that can ruin your work.
Broad Resin Compatibility
Anycubic designed the M3 Max to work with any standard resin recipe. From water-washable and plant-based formulations to ABS-like and specialty mixes, the 3D printer's UV LED matrix delivers the right exposure across the board. The built-in settings found in Photon Workshop, Chitubox, and Lychee Slicer can simplify calibration for different materials.
Print Performance and Quality
Print performance on the Photon M3 Max is good thanks to its smart engineering and well-matched components. At the center of it all is the 7K monochrome LCD, which offers 46-micron XY resolution and helps produce sharp details, clean edges, and smooth textures. Miniatures, figurines, and complicated models benefit the most from this clarity. Then again, even larger functional parts retain their detail across wide surfaces.
Print speed is another area in which this machine excels. The monochrome screen's ability to shorten layer exposure times means fewer waiting around for large jobs to finish. Even though real-world speeds might not always match the specs, the improvement over older RGB printers is clear.
That said, the M3 Max does have a few drawbacks that can impact results. For instance, getting reliable prints across the entire surface can take more trial and error, particularly near the corners. On top of that, achieving consistent first-layer adhesion on such a big plate demands proper leveling and resin selection. Unfortunately, it can be tricky to deal with the four-point manual leveling system.
Another consideration is support placement. If your supports aren't carefully planned, taller prints or wide, unsupported sections are more prone to sagging or warping. This makes the setup more crucial and time-consuming, especially for less experienced users. And while the automatic resin feeder does add some level of convenience, its dependability depends on proper bottle alignment and regular maintenance. If not monitored, clogged tubes or misfeeds can interrupt your prints, slightly undercutting the hands-off promise.
Still, when the settings are dialed in and models are properly supported, the Photon M3 Max delivers consistent, high-quality prints. It's a capable printer, but getting the best results takes patience and attention to setup.
Test Prints and Benchmark Results
| Test Type | Result Highlights | Observations |
|---|---|---|
| Rook Calibration Print | Fine details like the castle battlements and tiny spheres are well-defined. Minimal layer lines are visible. All intricate features are generally present. | The battlements and miniature spheres came out razor-sharp with almost no visible layer lines. Thanks to the high-resolution screen and light distribution, every tiny detail stayed intact. |
| AmeraLabs Town Calibration | High scores in dimensional accuracy, pinhole tests, and surface quality are common. Bridges and overhangs are typically printed with minimal sagging or deformation. | Measurements fell within a hair's breadth of the intended dimensions. Pinholes down to 0.2 mm remained clean, and bridges up to 5 mm held firm without drooping. Surface quality stayed smooth across complex shapes. |
| Cones of Calibration | At the optimal exposure time, a clear distinction between the "success" and "failure" cones is usually evident, with minimal blooming or merging of the cones. | There was a clear line between fully cured cones and under-cured ones at the recommended exposure. No noticeable bleeding or blending of adjacent cones appeared. |
| Thin Wall Test | The ability to accurately reproduce thin walls down to the printer's stated resolution is generally achieved, as is the uniformity and completeness of the thin structures. | Walls as fine as 0.3 mm printed consistently with uniform thickness and no signs of layer separation. The printer reproduced every slender feature accurately. |
| High-Density Support Test | Delicate support structures are printed without fusing and are relatively easy to remove without damaging the model's surface. Clean break points are observed. | Very thin support struts (0.4–0.6 mm) detached exactly at their designed break points. Removal left the model's surface clean, with minimal to no cleanup required. |
Firmware, Tuning, and Calibration
The Anycubic Photon M3 Max feels intuitive primarily due to its touchscreen and clean interface, which easily handles basic tasks. You can start your prints, manage files, and access essential functions without much effort. Menu navigation is straightforward, and most users will have no trouble getting up and running. That said, there are still a few areas that feel underdeveloped.
For example, some users might notice slight input lag when navigating menus, and there's limited access to more advanced settings directly from the firmware. Compared to other 3D printers in the same category, the control you get here is a bit more basic. Firmware updates do come out, but their timing and responsiveness to user feedback can be hit or miss.
Slicer tuning is where the learning curve begins to steepen. Getting perfect exposure times, lift speeds, and retraction settings isn't always clear-cut. It often takes a few failed prints and some wasted resin before things start to get right. While you can run calibration prints, it would be nice to have more built-in tools or presets to make the process short, especially for those just starting out.
Leveling the build plate is another area that could use more polish. Paper leveling just feels outdated for a machine at this size, especially since even a slight mismatch in leveling can cause prints to detach or warp.
Possible Upgrades for the Anycubic Photon M3 Max
For the Photon M3 Max, a few upgrades have gained popularity within the community to improve the overall printing experience. Here are some of the most common ones:
- ▪Upgraded FEP/nFEP Film
- ▪Activated Carbon Air Filter System
- ▪Magnetic Build Plate
- ▪Higher Wattage or Upgraded UV LED Array
- ▪Chamber Heater
- ▪Build Plate Scraper with Ergonomic Handle
- ▪Silicone Vat Mat
- ▪USB Extension Cable
- ▪Touchscreen Protector
- ▪Resin Level Sensor
Maintenance, Upkeep, and Reliability
Keeping the Anycubic Photon M3 Max in good shape is fairly easy, but it does take consistent care. Cleaning the resin vat and build plate after every print is essential. Any leftover or cured resin can affect adhesion or even damage the FEP film.
The LCD screen underneath the vat also requires attention. Although it is protected, it is still prone to resin spills. Even a thin layer of cured resin can block UV light and ruin prints, so it's best to keep it clean and free from contaminants.
In regards to mechanical parts, the Z-axis rails and lead screw benefit from light lubrication now and then to keep movement smooth. Now, if you're using the automatic resin feeder, inspect the tubing occasionally for clogs or leaks. It's also smart to run the printer in a well-ventilated space, especially in warm weather or climate, where resin can act differently due to higher ambient temperatures.
The M3 Max is reliable, especially if you utilize the correct slicer settings and keep the build plate level. Print failures can still happen, particularly with larger or unsupported parts. So adequate support placement is key.
The monochrome LCD screen will eventually wear out after many hours of use, but that's standard for this type of printer. Issues with the resin feeder are rare but can happen, usually tied to setup problems or blockages. Overall, consistent upkeep and a little patience go a long way. With the proper routine, the M3 Max provides dependable, large-format resin printing with minimal inconvenience.
Common Issues with the Anycubic Photon M3 Max
Like any complex machine, the Anycubic Photon M3 Max isn't perfect. Some issues can crop up over time or right out of the box, especially for users new to resin printing. Below are some of the most commonly reported problems and what typically causes them:
- ▪Inconsistent resin flow or blockages with the automatic resin feeding system
- ▪The fumes produced during printing, common with resin printers, can be more noticeable due to the larger resin vat
- ▪Removing large prints from the build plate can sometimes be difficult and require care to avoid damage
- ▪For complete beginners to resin printing, the initial setup and understanding of all the printer's features can be overwhelming
- ▪Some users have reported occasional software glitches or connectivity issues with USB drives
Comparisons with Alternative Models
The Anycubic Photon M3 Max sits in the large-format class, and it's not alone in its price category. The table below gives a quick look at how it stacks up against similar machines:
| Photon M3 Max | ELEGOO Saturn 4 Ultra | Elegoo Jupiter SE | Phrozen Sonic Mega 8K S | Photon Mono M7 Max | |
|---|---|---|---|---|---|
| Build Volume | 300 x 298 x 164mm | 218.88 x 122.88 x 220mm | 277.848 x 156.264 x 300mm | 330 x 185 x 300mm | 298 x 164 x 300mm |
| Print Speed | 60 mm/hr | 150 mm/hr | 70 mm/hr | Average 400 layers/hr (Variable) | 83 mm/hr |
| Assembly Complexity | Mostly Assembled | Mostly Assembled | Mostly Assembled | Fully Assembled | Mostly Assembled |
| Price Range | $500 – $1000 | $450 – $600 | $650 – $875 | $1400 – $1600 | $800 – $1000 |
| Customization | Moderate (Resin, Slicer Settings) | Moderate (Resin, Slicer Settings) | Moderate (Resin, Slicer Settings) | Moderate (Resin, Slicer Settings) | Moderate (Resin, Slicer Settings) |
Our Final Take
The Anycubic Photon M3 Max holds its place in the large-format resin printing space. With its generous build volume, 7K resolution, and monochrome LCD, it delivered good results at a price that attracted both serious hobbyists and professionals.
That said, the M3 Max does have its share of limitations. The resin printing market has moved quickly in recent years. While the M3 Max still delivers, it's starting to show its age compared to machines that benefit from a more recent hardware refresh.
Still, the M3 Max is not out of the game. Its large build volume remains a standout feature. If your goal is to print big and keep costs under control, it'll continue to be one of the best deals you can get in the market.

Scott Gabdullin is a Canadian entrepreneur, investor, and marketing expert who has successfully combined his passion for technology and innovation with a love for adventure and exploration.
Scott brings 12 years of digital marketing experience and a hardcore work ethic to his new passion for 3D printing. If he is not working on this business, he is likely travelling and Overlanding across North America with his wife and 2-year-old son in their Jeep Rubicon.
Read more →