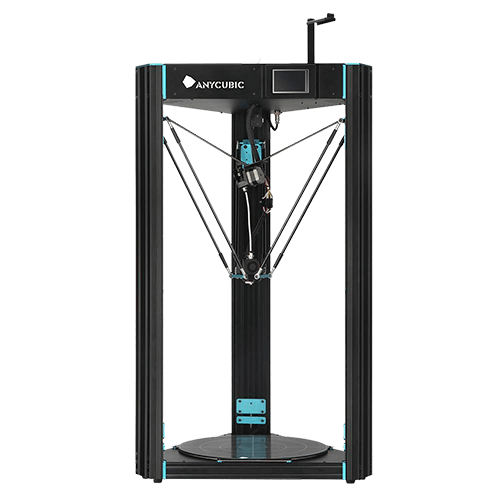
Anycubic Predator 3D Printer Review
When Anycubic introduced the Predator, it stood out immediately because it wasn't just another Cartesian printer. It was a delta machine with a towering build volume. Even in 2025, with newer models available, the Predator is still talked about by makers who value its unique mix of size, speed, and price.

Score breakdown
A budget giant of the delta world
Compared to today's options, the Predator still holds its ground on sheer size and print height. If you want a delta printer with community backing and don't mind buying secondhand, the Predator remains viable.
Key highlights of the Anycubic Predator:
- ▪Huge cylindrical build volume (370 x 455 mm) ideal for tall prints.
- ▪Discontinued but still viable if bought secondhand.
- ▪Strong performance with PLA/PETG, though tuning is needed.
- ▪Community firmware (like Marlin) improves calibration and reliability.
- ▪Competes with today's models but requires more upkeep and sourcing parts.
Overview of Anycubic's delta approach
The Predator launched around 2018–2019 and made a splash because delta printers of this size were usually costly or DIY-only. It offered a massive cylindrical build space and automatic leveling at a competitive price.
The 3D printing community welcomed it as a "budget giant" for cosplay props, helmets, and tall prints. Many hobbyists loved showing off single-piece armor builds or functional prototypes that would normally require splitting. Forums and groups shared custom firmware builds, Cura profiles, and mods to push its reliability further.
By 2022, Anycubic quietly discontinued it, but it didn't fade away. In fact, in 2025, you can still find it secondhand, and owners continue to swear by its capacity if you're willing to tweak settings.
Unlike the Kobra line, which was designed as an accessible Cartesian option, the Predator embraced a full delta design. Delta printers are known for their speed and fluid motion, especially when handling tall builds. The Predator gave hobbyists a chance to enjoy these advantages without needing to assemble a custom machine from scratch.
Its standout feature is speed combined with size. While large Cartesian printers can wobble or slow down at scale, the Predator's triangular tower design keeps motion stable. For users who prioritize tall, elegant prints such as statues, vases, or cosplay staff, the Predator delivers.
Unboxing and setup
Opening the Anycubic Predator for the first time gives you a clear sense of its scale. The printer arrives in protective packaging with foam keeping each section firmly in place. Nothing feels loose during transit, and the main sections come partially preassembled, making the process less intimidating.
Following the instructions, you will secure the three tall towers to the base, attach the print head assembly, and connect the wiring harnesses. All connections are labeled and fit neatly without force. The included toolkit provides what you need, so you are not left hunting for extra equipment. Most users can reach a functional setup within an hour if they follow the guide carefully.
One of the biggest conveniences is the automatic leveling feature, which begins once the machine is assembled. This saves hours of manual adjustments and ensures the first layer sticks consistently. After loading filament, you can start your first print with confidence.
What's in the box
- ▪Predator printer body and towers (partially preassembled)
- ▪Heated Ultrabase Pro print bed
- ▪Touchscreen controller
- ▪Power supply
- ▪Spool holder
- ▪Cables and labeled connectors
- ▪Basic toolkit
- ▪USB cable and SD card
- ▪Test filament sample
- ▪Quick start guide
Secondhand units on the market today often still include most of these key components.
Building the machine
Assembly required bolting the three towers to the base and carefully routing the wiring. Because delta printers rely on perfect geometry, aligning the towers correctly was key. The auto-leveling system eased some of the stress, but early owners often spent extra time fine-tuning.
Once assembled, the Predator looked impressive: a tall, triangular machine with a print bed ready for massive cylindrical builds. Compared to a standard FDM, it felt more futuristic but also required patience during setup.
| Stage | Time Estimate | Key Challenges | Tips / Notes |
|---|---|---|---|
| Unboxing & Placement | 15–20 minutes | Handling the large frame safely | Place it on a level, sturdy surface with space around all sides |
| Removing Shipping Material | 5 minutes | Locating protective foam and zip ties | Keep the original packaging for transport or return |
| Assembling Frame | 15–25 minutes | Aligning the gantry and base precisely | Tighten bolts evenly to avoid misalignment |
| Installing Print Head & Spool Holder | 5–10 minutes | Securing without pinching wires | Follow wiring labels carefully |
| Connecting Cables | 5 minutes | Ensuring correct connections | Match labels; avoid forcing plugs |
| Auto Bed Leveling | 5–8 minutes | None. It is automated. | Follow touchscreen prompts and load filament |
Design and technical specifications
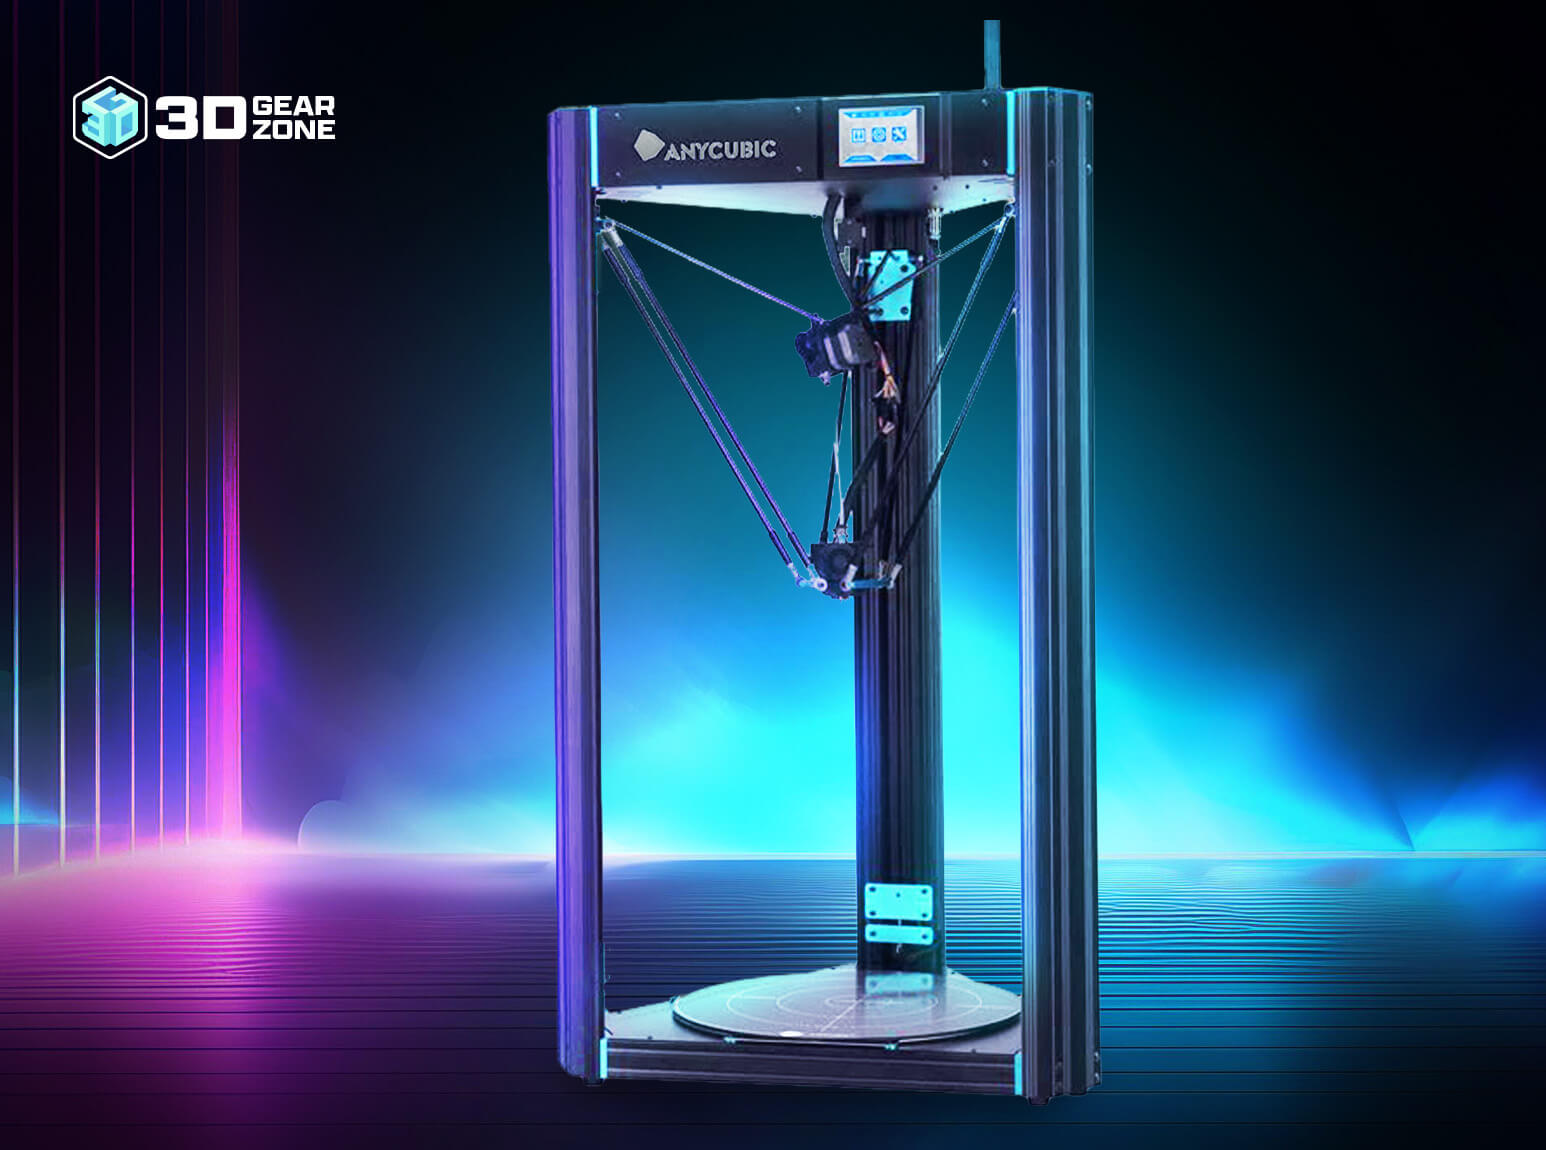
The Predator's main appeal is its towering cylindrical build volume of 370 by 455 millimeters. This makes it especially useful for cosplay helmets, tall decorative pieces, and functional prototypes that need extra height. Its delta kinematics allow faster and smoother motion than many Cartesian machines, which helps it handle tall or continuous prints efficiently.
The Ultrabase Pro heated bed improves adhesion for big projects, while the auto-leveling system maintains a reliable first layer across the entire surface. Combined, these features give the Predator a unique advantage for creators who prioritize scale and height in their designs.
Specs at a glance
- ▪Build volume: Ø370 x 455 mm
- ▪Motion system: Delta kinematics
- ▪Nozzle: 0.4 mm (standard, interchangeable)
- ▪Print speed: Up to 150 mm/s (practical: ~80 mm/s)
- ▪Layer resolution: 0.1–0.4 mm
- ▪Bed leveling: Auto, with Ultrabase Pro surface
- ▪Connectivity: SD card, USB
- ▪Frame: Sturdy aluminum with triangular tower design
- ▪Display: Touchscreen
Print performance and test results
The Predator gained a reputation for printing tall objects smoothly, thanks to its delta motion system. Surface finishes on vases, figurines, and sculptures were clean, with subtle "spiral vase" mode results that outperformed many Cartesian printers.
Dimensional accuracy was solid for hobby use, though large diagonals could sometimes show slight deviations. The auto bed leveling worked well, but often needed firmware updates or community tweaks to keep consistent across the large circular surface.
Flexible filaments were more challenging compared to direct-drive systems, but PLA, PETG, and ABS ran well once tuned.
Test print and benchmark results
To evaluate the Predator in everyday scenarios, we pushed it through a variety of demanding test prints designed to showcase both size and precision. These included dimensional accuracy checks, steep overhangs, bridging trials, stability tests on tall objects, and attempts with flexible materials. The Predator consistently showed it can manage large-scale printing while maintaining quality.
Massive single-piece models came out with smooth surfaces and minimal shifts even on multi-day runs. Tall vases and statues benefited from the delta system's fluid motion, which reduced wobble at higher builds. Fine details were generally sharp, though cooling limitations meant extremely delicate features needed tuning. TPU and other flexibles were more challenging but still achievable with the right settings.
Overall, the Predator proved that it offers more than size alone. It can deliver reliable, accurate prints that justify its build volume.
| Test Type | Result Highlights | Observations |
|---|---|---|
| Dimensional Accuracy Test | Close to CAD specs | Minor variation on wide diagonals due to frame geometry |
| Overhang Test | Clean up to 55–60° | Retraction tuning reduced stringing on steeper angles |
| Bridging Test | Stable up to 70–80mm | Slight sagging beyond this without upgraded cooling |
| Tall Model Stability | Minimal wobble | Delta design held alignment well during 48-hour test print |
| Flexible Filament Test | Usable with tuning | Better results at lower speeds with adjusted retraction |
Upgrades and mods for Predator
Because the Predator is discontinued, keeping it competitive in 2025 often comes down to community-driven upgrades and personal tweaks. Owners have shared countless ideas on forums, Reddit threads, and maker groups that keep the Predator reliable and efficient. While Anycubic no longer provides official support, these modifications give the printer new life and allow it to stand alongside more modern machines.
PEI spring-steel sheet
Swapping the stock Ultrabase for a PEI-coated flex plate is something many users and we ourselves find essential. It makes removing tall, heavy prints much safer and avoids cracked models or scratches on the bed. For anyone who has fought with prying a large model off glass, the difference is night and day.
We find that having two plates available keeps our workflow smoother, because we can start a new job while the first plate cools.
Cooling upgrades
Stronger fans or custom ducts are often suggested, and in our experience, they make a clear difference for bridges, overhangs, and decorative parts. We noticed sharper edges and less stringing after this change. Some owners even print custom ducts to direct airflow more efficiently, and we agree that this can transform results on detailed prints.
All-metal hotend
For those of us who experiment with ABS, ASA, or Nylon, this upgrade broadens what the Predator can handle. It keeps extrusion stable and lets the printer run hotter for tougher jobs. A hardened nozzle paired with an all-metal hotend also makes abrasive filaments like carbon fiber blends more manageable.
Belt tensioners
The delta system relies on perfect belt tension. Makers often design or buy add-on tensioners, and from our own maintenance, we know they save time and keep accuracy high. When belts are loose, accuracy on tall prints quickly suffers, so we think this is one of those preventive upgrades that pays off in reliability.
Nozzle variety
Owners often swap to 0.6 or 0.8 mm nozzles for speed. We switch between sizes depending on the job, reserving the standard 0.4 mm for detail prints. For props or structural parts, larger nozzles cut hours off print time, and we have found this flexibility to be one of the easiest ways to adapt the Predator to different projects.
Common issues and fixes
Like all discontinued 3D printers, the Predator developed common issues over time. It showed quirks during long use, but most of these could be spotted early and corrected with the right adjustments and maintenance.
First layer and bed leveling drift
One of the most common frustrations with the Predator is inconsistency in the first layer. Sometimes it looks perfect, and the next day it is either too squished or too loose. This usually comes down to oils on the surface, Z-offset creep after long prints, or uneven temperatures across the circular plate.
We recommend washing the bed with warm water and dish soap, then wiping it with isopropyl alcohol. Allow the bed to heat up for several minutes before starting a print, then re-run the auto leveling process. Using mesh leveling in Marlin firmware and saving the settings helps a lot. Many users, ourselves included, find that adding insulation under the bed and switching to a PEI flex plate makes first layers more reliable and easier to remove.
Delta geometry is out of tune
Because the Predator is a delta printer, geometry calibration is critical. When belts are uneven or pulleys slip, prints can come out undersized, skewed, or slightly oval.
The fix is to carefully tension all belts so they have equal firmness and to secure pulleys with threadlocker. Running the delta calibration routine in Marlin and saving the results keeps accuracy consistent. Owners often point out that checking the arm lengths and ensuring rod ends are intact is equally important. In our experience, keeping the towers clean so carriages move freely makes calibration hold longer.
Layer shifts during long prints
Another issue is a clean print suddenly jumping sideways mid job. This is usually caused by belts loosening, pulleys slipping, or filament spools tugging on the carriage.
We recommend re-tensioning belts until they feel snug but not overly tight, making sure pulley set screws grip the motor shaft flat, and placing the filament spool so it feeds smoothly without resistance. Logging belt checks weekly is a habit that pays off, especially if you run multi-day prints as many Predator users do.
Under-extrusion and heat creep
Sparse walls, weak infill, or clicking sounds from the extruder often mean under-extrusion. On the Predator, this is tied to long Bowden tubes, uncalibrated e-steps, and heat creeping into the PTFE throat.
Calibrating e-steps with a 100 mm extrude test is a must. Replacing the Bowden tube with a higher-quality liner reduces friction. We also recommend fitting an all-metal hotend if you print ABS, ASA, or Nylon. Combined with a hardened nozzle, this helps avoid jams and improves print consistency over long jobs.
Limited firmware
The stock firmware on the Predator is simple, but it lacks mesh leveling and other calibration tools. Many of us move to Marlin 2.x for this reason. Flashing Marlin unlocks advanced features like delta auto calibration and mesh leveling, which greatly improve consistency. Keeping a backup of settings and a spare SD card with a working build ensures recovery if something goes wrong.
With these mentioned, it is easier to see why the Predator was eventually discontinued. Its reliance on constant tuning, the cost of maintaining large delta mechanics, and the rise of newer Cartesian machines with similar build volumes made it less attractive for Anycubic to keep in production. Limited firmware support and the challenge of sourcing replacement parts also played a role.
However, even with these reasons for discontinuation, the Predator in 2025 still stands as a dependable big-format delta.
Competitor comparisons in 2025
At launch, Predator was one of the largest consumer delta printers available, and it gave hobbyists access to tall builds that normally required expensive industrial machines. Its discontinuation reflected Anycubic's shift to easier-to-maintain Cartesian models, but its legacy lives on in the community that still keeps these printers running.
| Specification | Anycubic Predator | Anycubic Kobra Max | Creality CR-10 Smart Pro | FLSUN V400 (delta) |
|---|---|---|---|---|
| Build volume | Ø370 x 455 mm | 400 x 400 x 450 mm | 300 x 300 x 400 mm | Ø300 x 410 mm |
| Print speed | 150 mm/s | 180 mm/s | 150 mm/s | 400 mm/s |
| Style | Delta | Cartesian | Cartesian | Delta |
| Support status | Discontinued | Active | Active | Active |
| Price (2025) | ~$400–$600 used | $529–$599 new | $599–$699 | $850–$950 |
Compared to today's options, the Predator still holds its ground on sheer size and print height. The Kobra Max is easier to maintain and still supported. The FLSUN V400 is faster and actively sold, but also pricier. If you want a delta printer with community backing and don't mind buying secondhand, the Predator remains viable.
Our final verdict
In 2025, the Anycubic Predator isn't for everyone. It's discontinued, requires more tuning, and relies on community firmware. But if you want a huge delta printer capable of printing tall, impressive models at a fair used-market price, it's still worth considering.
If you prefer out-of-the-box convenience, the Kobra Max or newer models like the FLSUN V400 are better bets. But for makers who enjoy tweaking, experimenting, and pushing big delta prints, the Predator is still a machine with character and capability.
1. Anycubic.com, "Anycubic 3D Printing" Accessed July 26, 2022.

Scott Gabdullin is a Canadian entrepreneur, investor, and marketing expert who has successfully combined his passion for technology and innovation with a love for adventure and exploration.
Scott brings 12 years of digital marketing experience and a hardcore work ethic to his new passion for 3D printing. If he is not working on this business, he is likely travelling and Overlanding across North America with his wife and 2-year-old son in their Jeep Rubicon.
Read more →