Creality CR-10 V3 3D Printer Review
The Creality CR-10 V3 brings industrial-scale FDM printing into the hands of serious hobbyists and prototypers who need both size and performance without venturing into the high-end professional tier.

Score breakdown
The big-format workhorse, modernized
Unlike many budget printers, it integrates advanced features while keeping the user experience relatively smooth, making it attractive not just for enthusiasts but also for makers producing cosplay gear, functional prototypes, or detailed display models.
While it improves on key pain points from earlier CR-10 versions, it now faces stiff competition from newer machines offering auto-leveling and touchscreen controls. Does the CR-10 V3 still justify its place in your workshop in 2025?
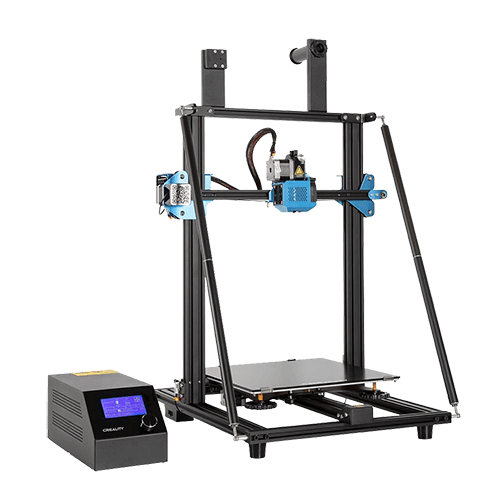
When the CR-10 V3 was released in 2020, it answered many of the long-standing requests from its loyal user base. It built on the success of the original CR-10 and CR-10 V2 by introducing hardware upgrades that significantly improved print quality and usability. Notable additions include the Titan direct drive extruder, diagonal frame braces for added rigidity, and TMC2208 stepper drivers for quieter operation, all while preserving its generous 300 x 300 x 400 mm build area that remains a standout in its price range.
This combination of size, stability, and extrusion versatility made the CR-10 V3 an attractive tool for a broad range of applications, from detailed cosplay armor and custom props to complex engineering prototypes and tall decorative items. Even today, it continues to serve as a dependable workhorse in hobbyist garages, school labs, and semi-professional maker studios alike.
An Overview of Creality Printers
Creality has carved out a massive footprint in the consumer 3D printing space. Since their launch in 2014, they've pumped out a steady stream of Ender and CR-series printers that cater to DIY enthusiasts, educators, and engineers.
The CR line has always been about going big, and the CR-10 V3 follows that philosophy with a generously sized build area and component upgrades that clearly set it apart from standard entry-level machines. Unlike smaller budget models, this printer offers a compelling combination of print volume, structural reinforcement, and improved motion control, making it especially suitable for users who need to produce large-scale prototypes or highly detailed cosplay components.
Unboxing and Building the Creality CR-10 V3
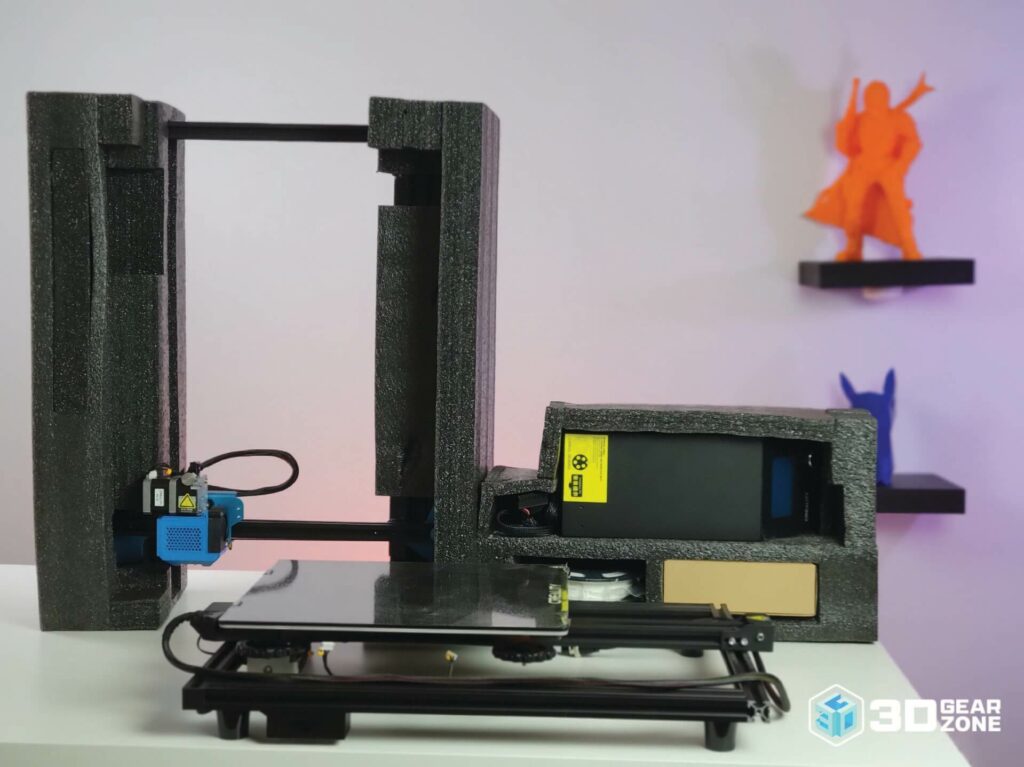
The CR-10 V3 ships in a well-packed box with foam inserts separating the frame components, electronics, and accessories. It arrives about 70% pre-assembled, reducing the build time to around 30-60 minutes for most users. Everything you need is in the box, including tools and sample filament.
What's in the box?
- ▪Printer base with heated bed pre-installed
- ▪Vertical frame (gantry) with extruder and X/Z axis motors
- ▪Titan direct drive extruder assembly
- ▪Control box with LCD interface
- ▪Filament holder
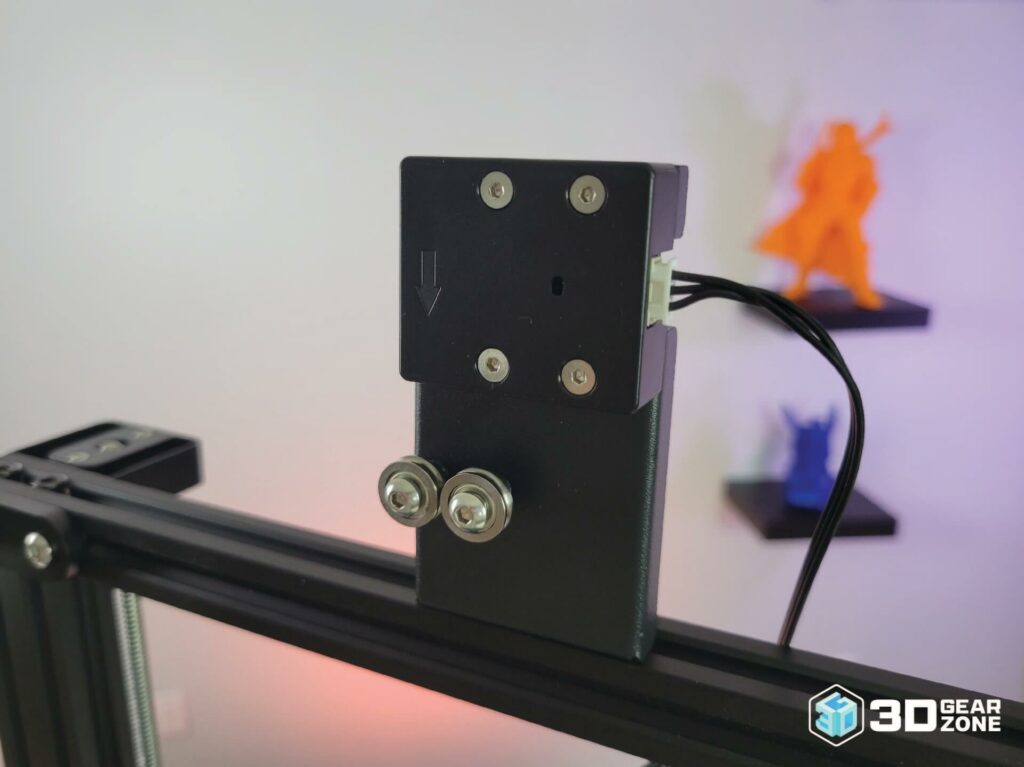
- ▪Filament runout sensor
- ▪Spatula, nozzle cleaner, wrench set
- ▪Sample PLA filament
- ▪SD card and USB adapter
- ▪Instruction manual
Building the Machine
Setting up the CR-10 V3 is straightforward, especially for users with some prior experience in 3D printing. While it's not plug-and-play, the semi-assembled format shortens the learning curve significantly.
Below is a breakdown of each stage of the setup process:
| Stage | Time Estimate | Key Challenges | Tips / Notes |
|---|---|---|---|
| Unboxing and inspection | 10-15 minutes | Identifying all components | Lay out all parts before starting assembly. Use the manual checklist. |
| Assembling the frame | 15-20 minutes | Aligning vertical gantry to base | Use the included tools; don't overtighten screws initially. |
| Wiring connections | 10-15 minutes | Connecting stepper motors and endstops | Follow cable labels and match to ports exactly. |
| Mounting accessories | 5-10 minutes | Attaching spool holder, filament sensor | Choose a filament path that avoids sharp bends. |
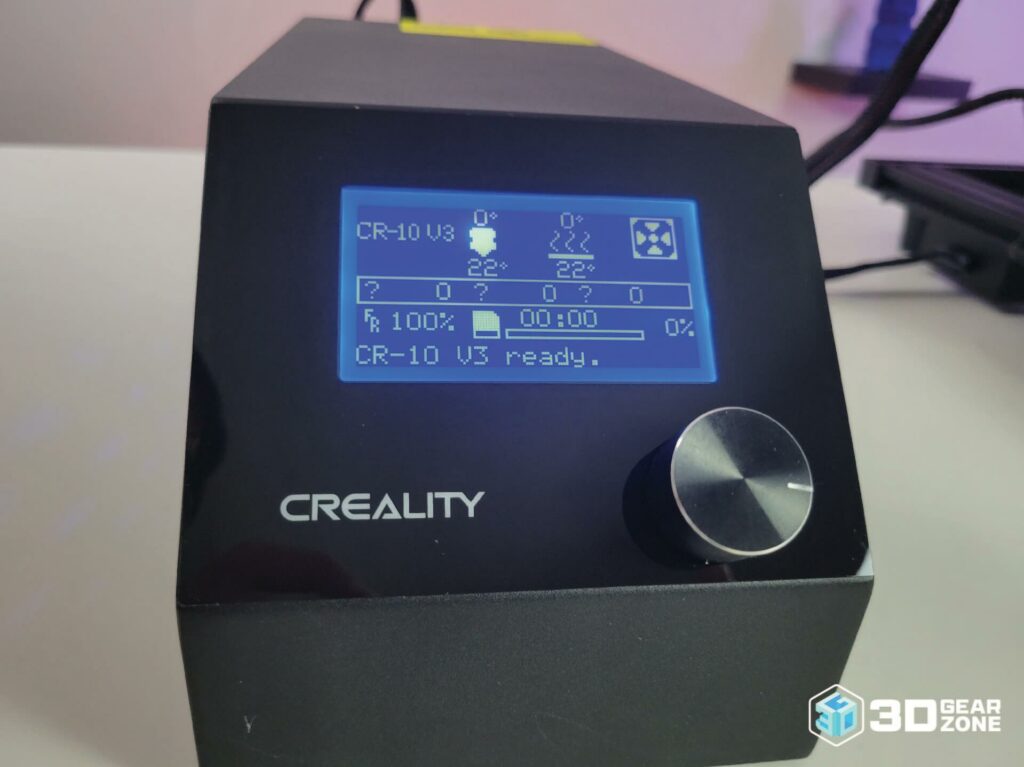
| Firmware boot and test | 5-10 minutes | Initial power-on and LCD menu navigation | Confirm the screen displays properly and fans activate. |
| Bed leveling | 10-15 minutes | Manual paper method across four corners | Perform while the bed is heated for best accuracy. |
| Loading filament and test print | 5-10 minutes | Inserting filament and starting sample print | Use PLA first; monitor extrusion closely during the first layer. |
Our initial impressions on build quality
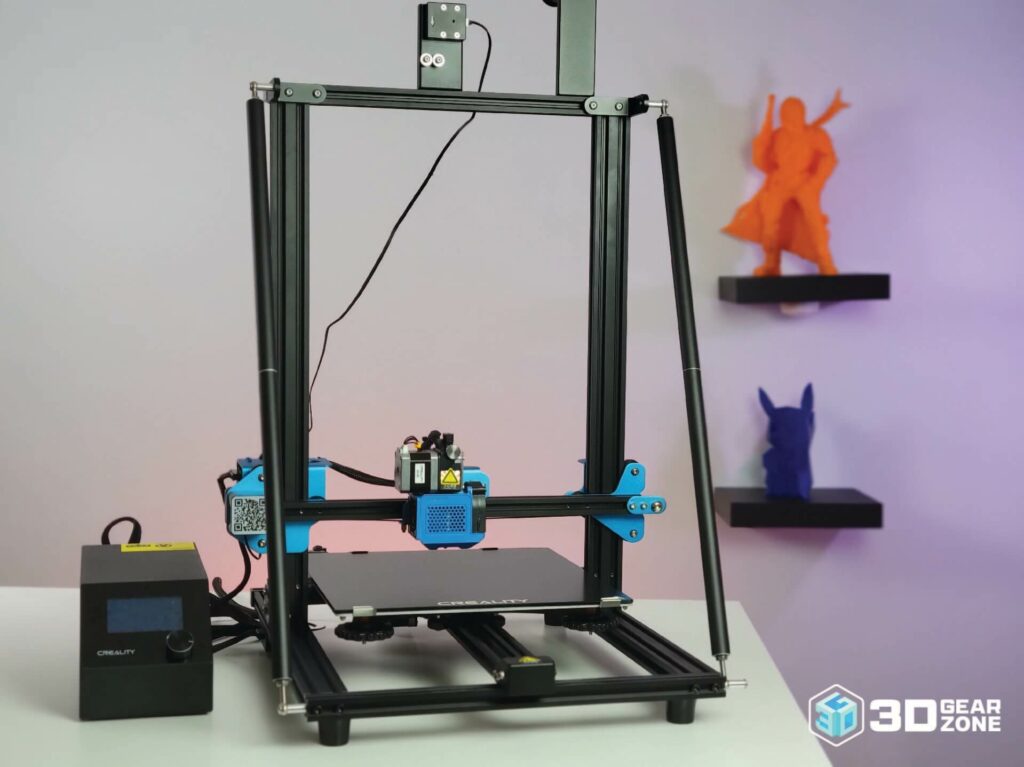
The CR-10 V3 feels solid straight out of the box. The dual Z-axis motors and diagonal braces make a noticeable difference in frame stability, especially during tall prints. There's little to no wobble or flex, and the belt tensions are consistent across the axes.
The print bed is a carborundum glass surface, which offers excellent adhesion during prints and easy removal once cooled. The heated bed can reach up to 100°C, suitable for most common filaments.
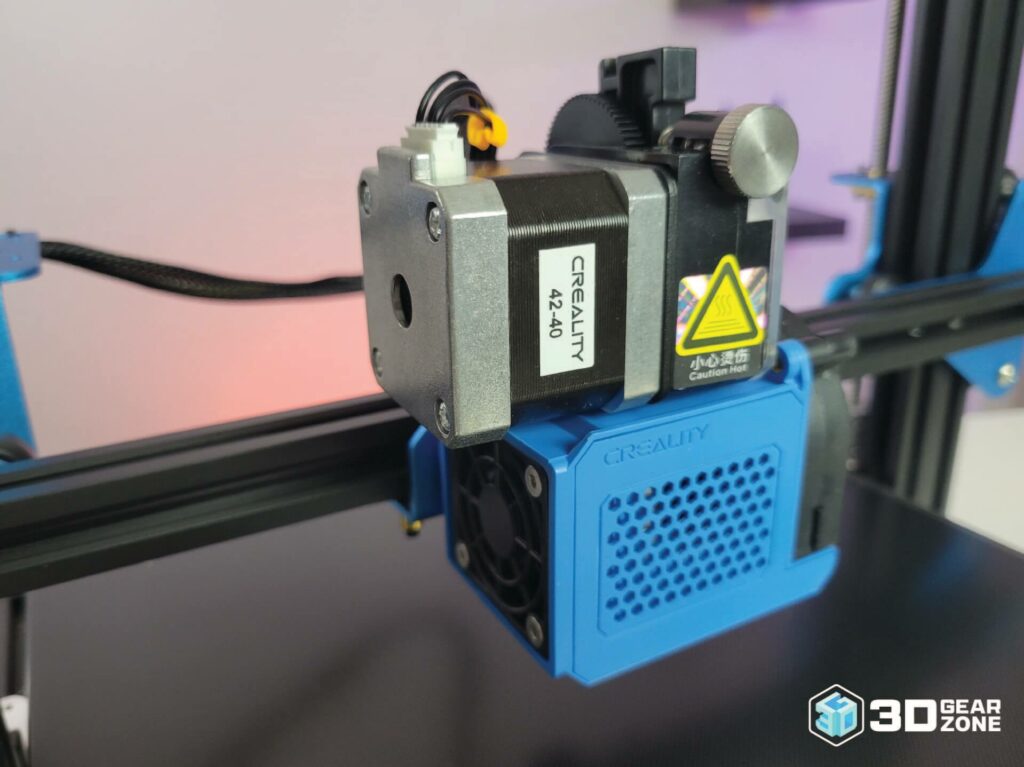
Its Titan direct drive extruder has a tighter grip on filament and makes printing flexible materials much more predictable compared to Bowden setups. While it adds a bit of weight to the tool head, the machine handles it well.
Design and technical specifications
This machine is built with performance in mind. Though it retains a minimalist look, the functional improvements are what count. The printer features a 24V/350W Mean Well power supply that powers the entire system, while Creality's own 32-bit silent mainboard ensures quieter operation.
Key Technical Specifications
- ▪Build Volume: 300 x 300 x 400 mm
- ▪Printing Technology: FDM
- ▪Extruder: Titan Direct Drive
- ▪Hotend Temp: Up to 250°C
- ▪Bed Temp: Up to 100°C
- ▪Layer Resolution: 0.1 – 0.4 mm
- ▪Print Speed: Up to 180 mm/s
- ▪Connectivity: MicroSD card, USB
- ▪Leveling: Manual
- ▪Screen: LCD with knob
- ▪Filament Compatibility: PLA, TPU, PETG (limited ABS)
- ▪Dimensions: 580 x 520 x 650 mm
- ▪Weight: 11.5 kg
Print performance and quality
The CR-10 V3 performs best with PLA, PETG, and TPU. The direct drive extruder is the star here as it minimizes filament travel distance and improves retraction accuracy. TPU prints, which are often a challenge on Bowden setups, come out cleaner and more reliably on this machine.
The Titan direct drive setup was a game-changer for this model. By moving the extruder motor directly onto the print head, the CR-10 V3 delivers more precise extrusion control and makes it easier to print flexible filaments like TPU. This reduces retraction lag and filament path friction, which not only improves surface quality but also helps prevent under-extrusion and clogs.
Prints are dimensionally consistent, with good layer alignment and solid first-layer adhesion if your manual leveling is dialed in. The dual Z-axis setup helps with tall prints, reducing wobble and maintaining surface quality throughout vertical builds.
Noise levels are better than earlier CR-10s but still noticeable. You'll hear fan hum and stepper motion unless you install quieter aftermarket parts. For best results, most users keep the print speed around 50–60 mm/s, though you can push slightly higher with tuning.
Possible Upgrades for Creality CR-10 V3
The Creality CR-10 V3 has a solid base design, but the real fun begins when you start adding upgrades. These aren't required, but if you're aiming for better results, quieter operation, or more convenience, these suggestions are a great place to start:
- ▪Install a BLTouch or CR Touch for auto bed leveling: These sensors automate the bed leveling process by probing multiple points on the bed and creating a mesh to compensate for uneven surfaces. This results in more reliable first layers and fewer print failures.
- ▪Upgrade to a 32-bit silent mainboard: A 32-bit board provides smoother motion control and significantly reduces noise, especially when paired with silent stepper drivers. It also supports advanced firmware features and better overall printer responsiveness.
- ▪Swap to a PEI spring steel sheet: PEI sheets offer excellent print adhesion and make part removal easy. Flex the sheet, and your print pops off. This upgrade also reduces the chances of damaging prints or the bed during removal.
- ▪Add TL Smoothers or stepper dampers to reduce vibrations: TL Smoothers help improve surface quality by minimizing micro-vibrations, while dampers cut down on motor noise. Together, they can make your prints look cleaner and your machine run more quietly.
- ▪Printable mods on community sites: The CR-10 V3 has a massive modding community. You can print parts like cooling ducts, tool trays, and wire organizers that improve function and personalize your setup.
Common Issues with the Creality CR-10 V3
Despite its strong performance and flexibility, the CR-10 V3 isn't free from flaws. Like most consumer-grade 3D printers, some issues can crop up during regular use. Here's a more detailed look at common problems users have reported, along with possible causes and solutions.
First layer problems due to manual leveling
Manual bed leveling requires precision. If the CR-10 V3's nozzle is too close or too far from the bed, the filament may not stick properly or may get squished and cause clogging. This results in failed prints or inconsistent first layers.
To address this, regularly check the bed level using the paper method, and consider installing an auto-leveling upgrade like a BLTouch. Printing a leveling test pattern before larger prints can also help identify problem areas and ensure even adhesion across the build plate.
Under-extrusion from filament drag or PTFE wear
Under-extrusion leads to thin layers, missing sections, or weak prints. It often stems from friction in the filament path, especially if the PTFE tube is worn or the filament spool isn't feeding smoothly.
You can resolve this by trimming or replacing the PTFE tube if it shows signs of wear. Using a filament guide or a smoother spool holder also helps reduce friction. Additionally, check the extruder gear regularly for filament debris buildup that might hinder smooth feeding.
Hotend clogs when printing near the temperature limit
The stock hotend on the CR-10 V3 maxes out around 250°C. Pushing it close to this limit with tougher filaments like PETG or ABS can result in partial clogs or full nozzle jams.
To prevent clogging, avoid running prints near the maximum temperature for extended periods. If your projects often involve high-temperature materials, consider upgrading to an all-metal hotend. Regular maintenance, such as cleaning the nozzle with cold pulls or using a needle, can also keep the extrusion path clear.
Printer Comparison vs. Its Rivals
When choosing a 3D printer in the mid-tier range, especially for large-format or flexible filament use, it helps to see how similar models compare side by side. Below is a detailed comparison with the CR-10 V3's rivals for easier reference.
| Feature | Creality CR-10 V3 | Elegoo Neptune 4 Pro | Anycubic Kobra Max | Artillery Sidewinder X2 |
|---|---|---|---|---|
| Build Volume (mm) | 300 x 300 x 400 | 225 x 225 x 265 | 400 x 400 x 450 | 300 x 300 x 400 |
| Direct Drive Extruder | Yes (Titan direct drive) | Yes | Yes | Yes |
| Auto-Leveling | No (manual, optional upgrade) | Yes | Yes | No |
| Touchscreen | No (rotary knob LCD) | Yes | Yes | Yes |
| Enclosure | No | No | No | No |
| Max Print Speed | ~180 mm/s | ~150 mm/s | ~180 mm/s | ~150 mm/s |
| Silent Stepper Drivers | Yes (TMC2208 or similar) | Yes | Yes | Yes |
| Price Range (USD) | $400-$500 | $350-$450 | $550-$650 | $400-$500 |
Our Final Take
Even years after its release, the CR-10 V3 remains a solid pick for experienced makers. It's not flashy, but it consistently delivers strong results where it counts. The direct drive setup makes flexible filament printing accessible, while the large build volume continues to appeal to anyone producing big prototypes, cosplay gear, or multi-part assemblies. The machine's simplicity, paired with a massive community of modders, guides, and printable upgrades, makes the V3 a favorite for users who want control over their machine.
The CR-10 V3 may not be for people chasing the plug-and-play convenience, but it does heavily reward those who enjoy getting their hands dirty and customizing performance. If you're after a cost-effective, no-nonsense printer that delivers consistent performance and lets you fine-tune every part of the experience, the CR-10 V3 still deserves your attention today.

Scott Gabdullin is a Canadian entrepreneur, investor, and marketing expert who has successfully combined his passion for technology and innovation with a love for adventure and exploration.
Scott brings 12 years of digital marketing experience and a hardcore work ethic to his new passion for 3D printing. If he is not working on this business, he is likely travelling and Overlanding across North America with his wife and 2-year-old son in their Jeep Rubicon.
Read more →