Anycubic Mono X 3D Printer Review
When the Anycubic Mono X first hit the market, it caused a stir, and for good reason. It delivered a massive leap in build volume and printing speed without the jaw-dropping price tag of professional-grade machines. Even now, with newer models entering the scene, this one still has plenty of value packed into its solid frame.

Score breakdown
Mid-range resin that still holds up
The Anycubic Photon Mono X first appeared in late 2020, introducing significant upgrades that captured the attention of the resin printing community. It delivered faster curing, a significantly larger build volume, and a much more stable platform compared to its predecessors. The result was a printer that not only handled larger models with ease but also produced consistently clean, detailed layers across its build plate.
What helped the Mono X gain traction was how well it integrated into the broader 3D printing community. There's a wide selection of compatible resins, and plenty of online tutorials, forums, and user reviews that help smooth the learning curve. Whether you're looking for ideal exposure times or slicing profiles, there's a good chance someone has already figured it out and shared the fix.
The Mono X also played a big role in expanding the audience for resin 3D printing. By delivering performance once limited to industrial machines at a mid-range price point, it opened the door for artists, small business owners, and serious hobbyists to bring their ideas to life without compromise.
An overview of Anycubic's Mono series
Anycubic's Photon line marked a major milestone in consumer resin printing when it debuted, starting with the original Anycubic Photon. That machine stood out for delivering high-detail prints in a compact, affordable package, making resin 3D printing accessible to hobbyists who previously found it out of reach. The Photon line became known for solid construction, great value, and compatibility with a wide range of resins.
Building on that success, Anycubic introduced the Photon Mono series, which took things further by switching from older RGB screens to monochrome LCD technology.
At first glance, this may sound like a minor adjustment, but in practice, it makes a world of difference. Monochrome screens drastically reduce exposure times, allowing prints to cure faster without compromising quality. They also have a much longer operational lifespan, making them more reliable over time. Combined with improved light transmission, these screens ensure sharper detail and greater print consistency, which is especially useful for intricate models and long print jobs.
The Mono X holds a key spot in the Photon Mono family, and not just because of its size. This printer was designed with serious users in mind, offering a generous build volume, impressive resolution, and a strong structural frame. It's ideal for tabletop game enthusiasts printing armies of miniatures, engineers crafting functional prototypes, and artists bringing digital sculptures into the real world. The robust design and dual Z-axis rails mean you're not trading print size for stability.
Even though newer versions like the Photon Mono X 6K and the Mono M5s now offer upgraded screens and added features, the original Mono X remains highly relevant. It still provides a dependable platform for resin printing, especially for users who want great quality without paying top dollar. Many users who revisit or refresh their setup with a Mono X find it a surprisingly strong and budget-friendly addition, especially if purchased at a discounted price or second-hand in good condition.
Unboxing and building the Photon Mono X
Unboxing the Anycubic Photon Mono X sets a positive tone from the beginning. It arrives in a rigid, well-padded box that keeps everything tightly secured with dense foam inserts. Nothing feels loose or carelessly placed, and you can tell it was packed with long-distance shipping in mind.
Right away, you'll notice the Mono X is nearly fully assembled. There's no intimidating pile of parts or confusing manual. Just remove some foam blocks and plastic wraps from the printer, vat, and build plate, and you're well on your way. That quick-start feel is a confidence booster, especially for anyone new to resin printing. It also includes everything you need to get going, clearly labeled with qty for each item so you can quickly verify your kit.
Everything else you'll need is tucked neatly into a separate accessories box inside the package. You get gloves, scrapers, a USB stick with sample files and software, and all the basic tools to handle your first few prints. You won't find yourself scrambling for extras-what you need is already in the box.
What's in the box
- ▪Mono X Printer (mostly preassembled)
- ▪Metal Build Platform
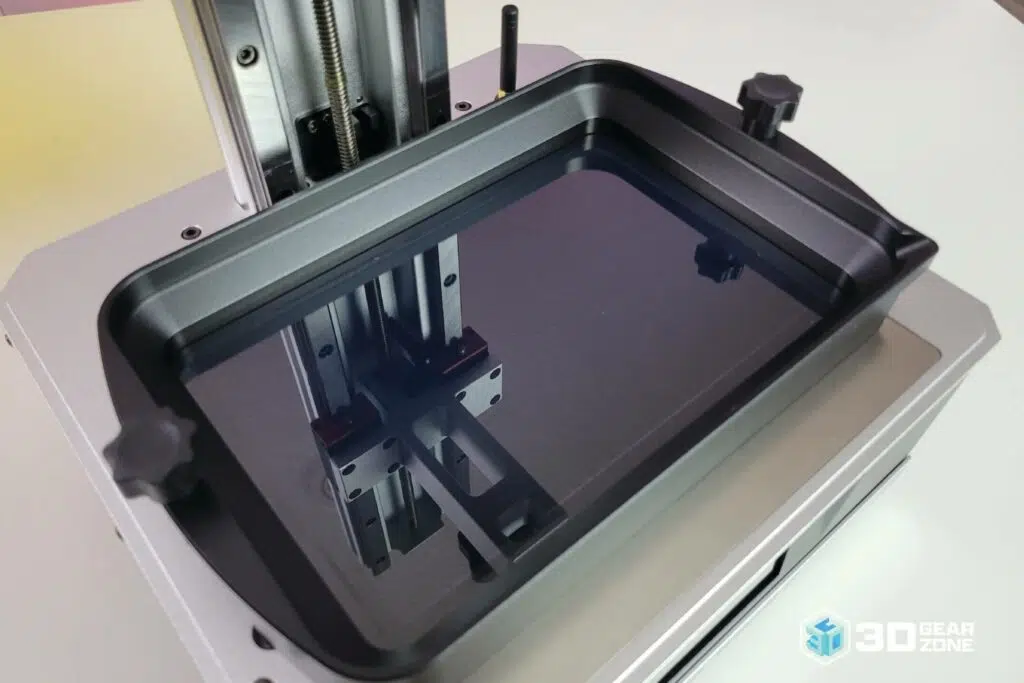
- ▪Resin Vat with Pre-installed FEP Film
- ▪Power Adapter
- ▪USB Flash Drive
- ▪Plastic Funnel
- ▪Pair of Nitrile Gloves
- ▪Basic Toolkit (Allen Wrenches, Spare Screws)
- ▪Plastic Scraper
- ▪Paper Mask
- ▪Quick Start Guide / Manual
Building the machine
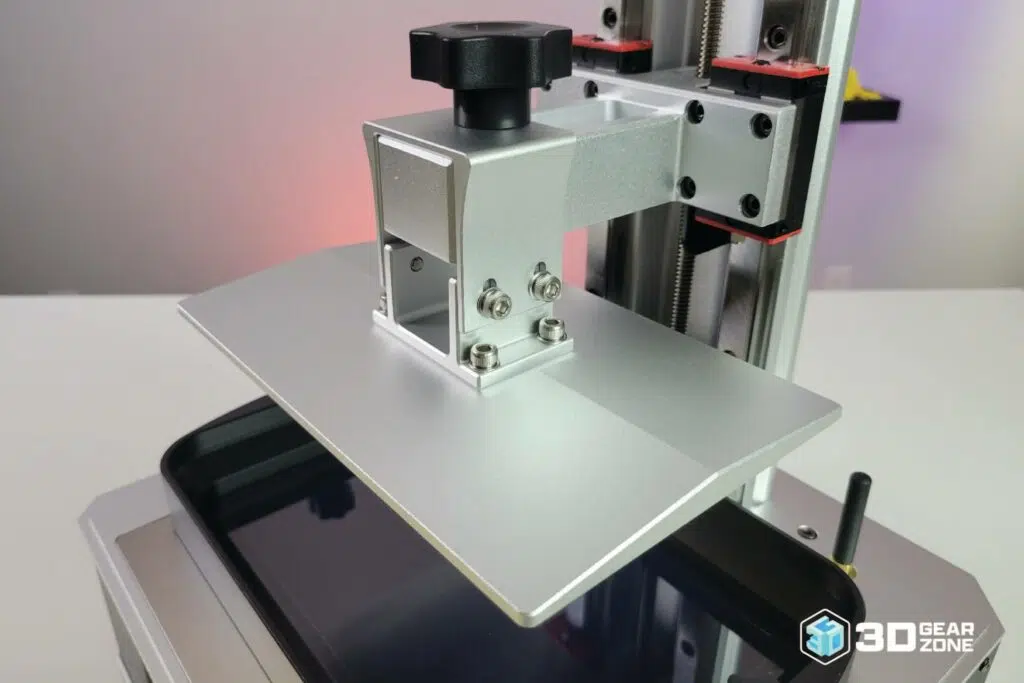
There isn't much to assemble with the Mono X, which is great if you're new to resin printing. The user manual is easy to follow, with diagrams and clear page references for each step of the assembly and leveling process. Once unboxed, you'll need to remove the foam padding, slide the resin vat into its designated slot, and attach the build platform by tightening it onto the arm. Leveling the build plate is a simple process: you place a leveling sheet or piece of paper on top of the LCD screen, then manually lower the build platform using the touchscreen controls.
Once the plate presses evenly against the paper, you tighten the leveling screws to lock it into place. That's it.
The touchscreen interface does a nice job guiding you through setup, and most users will be ready to print within 20 minutes of unpacking the machine.
| Stage | Time Estimate | Key Challenges | Tips / Notes |
|---|---|---|---|
| Unboxing & Placement | 10-15 minutes | Lifting the machine safely | Place it on a level, ventilated surface near a power outlet |
| Removing Shipping Material | 2-5 minutes | Locating all protective films and foams | Keep original packaging for possible transport or return |
| Attaching Build Platform | 2-3 minutes | Aligning the plate properly | Use the touchscreen to lower it gently into place |
| Leveling the Plate | 5-10 minutes | Even pressure and locking screws | Use paper method for tactile feedback; don't overtighten |
| Inserting Resin Vat | 1-2 minutes | Proper seating of the vat | Align it flush and make sure it's not tilted or loose |
| Initial Touchscreen Setup | 3-5 minutes | Menu navigation | Select language and run the self-test if prompted |
Our initial impressions of the build
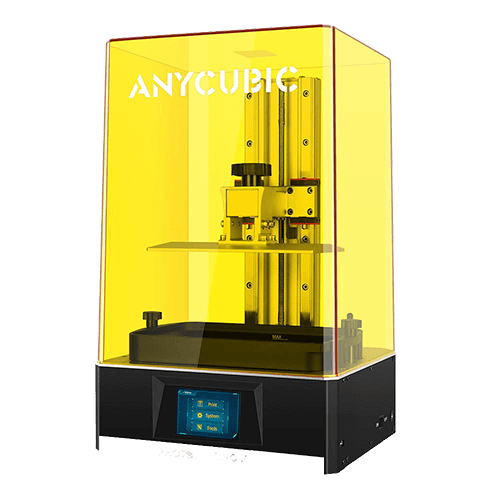
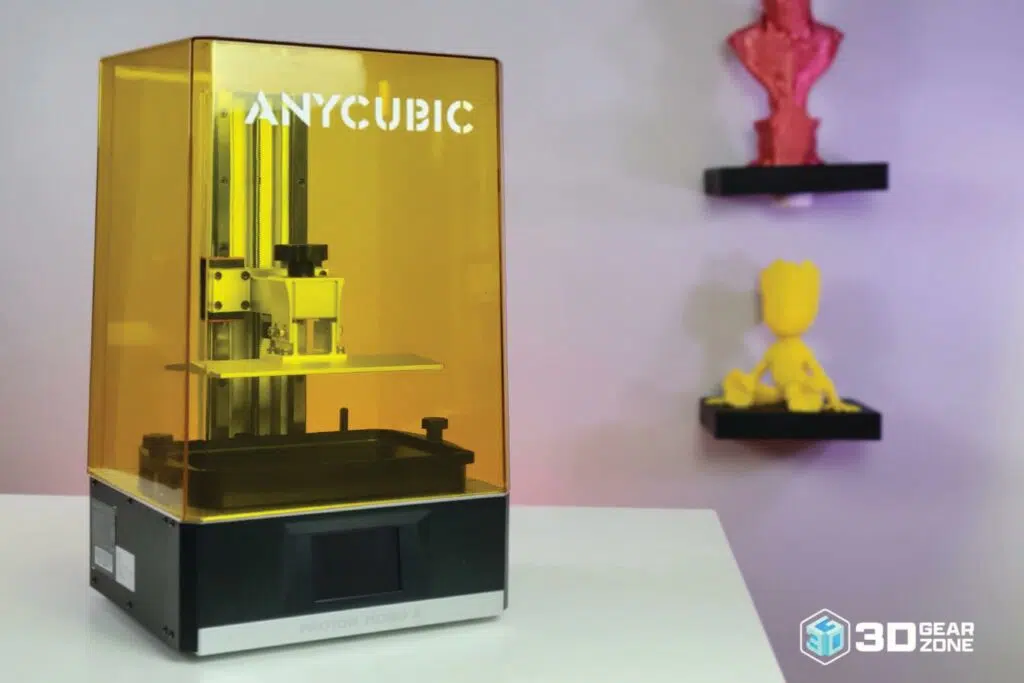
The Anycubic Mono X makes a strong first impression right out of the box. Its solid metal chassis gives off a reassuring sense of durability and build quality, making it feel like a serious piece of equipment rather than just another consumer gadget. The weight and stiffness of the body contribute to its stability, which matters a lot when you're dealing with precise layer-by-layer printing. It doesn't flex or rattle during operation, which goes a long way in ensuring consistent results.
The transparent yellow acrylic lid is another well-executed detail. It's not just thick and well-fitted- it does its job of protecting the user from stray UV light while helping contain resin fumes that can otherwise make indoor printing uncomfortable. The lid lifts off smoothly and sits snugly back in place without needing adjustment. It's a small touch, but one that speaks to the level of attention paid to user experience.
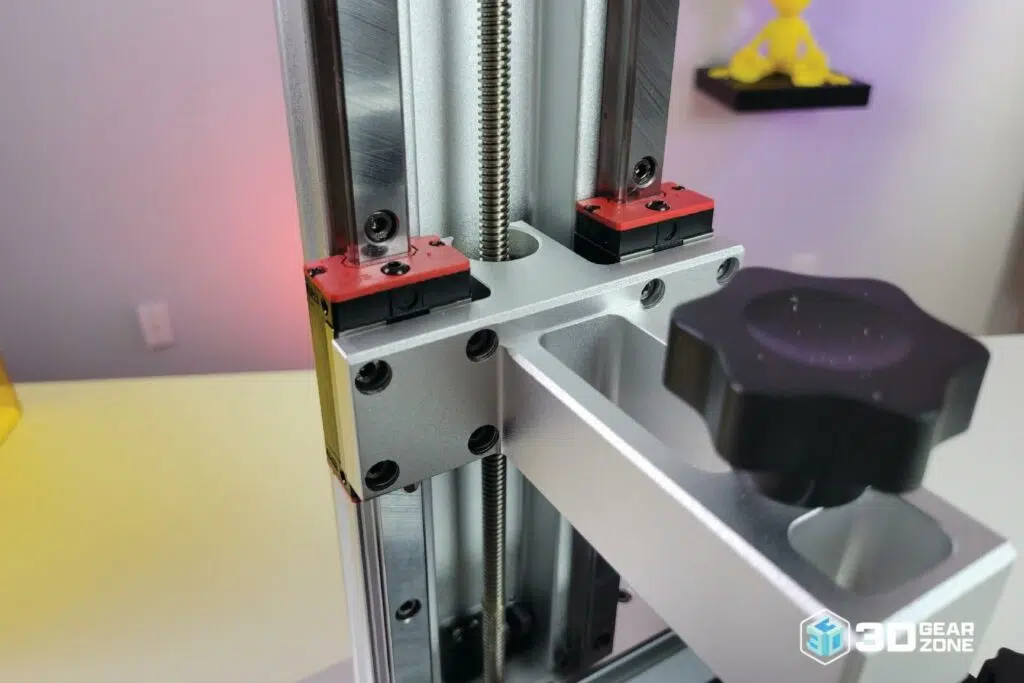
What really sets the printer apart, though, is its Z-axis design. The dual linear rails and robust lead screw provide an impressively stable platform for the build plate, minimizing wobble and reducing the chance of layer shifting during long prints. This extra mechanical precision makes it ideal for high-detail work, where even minor inconsistencies can ruin a model. Compared to single-rail systems in smaller printers, this setup is far superior in keeping prints aligned and surfaces clean.
Altogether, the machine presents itself as a well-thought-out, well-engineered machine built to handle frequent use. You can set it to run overnight and feel confident that it will do its job without surprises or setbacks.
Design and Technical Specifications
This printer's standout feature is its large build volume: 192 x 120 x 245 mm. That gives you ample room to print sizable models in one continuous run or several smaller pieces at the same time, making it especially handy for batch production or complex assemblies. It's ideal for creators who want to go beyond small-scale miniatures and explore cosplay props, larger prototypes, or multi-part builds without having to split files unnecessarily.
Paired with this spacious build area is the 4K monochrome screen, which delivers faster curing speeds and an extended lifespan compared to the older RGB-style LCDs. The monochrome display allows more UV light to pass through with higher efficiency, cutting down on exposure times while boosting detail clarity. That means you spend less time waiting for layers to solidify and more time enjoying crisp, detailed prints.
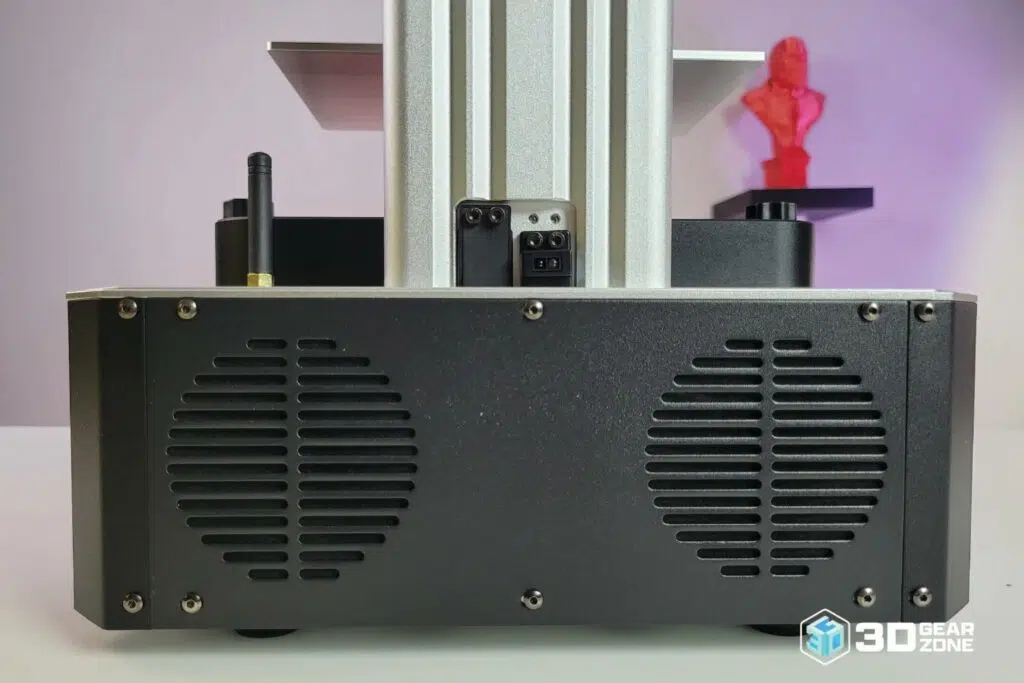
Working alongside the screen is Anycubic's matrix UV light source, which projects even illumination across the entire build surface. This setup helps reduce print inconsistencies and improves layer adhesion from edge to edge, especially important when printing wide or tall models. Together, the screen and light source form the core of the printer's performance edge, which gives faster prints, sharper details, and better reliability from start to finish.
Specs at a glance
- ▪Build Volume: 192 x 120 x 245 mm
- ▪XY Resolution: 0.050 mm (3840 x 2400)
- ▪Layer Thickness: 0.01 – 0.15 mm
- ▪Print Speed: Up to 60 mm/h
- ▪Screen Type: 8.9″ 4K Monochrome LCD
- ▪Light Source: Matrix Parallel UV
- ▪Connectivity: USB
- ▪Compatible Slicer: Photon Workshop, Lychee, Chitubox (some versions)
Print performance and quality
If you're printing miniatures, dental models, prototypes, or cosplay parts, the machine delivers quite well. The detail capture is excellent, and the curing is fast without overexposing features. Layers are smooth, with minimal lines visible, and you can expect consistent results across the build plate.
The dual Z-rails and stable platform also mean fewer print failures from wobbling or sudden movements. Once you dial in your exposure times and settings for a particular resin, the printer is incredibly consistent.
Resin handling and post-processing remain typical for resin printers, meaning you'll still need to wash and cure prints, clean up the vat, and ventilate your space properly. But that's true of all machines in this category.
Many users also turn to UVtools or similar utilities for checking file integrity and optimizing print files before slicing.
Test prints and benchmark results
To evaluate the Photon Mono X under real-world conditions, we conducted a series of standard test prints. These included detailed benchmarks, overhang tests, and dimensional accuracy models. Across the board, the results were impressive: surface finishes were smooth, details came out sharp, and there were very few visible layer artifacts. Small embossed text, fine geometric patterns, and thin wall structures are also printed cleanly and accurately. Dimensional accuracy held within expected tolerances, making it a dependable choice for engineers and modelers who need consistency in their prototypes.
Even when pushing the machine with delicate lattice designs or unsupported bridges, the printer handled them with surprising grace. Layer lines were faint, almost invisible under standard lighting, which means less sanding and post-processing time overall.
| Test Type | Result Highlights | Observations |
|---|---|---|
| Standard Benchmark Model | Outstanding precision; crisp edges; flawless small details | Features were consistent across the entire build plate with no distortions or dropouts during testing. |
| Resin Exposure Test | Clear exposure thresholds; ideal curing achieved | We performed calibration tests using the R_E_R_F (Resin Exposure Range Finder) and AmeraLabs Town models to fine-tune the printer's exposure settings. This process helped eliminate issues like overcured base layers and underdeveloped fine features, ultimately leading to significantly fewer failed prints and sharper overall results. |
| Thin Wall Test | Uniform, fully cured walls as thin as 0.1 mm | We were able to replicate walls as thin as 0.1 mm with high clarity and no delamination. |
| Hole/Pin Test | Accurate, cleanly printed features at minimum sizes | Holes and pins were rendered sharply and fit together with precision, even at the smallest dimensions supported by the printer. |
| Overhang/Bridge Test | Strong bridging with minimal sagging | Overhangs and bridges showed minimal sagging, and the undersides remained clean and well-formed during our tall model tests. |
| Support Structure Removal & Surface Finish | Supports peel away easily with light cleanup needed | Support structures detached easily with minimal scarring, and post-processing was limited to light sanding in most areas. Surface finish is praised across reviews for minimal post-processing. |
Firmware, tuning, and calibration
Anycubic's firmware for this machine is stable and user-friendly, with a responsive touchscreen interface that simplifies navigation. Updating the firmware is straightforward: download the latest version from Anycubic's website, load it onto a USB drive, and insert it into the printer to trigger the update.
Like all of the best resin printers, success with it hinges on proper tuning. Exposure times will vary by resin, so it's a good idea to run exposure calibration tests like the AmeraLabs Town or Anycubic's own R_E_R_F print. Getting this right prevents common issues like overcured bases or underdeveloped fine features.
Z-axis calibration is equally important. The manual leveling process, lowering the plate onto a sheet of paper and locking it in place, is simple, but must be redone periodically to ensure quality results. If you switch vats or resins frequently, just remember to recheck their level before each major job.
In slicer settings, adjusting lift speed and retract distances can dramatically improve reliability, especially for complex or tall models. It performs well under default profiles but shines brightest when you take the time to tailor settings to your material and design.
Possible Upgrades for Photon Mono X
If you're planning to get the most out of resin printers like this 3D printing beast, there are several upgrades to consider. These enhancements not only help you print more efficiently but also contribute to safer and cleaner printing conditions.
Flexible build plate
Removing resin prints from a rigid metal build plate can be nerve-wracking, especially for intricate or delicate models. A flexible build plate attaches magnetically and can be easily bent after printing to pop your model off with minimal force. This reduces the risk of damaging your print or scratching the plate surface. More importantly, it reduces the time you spend scraping and prying prints off the plate, which means less wear on your tools and fewer chances of gouging your surface or hurting your fingers.
If you're printing a lot or working with complex geometries that have fragile supports, a flexible plate becomes almost indispensable.
Resin heater or heater pad
Temperature can significantly affect resin behavior. When resin gets too cold, it becomes more viscous and doesn't cure evenly, leading to incomplete or distorted prints. A resin heater or silicone heating pad helps maintain a stable temperature inside your printer or vat, especially useful during winter months or in colder environments. This can improve adhesion, reduce layer separation, and help with overall consistency in print quality.
Pre-warming the resin before pouring it into the vat makes for a smoother pour and reduces bubbles. Warmer resin typically leads to stronger layer bonding and fewer print artifacts as well.
Enclosure with air ventilation or purifier
Resin fumes can be unpleasant and, over time, potentially harmful in poorly ventilated spaces. Adding an enclosure with an active ventilation system or air purifier makes your setup safer and more comfortable. Some users go with DIY solutions, like growing tents with inline fans and activated carbon filters, while others, like us, opt for commercial enclosures designed for resin printers. Either way, it's a worthwhile upgrade if you're printing indoors or in a shared space.
Besides improving air quality, enclosures help stabilize the ambient temperature, which contributes to more consistent print conditions. They can also block stray UV light from the environment and prevent dust from settling on prints or resin. If you're in a home office, bedroom, or shared studio, an enclosure becomes not just a nice-to-have but a major quality-of-life improvement.
Extra resin vats
If you regularly switch between different types or colors of resin, having extra vats on hand saves you from the messy task of cleaning out your current vat every time. Just label and store them with their respective resins, and swap them in when needed. This is especially handy for users running frequent jobs or experimenting with different materials.
Having multiple vats also means you can prep your next print in advance without interrupting your workflow. It reduces resin contamination, extends the life of your FEP film, and lets you run back-to-back prints with little downtime.
nFEP or ACF films
Standard FEP films work well enough, but upgrading to nFEP (also called PFA or ACF films) can give you an edge in print quality and reliability. These films offer better non-stick properties, reducing suction and making it easier for cured layers to peel from the film during printing. Less resistance equals less strain on your model and better success with delicate or complex parts. Plus, they tend to last longer than regular FEP films. Users often report that prints stick better to the build plate and release more smoothly from the vat surface, which leads to fewer layer shifts and improved overall detail. While the cost is slightly higher than regular FEP sheets, the gains in print reliability and reduced maintenance often make it a worthwhile tradeoff for active users.
Maintenance, upkeep, and reliability
Even the top 3D printers need regular care to stay consistent and dependable. Routine maintenance helps your machine deliver clean, reliable prints every time.
Daily maintenance and post-print care
To keep the 3D printer running smoothly, it's important to perform a basic cleanup after every print. Start by wiping down the build plate with isopropyl alcohol to remove any leftover resin. Make sure to also dry it thoroughly, as moisture can affect resin adhesion in subsequent prints. You should also check the resin vat for floating debris or partially cured particles and filter the resin if you're planning to reuse it.
Don't let resin sit too long in the vat between prints. Exposure to ambient light can cause premature curing and result in cloudy, partially cured layers at the bottom.
Beyond this, inspect the edges of the build plate and the top lip of the resin vat for hidden buildup. Resin can splash or drip during printing and cleaning, and dried drops can lead to contamination. Use a microfiber cloth for gentle cleanup in tight spots.
Check the FEP film at the bottom of the vat for any signs of damage, cloudiness, or punctures. A worn or scratched film can cause prints to stick, fail, or not release properly from the screen. Replace the film as needed to maintain clear separation between cured layers and the screen, which is essential for successful print cycles.
Weekly checks
At least once a week, take a moment to inspect the printer's Z-axis for resin buildup or dust. The lead screw should move freely, without grinding or resistance. A tiny bit of synthetic grease or lubricant will help the motion stay smooth and reduce wear on the motor over time. Also, verify that the build plate is level, especially if you've recently removed or adjusted it, changed the FEP film, or noticed inconsistent adhesion.
The LCD screen beneath the resin vat can get dusty, smudged, or affected by micro-resin spills over time. Use a lint-free cloth and a small amount of isopropyl alcohol to clean the screen carefully, but do not press hard, and never scrape it. Regular cleaning ensures the image projected onto the resin remains sharp and free from distortion.
Also, make sure the touchscreen is responsive and not exhibiting any lag or dead zones. Slow response may indicate a firmware issue or a screen calibration problem.
Consumables and part replacement
The 4K monochrome LCD screen has a typical lifespan of around 2,000 hours, depending on usage, environment, and exposure settings. As it wears out, you may start to see fading, uneven brightness, or distorted prints. When this happens, it's time to replace the screen, so this process should be done carefully and patiently. Always use gloves and follow the manufacturer guidelines to avoid damaging the new screen or internal components.
FEP film is another consumable that needs periodic replacement. Depending on your usage, resin type, and print frequency, you might change it every 20-30 prints or sooner if you spot clouding, deep scratches, or tearing. Fortunately, replacement films are affordable, easy to source, and relatively simple to install. We also like to keep pre-mounted spare vats with fresh FEP films to speed up workflow and avoid delays during film swaps.
The carbon filter inside the machine helps reduce resin odor and VOC exposure, but it has a limited effective lifespan. You'll want to replace it every few months or whenever you notice the smell of resin getting stronger during prints. While it doesn't eliminate fumes completely, keeping it fresh helps make your workspace more tolerable and safer for prolonged sessions.
Long-term reliability
With regular care and consistent upkeep, the printer holds up well even after extended use. Its dual linear Z-rail design reduces wobble and maintains build plate stability, which is essential for tall prints and detailed layers. The rail and motor combination is one of the printer's strongest features, contributing to fewer mechanical failures and less maintenance in the long run.
Though if you plan on using the printer heavily, investing in spare vats, extra build plates, LCD screen protectors, and a backup FEP film set can help you avoid downtime and maintain production flow. Users who proactively maintain their printers regularly report years of dependable performance, with consistent print quality and minimal issues.
Common issues and fixes with the Anycubic Mono X
While the machine is known for being reliable, it is not without the occasional hiccup. Fortunately, most of the common problems are easy to identify and fix if you know what to look for.
Prints sticking too hard to the build plate
One of the most frequent complaints from Mono X users is how strongly prints can adhere to the build plate. This might seem like a good thing at first, since you want the model to stay in place while printing. However, too much grip can make removal difficult and sometimes even damage the model, especially if it has thin or intricate sections.
Recheck your build plate leveling before printing any object. If the plate is too close to the screen, prints will adhere too firmly. We also recommend lightly sanding the surface of the build plate using fine-grit sandpaper. This helps break the smoothness and gives just enough grip without going overboard.
For those still struggling, some find success by applying a thin film of resin or a PTFE-based release agent to the plate before starting the print. This is a small effort that can make the removal far less frustrating.
Layer separation or failed cures
If you notice that your print separates halfway through or shows signs of weak bonding between layers, the issue likely lies with resin exposure settings or tension issues in the FEP film. Improper curing can result in underdeveloped sections and a fragile structure that does not hold together.
We recommend starting with the resin manufacturer's suggested exposure settings. Dialing in exposure by running a simple exposure test print can significantly improve your results.
Be sure to check your FEP film as well. Inspect the surface for scratches or cloudiness, which can scatter light and interfere with curing. This means it's worn out. Replacing a worn FEP film can solve a surprising number of these failures.
Cloudy LCD screen or signs of wear
Over time, resin may leak or splash onto the LCD screen. If not cleaned properly, it can harden and form a cloudy layer. This foggy surface weakens light transmission and can lead to poor print quality, detail loss, or even failed prints. Clean any resin spills IMMEDIATELY using 99 percent isopropyl alcohol and a soft, lint-free cloth.
Do not let any resin sit, especially after a failed print. It can cause premature curing.
If you call, install an LCD screen protector early on. It adds a valuable layer of defense between your screen and any potential accidents. Even if cured resin does land on the screen, it is far easier to replace a film than the screen itself.
Wobbling or unstable tall prints
Tall prints can introduce more stress on the Z-axis, especially during lifting and retracting movements. If you have ever noticed slight wobbling, layer shifting, or leaning, the issue might be mechanical or environmental.
First, make sure your printer is sitting on a sturdy, level surface that does not vibrate. Uneven positioning can affect how the layers stack. We also recommend checking the Z-axis screws periodically and tightening them if there is any movement or play. A loose rail can result in prints that drift slightly as they build up. Some users suggest lubricating the Z-axis lead screw every now and then to keep its motion smooth and avoid any jerky transitions. Since it has a large build volume, you can also hollow it to reduce its weight. This should lessen the stress on the printer's lifting mechanism.
Comparisons with Mono X competitors
Choosing the right resin 3D printer often comes down to the fine details, especially when you're balancing print quality, size, and cost. The featured 3D printer finds itself in a very competitive field, with several other well-known machines offering similar specs.
| Specification | Anycubic Mono X | Elegoo Saturn | Phrozen Sonic Mighty 4K | Creality Halot-Mage |
|---|---|---|---|---|
| Build Volume | 192 x 120 x 245 mm | 192 x 120 x 200 mm | 200 x 125 x 220 mm | 228 x 128 x 230 mm |
| Screen Type | 4K Mono 8.9″ | 4K Mono 8.9″ | 4K Mono 9.3″ | 7K Mono 10.3″ |
| Resolution | 3840 x 2400 | 3840 x 2400 | 3840 x 2400 | 4320 x 2560 |
| Print Speed | Up to 60 mm/h | Up to 60 mm/h | Up to 80 mm/h | Up to 60 mm/h |
| Price Range | $400 – $600 | $400 – $550 | $500 – $600 | $450 – $600 |
While many of the newer models come equipped with advanced features and added conveniences, this 3D printer remains a solid, well-balanced machine. It offers a reliable build volume, detailed output, and wide compatibility with slicing software and resin types.
Sure, you might find a better value with Elegoo Saturn if you're cost-conscious, or a better performer in the Sonic Mighty if speed matters most. But if you want an all-around performer with a proven track record, the Anycubic Photon Mono X still holds a very respectable spot on the shelf.
Our final verdict
So, is the Anycubic Mono X still worth your time in 2025? If you're looking for a resin printer with generous build volume and print area, high resolution, and long-standing community support, the answer is yes.
Even in a market filled with newer machines boasting 12K screens or automatic resin feeding systems, it remains relevant. It continues to deliver reliable, detailed results without requiring a steep learning curve or premium-level pricing.
Is it plug-and-play? Not entirely, but it gets pretty close. You'll need to level the build plate manually during the first setup and occasionally re-level it, especially after vat swaps or if you move the printer. But once dialed in, it stays consistent. Beginners can get up and running with the included test print, while seasoned makers can immediately jump into advanced slicing workflows and resin tuning.
If you're stepping up from a smaller machine or just want something dependable without breaking the bank, this 3D printing machine still earns its place on the bench.
1. Elegoo.com, "Elegoo, INC." Accessed July 26, 2022.

Scott Gabdullin is a Canadian entrepreneur, investor, and marketing expert who has successfully combined his passion for technology and innovation with a love for adventure and exploration.
Scott brings 12 years of digital marketing experience and a hardcore work ethic to his new passion for 3D printing. If he is not working on this business, he is likely travelling and Overlanding across North America with his wife and 2-year-old son in their Jeep Rubicon.
Read more →